Interaction of Scope D50 & camera

-
Stelos 800 L
Stelos: Consignes de sécurité – à lire avant utilisation | Environnement Stelos: Mise à jour du micrologiciel Stelos: Interface utilisateur | Affichages | Fonctions | Manutention Stelos: Données techniques Stelos: Télécommande et déclenchement du flash Stelos: Alimentation électrique | batterie Stelos: Entretien | Réparation | Garantie Stelos: Accessoires et pièces de rechange Stelos: Messages d'erreur
-
Satos
Satos: Consignes de sécurité – à lire avant utilisation | Environnement Satos: Firmware Update Satos: Interface utilisateur | Affichages | Fonctions | Manutention Satos: Données techniques Satos: Télécommande et déclenchement du flash Satos: Alimentation électrique | batterie Satos: Entretien | Réparation | Consommables | Pièces de rechange | Garantie Satos: Accessoires Satos: Station de charge pour 4 batteries enfichables
-
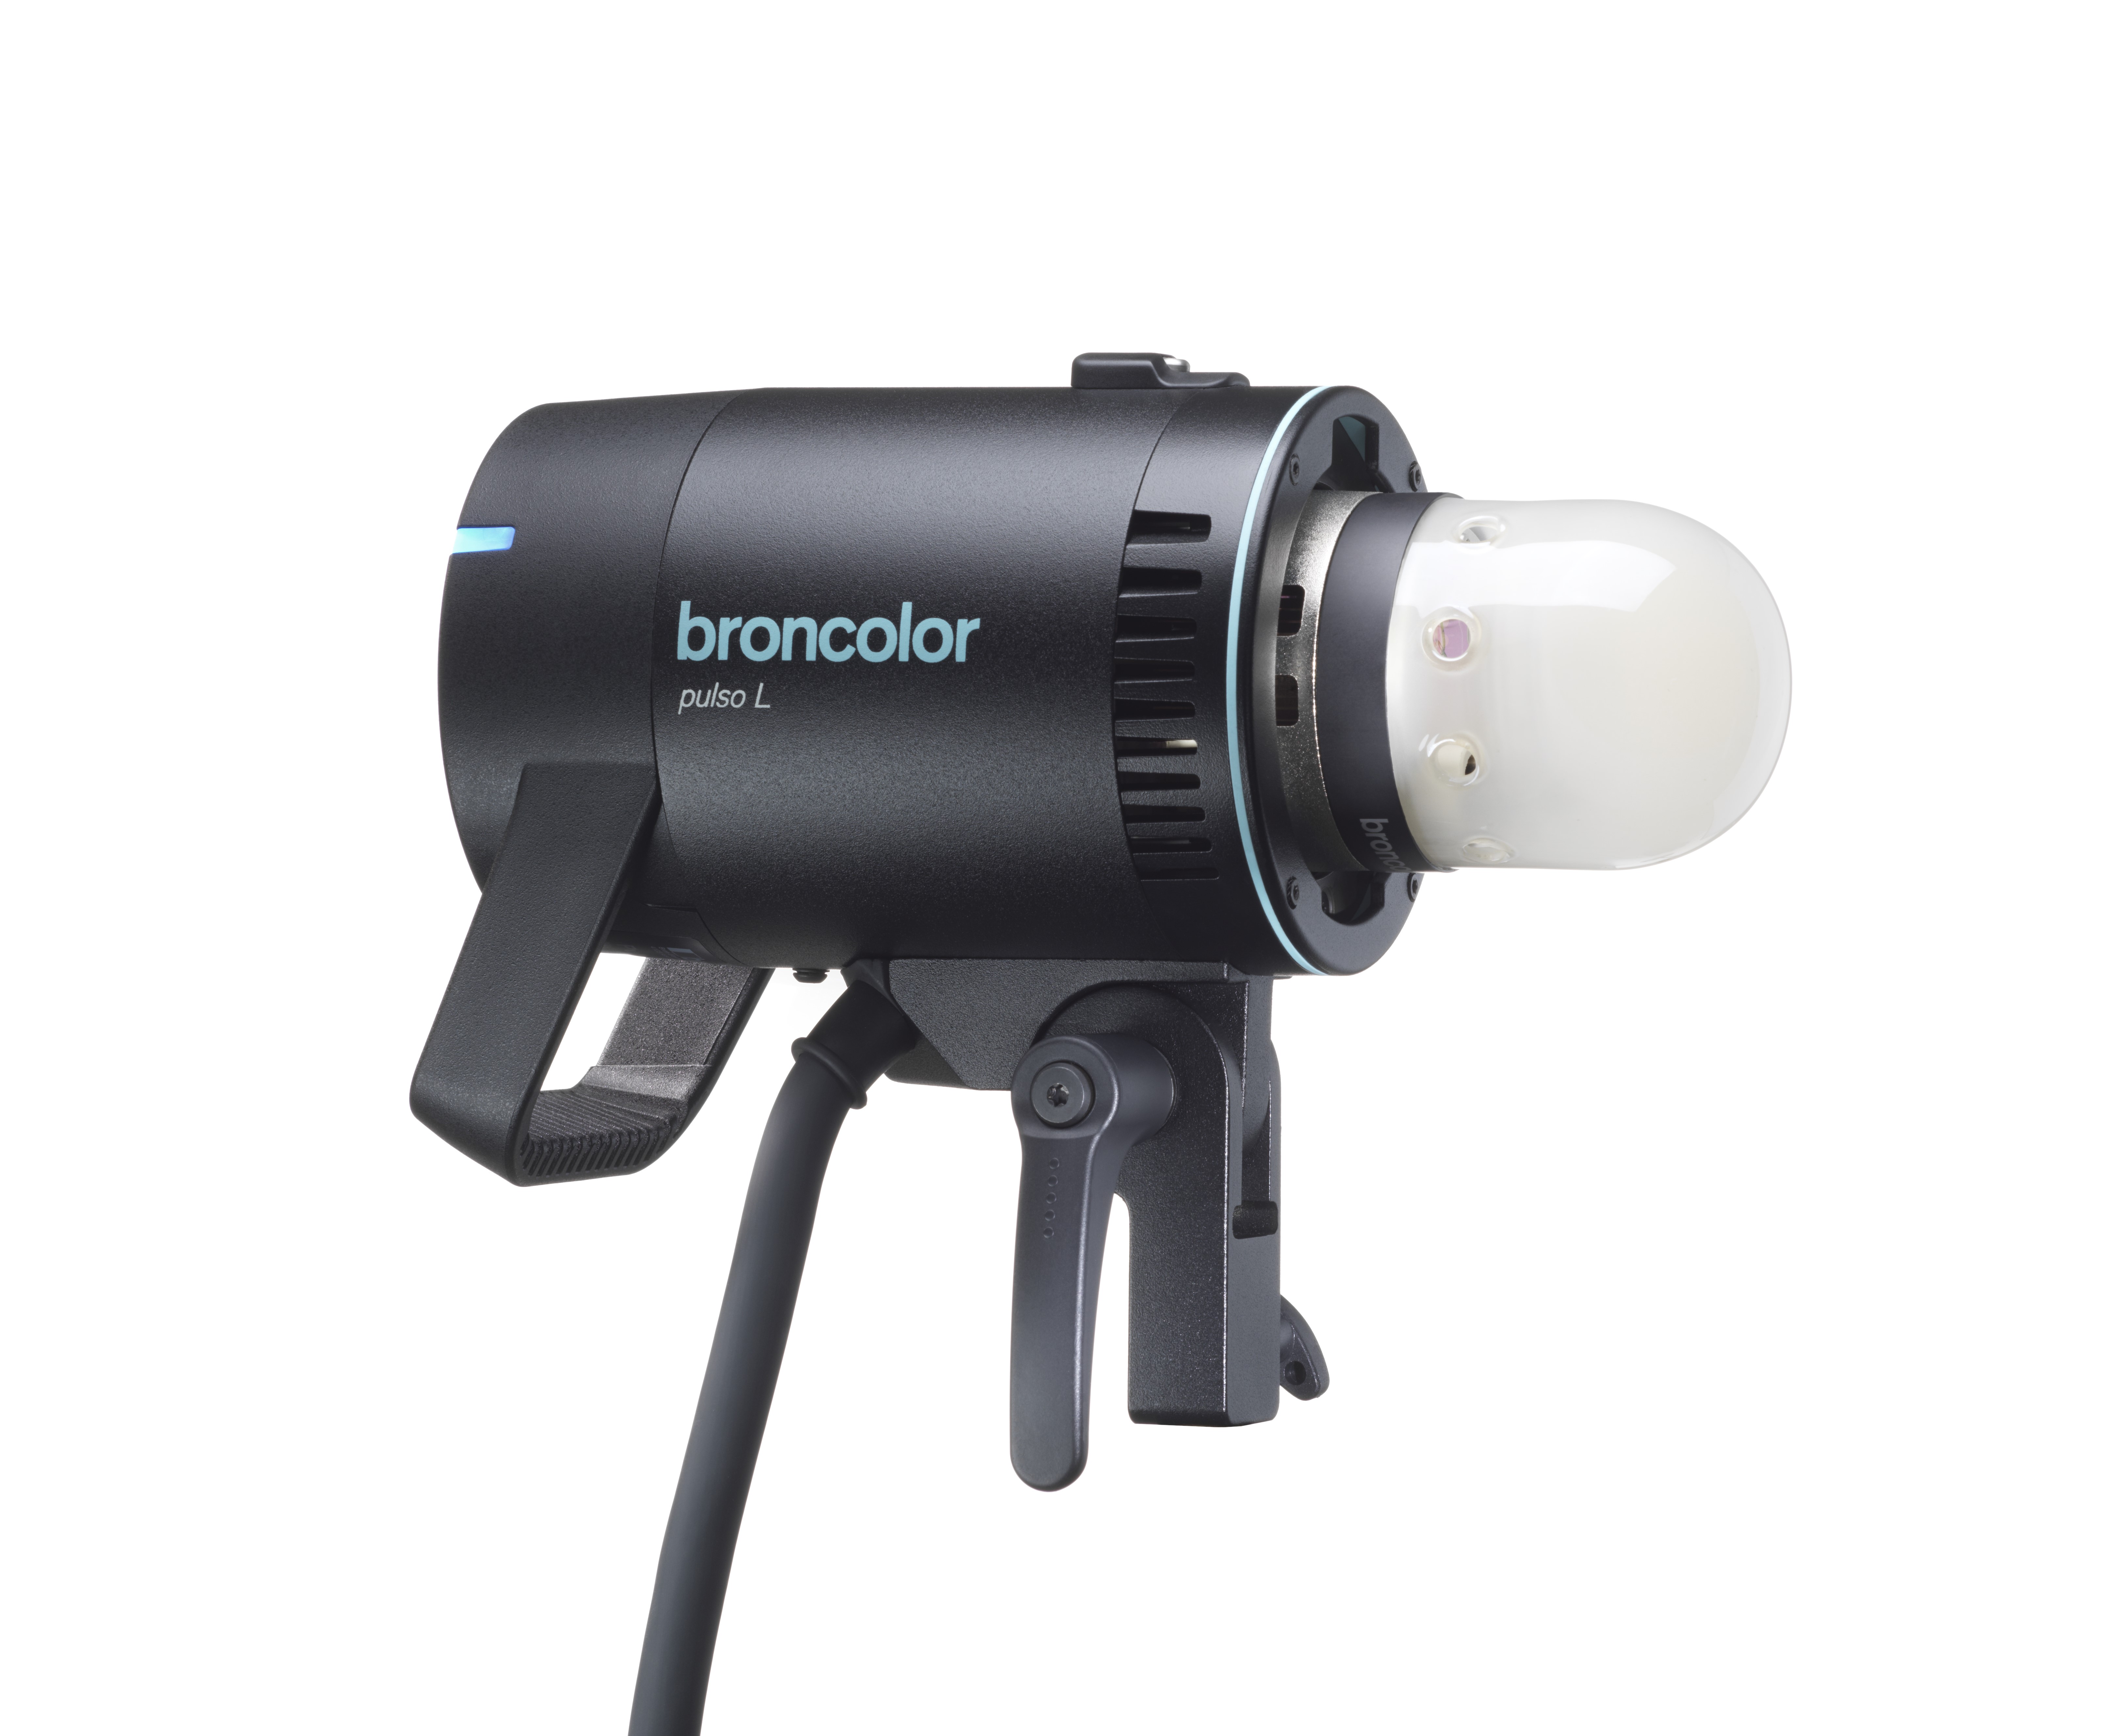
Pulso L
Pulso L: Consignes de sécurité – à lire avant utilisation | Environnement Pulso L: Firmware Update Pulso L Pulso L: Interface utilisateur | Affichages | Fonctions | Manutention Pulso L: Données techniques Pulso L: Entretien | Réparation | Consommables | Pièces de rechange | Garantie Pulso L: Accessoires
-
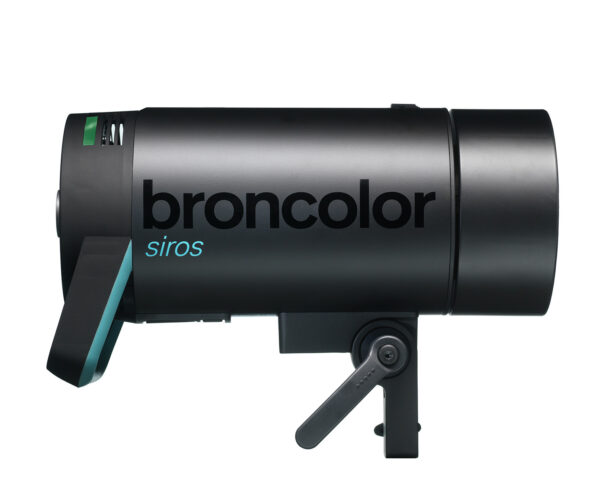
Siros S
Siros S: Consignes de sécurité – à lire avant utilisation | Environnement Siros S: Firmware update Siros S Siros S: Interface utilisateur | Affichages | Fonctions | Manutention Siros S: Données techniques Siros S: Télécommande et déclenchement du flash Siros S: Alimentation électrique Siros S: Entretien | Réparation | Consommables | Pièces de rechange | Garantie Siros S: Accessoires
-
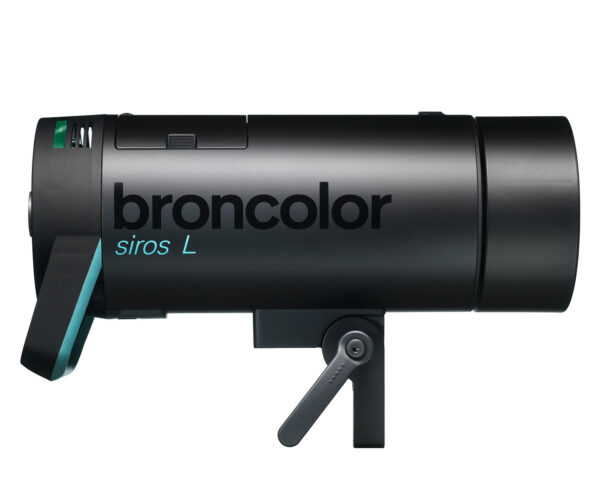
Siros L
Siros L: Consignes de sécurité – à lire avant utilisation | Environnement Siros L: Firmware Update Siros L: Interface utilisateur | Affichages | Fonctions | Manutention Siros L: Données techniques Siros L: Télécommande et déclenchement du flash Siros L: Alimentation électrique | batterie Siros L: Entretien | Réparation | Consommables | Pièces de rechange Siros L: Accessoires
-
Scoro E + S
Scoro E & S: Consignes de sécurité - à lire avant utilisation | Environnement Scoro E & S: Interface utilisateur | Affichages | Fonctions | Manutention Scoro E & S: Données techniques Scoro E & S: Télécommande et déclenchement du flash Scoro E & S: Entretien | Réparation | Consommables | Pièces de rechange | Garantie
- Move 1200 L
- RSF 2.2
- RFS 2.1
-
RFS 3
RFS 3: Consignes de sécurité – à lire avant utilisation | Environnement RFS 3: Contenu de la livraison et éléments de commande RFS 3: Interface utilisateur | Affichages | Fonctions | Manutention RFS 3: Mise à jour du firmware RFS 3: Compatibilité RFS 3: Données techniques RFS 3: Entretien | Réparation | Consommables | Pièces de rechange | Garantie RFS 3: Résolution des problèmes
- Pulso G, Unilite et Picolite
- LED F160
- Scope D50
- Compatibilité ( Torche <-> Modeleur de lumière | Torche <-> Générateur)
- Localisez votre distributeur ou revendeur
-
 Stelos 800 L
-
 Satos
Satos
-
 Pulso L
-
 Siros S
-
 Siros L
-
 Scoro E + S
-
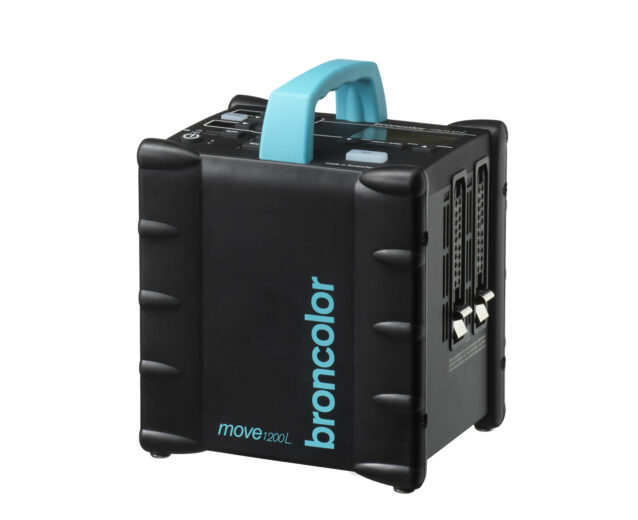 Move 1200 L
-
 RSF 2.2
-
 RFS 2.1
-
 RFS 3
RFS 3
-
 Pulso G, Unilite et Picolite
-
 LED F160
-
 Scope D50
-
 Compatibilité ( Torche <-> Modeleur de lumière | Torche <-> Générateur)
-
 Localisez votre distributeur ou revendeur
Camera settings
White balance: If your camera offers to choose the colour temperature directly select a colour temperature of 5000 K. If this option is not available choose the normal daylight presets.
Image quality: RAW or TIFF (sRGB).
Exposure: We generally recommend ISO sensitivities of maximally 800 together with a shutter speed of 1/60 s to 1/80 s and an aperture of 11 to 14.
Interval shooting: If your camera offers this option set the number of intervals to 48, the length of the interval to 1 second and choose one shot per interval. If you are using a capture software you might have to choose longer intervals to make sure the images can be transferred to your computer in time.
Note
If your camera has an orientation sensor switch it off.
If it is not switched off some images might be rotated since the camera is placed horizontally on the Scope D50.
Acquisition
The menu item “SETUP” allows to adjust the brightness of the LED. “ALL“ alters the brightness of all 48 LED simultaneously. Use this modelling light function to focus the lens / to control the depth of field. “SINGLE” controls the brightness of the actual image capturing process (thereby, for every picture taken, an alternating LED is being activated).
In the following, press the button “SEQUENCE” in the main menu. Press “START”. One LED lights up.
You can now start the acquisition process by using your camera’s interval shooting option (48 pictures) or an image capture software of your choice. (In principle, you can also trigger the camera 48 times by hand but this is not recommended since it might cause blurring of the images and slight changes of the camera position.)
For each image another LED is lit in the Scope D50.
Make sure there are no other light sources lighting the object by checking your camera’s live view. With only a small amount of ambient light you should still obtain reasonable results. If required you can use the included light protection elements:
- light protection wrap
- light protection collar (on the lens).
Prepare images for Authentica Creator
Transfer the acquired images from the camera to your computer.
Open all images simultaneously in Photoshop or any other image processing programme.
Select all images and adjust the brightness and colour temperature.
Apply corrections for chromatic aberration and lens profile of your camera.
Crop a rectangular selection which contains the object
Create a new folder and save the images as TIFF images using sRGB as colour space.
You can use a colour depth of 16 or 8 bit for the TIFF images.
Note
Make sure you only crop rectangular sections and don’t rotate the RAW or TIFF images. You will have the possibility to cut non rectangular sections and apply rotation in Authentica Creator once the digital material is created.
Installing Authentica Creator
In order to install and unlock the Authentica Creator software, please follow the instructions as stated in the provided license card.
Note
Detailed information on the use of Authentica Creator can be found on: truvis.ch/authentica/docs