Lamp outlets (Scoro E & S)

-
Stelos 800 L
Stelos: Safety Instructions – read before use | Environment Stelos: Firmware update Stelos: User Interface | Controls | Functions | Handling Stelos: Technical Data Stelos: Remote control | Flash triggering Stelos: Power supply | Battery Stelos: Maintenance | Repair | Warranty Stelos: Accessories & Spare Parts Stelos: Error messages
-
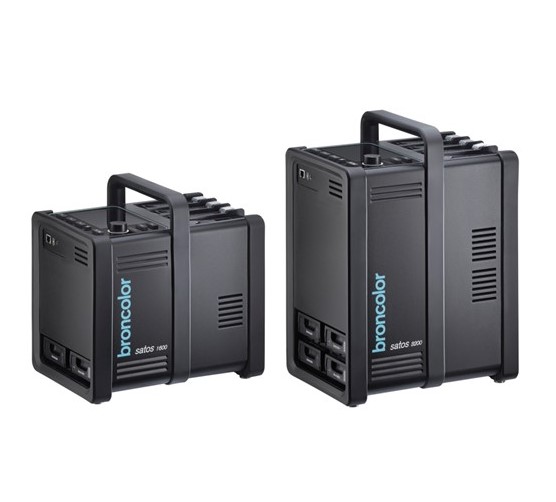
Satos
Satos: Safety Instructions – read before use | Environment Satos: Firmware update Satos Satos: User Interface | Controls | Functions | Handling Satos: Technical Data Satos: Remote control | Flash triggering Satos: Power supply | Battery Satos: Maintenance | Repair | Consumables | Spare parts | Guarantee Satos: Accessories Satos: Charging station for up to 4 slide-in batteries
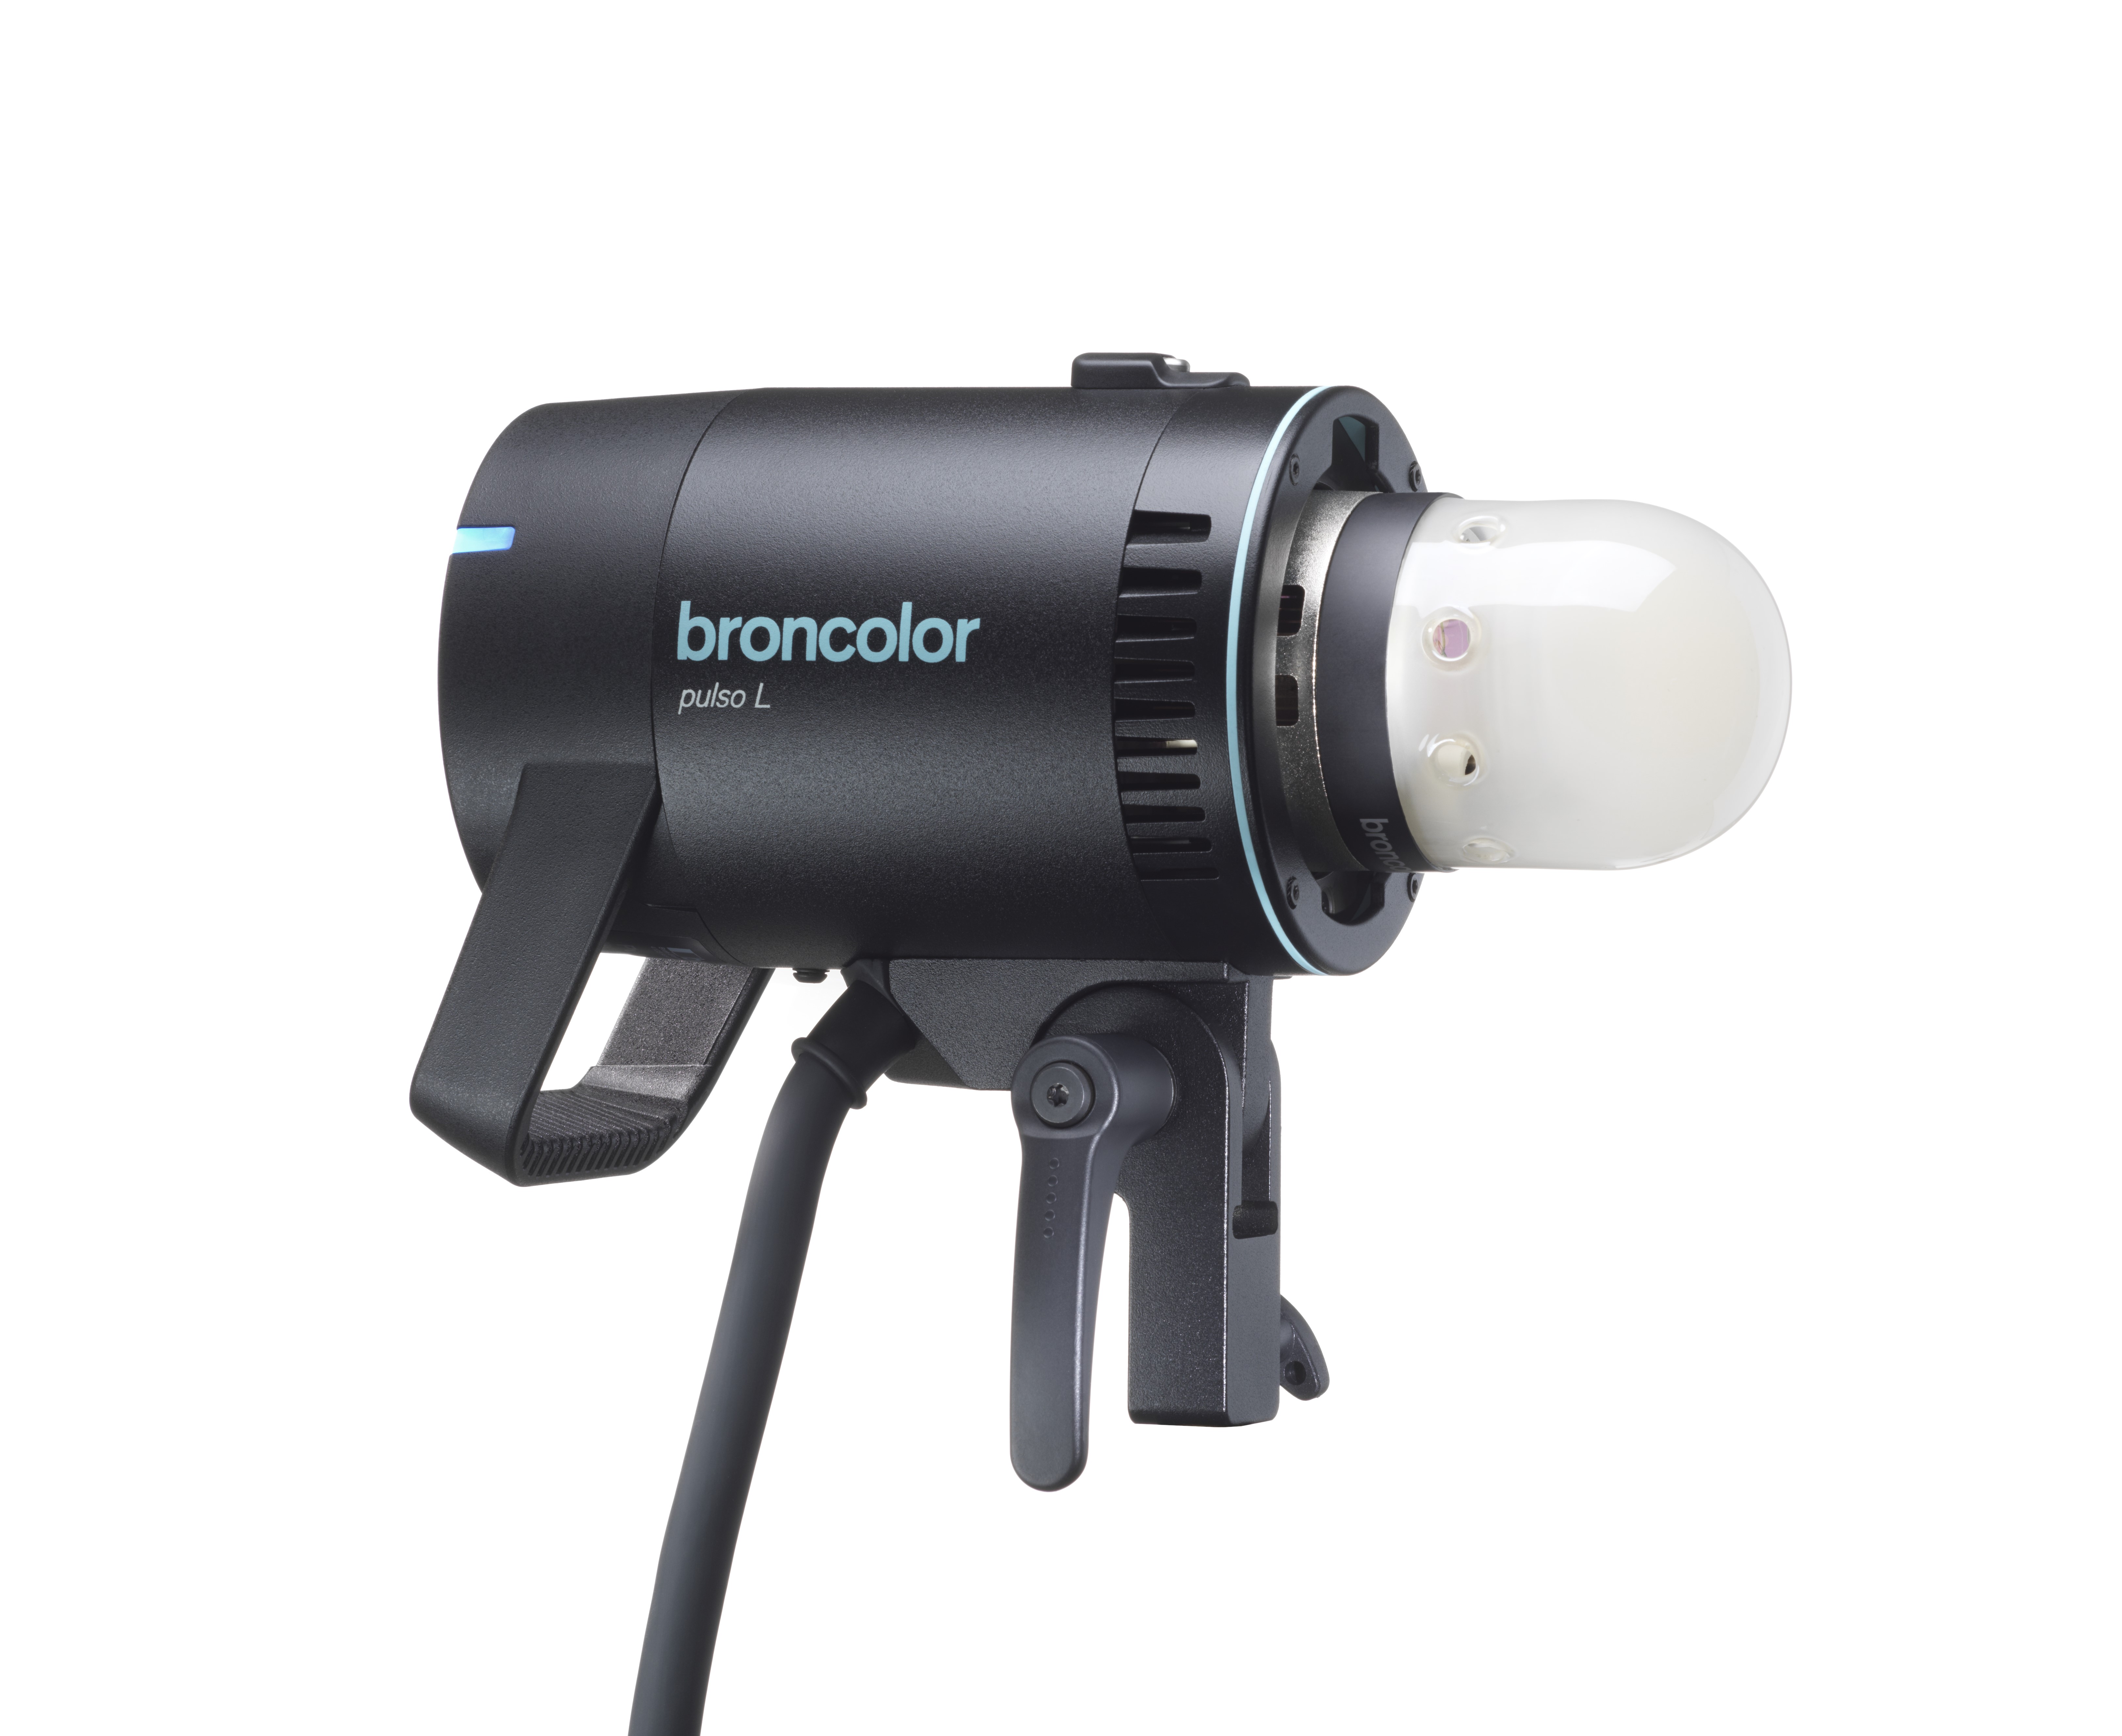
- Pulso L
-
Siros S
Siros S: Safety Instructions – read before use | Environment Siros S: Firmware update Siros S: User Interface | Controls | Functions | Handling Siros S: Technical Data Siros S: Remote control | Flash triggering Siros S: Power supply Siros S: Maintenance | Repair | Consumables | Spare parts | Guarantee Siros S: Accessories
-
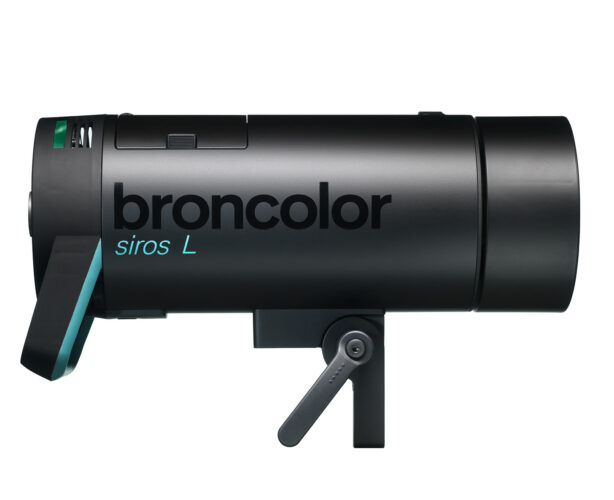
Siros L
Siros L: Safety Instructions – read before use | Environment Siros L: Firmware update Siros L Siros L: User Interface | Controls | Functions | Handling Siros L: Technical Data Siros L: Remote control | Flash triggering Siros L: Power supply | Battery Siros L: Maintenance | Repair | Consumables | Spare parts | Guarantee Siros L: Accessories
- Scoro E + S
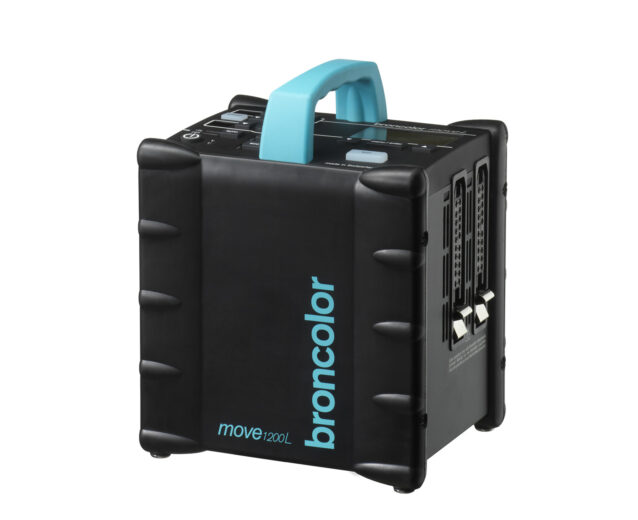
- Move 1200 L
- RFS 2.1
- RFS 2.2
-
RFS 3
RFS 3: Safety Instructions – read before use | Environment RFS 3: Scope of delivery and operating elements RFS 3: User Interface | Controls | Functions | Handling RFS 3: Firmware Update RFS 3.0 RFS 3: Compatibility RFS 3: Technical Data RFS 3: Maintenance | Repair | Consumables | Spare parts | Guarantee RFS 3: Trouble shooting
- Pulso G, Unilite and Picolite
- LED F160
- Scope D50
- Compatibility (Lamp <-> light shaper | Lamp <-> power pack)
- Locate your distributor or dealer
-
 Stelos 800 L
-
 Satos
Satos
-
 Pulso L
-
 Siros S
-
 Siros L
-
 Scoro E + S
-
 Move 1200 L
-
 RFS 2.1
-
 RFS 2.2
-
 RFS 3
RFS 3
-
 Pulso G, Unilite and Picolite
-
 LED F160
-
 Scope D50
-
Compatibility (Lamp <-> light shaper | Lamp <-> power pack)
-
Locate your distributor or dealer
The lamp outlets of the Scoro units are marked with the numerals 1 – 3. Lamp plugs and sockets have a mechanical locking device to prevent them from accidentally coming loose. When plugging in, ensure that the front part of the plug is inserted first, and that the rear locking device locks completely into place. To release, press down the locking device spring under the cable guide and lift out the plug from the socket. The power pack must be switched off whilst plugging in and unplugging.
Each outlet may be switched individually (7.1, 7.2, 7.3). The digital power distribution displays (11) indicate the set energy of each individual lamp. The digital master power display (12) indicates the total energy control range of all the connected or activated lamps. It is unnecessary to disconnect a lamp when not in use, simply deactivate it by using the lamp outlet on/off switch. Energy can be asymmetrically allocated to the individual lamps until the maximum energy has been achieved. If an additional lamp is connected, and should the other lamps already be using the maximum energy, no more energy can be allocated to the newly connected lamp. By reducing the already set total energy, additional energy can be allocated to a further
lamp.

Meaning of the digital displays (11)
Example with lamp energy "8.7":
--> "8.7" blinks flash monitor has detected a misfire
--> "—" lamp connected but switched off
--> " " no lamp connected
--> "-o" no energy allocation possible (the entire energy has already been used up by other lamps)