Overview of the main menu functions – Siros L
-
Stelos 800 L
Stelos: Safety Instructions – read before use | Environment Stelos: Firmware update Stelos: User Interface | Controls | Functions | Handling Stelos: Technical Data Stelos: Remote control | Flash triggering Stelos: Power supply | Battery Stelos: Maintenance | Repair | Warranty Stelos: Accessories & Spare Parts Error messages
-
Satos
Safety Instructions – read before use | Environment Firmware update Satos User Interface | Controls | Functions | Handling Technical Data Remote control | Flash triggering Power supply | Battery Maintenance | Repair | Consumables | Spare parts | Guarantee Accessories Charging station for up to 4 slide-in batteries
- Pulso L
- Siros S
- Siros L
- Scoro E + S
- Move 1200 L
- RFS 2.1
- RFS 2.2
- RFS 3
- Pulso G, Unilite and Picolite
- LED F160
- Scope D50
- Compatibility (Lamp <-> light shaper | Lamp <-> power pack)
- Locate your distributor or dealer
-
 Stelos 800 L
-
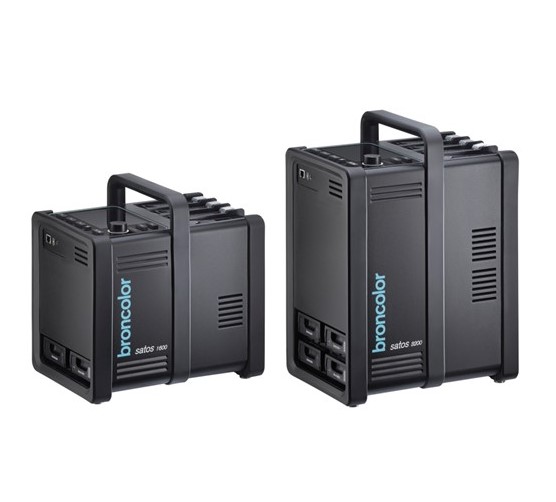 Satos
Satos
-
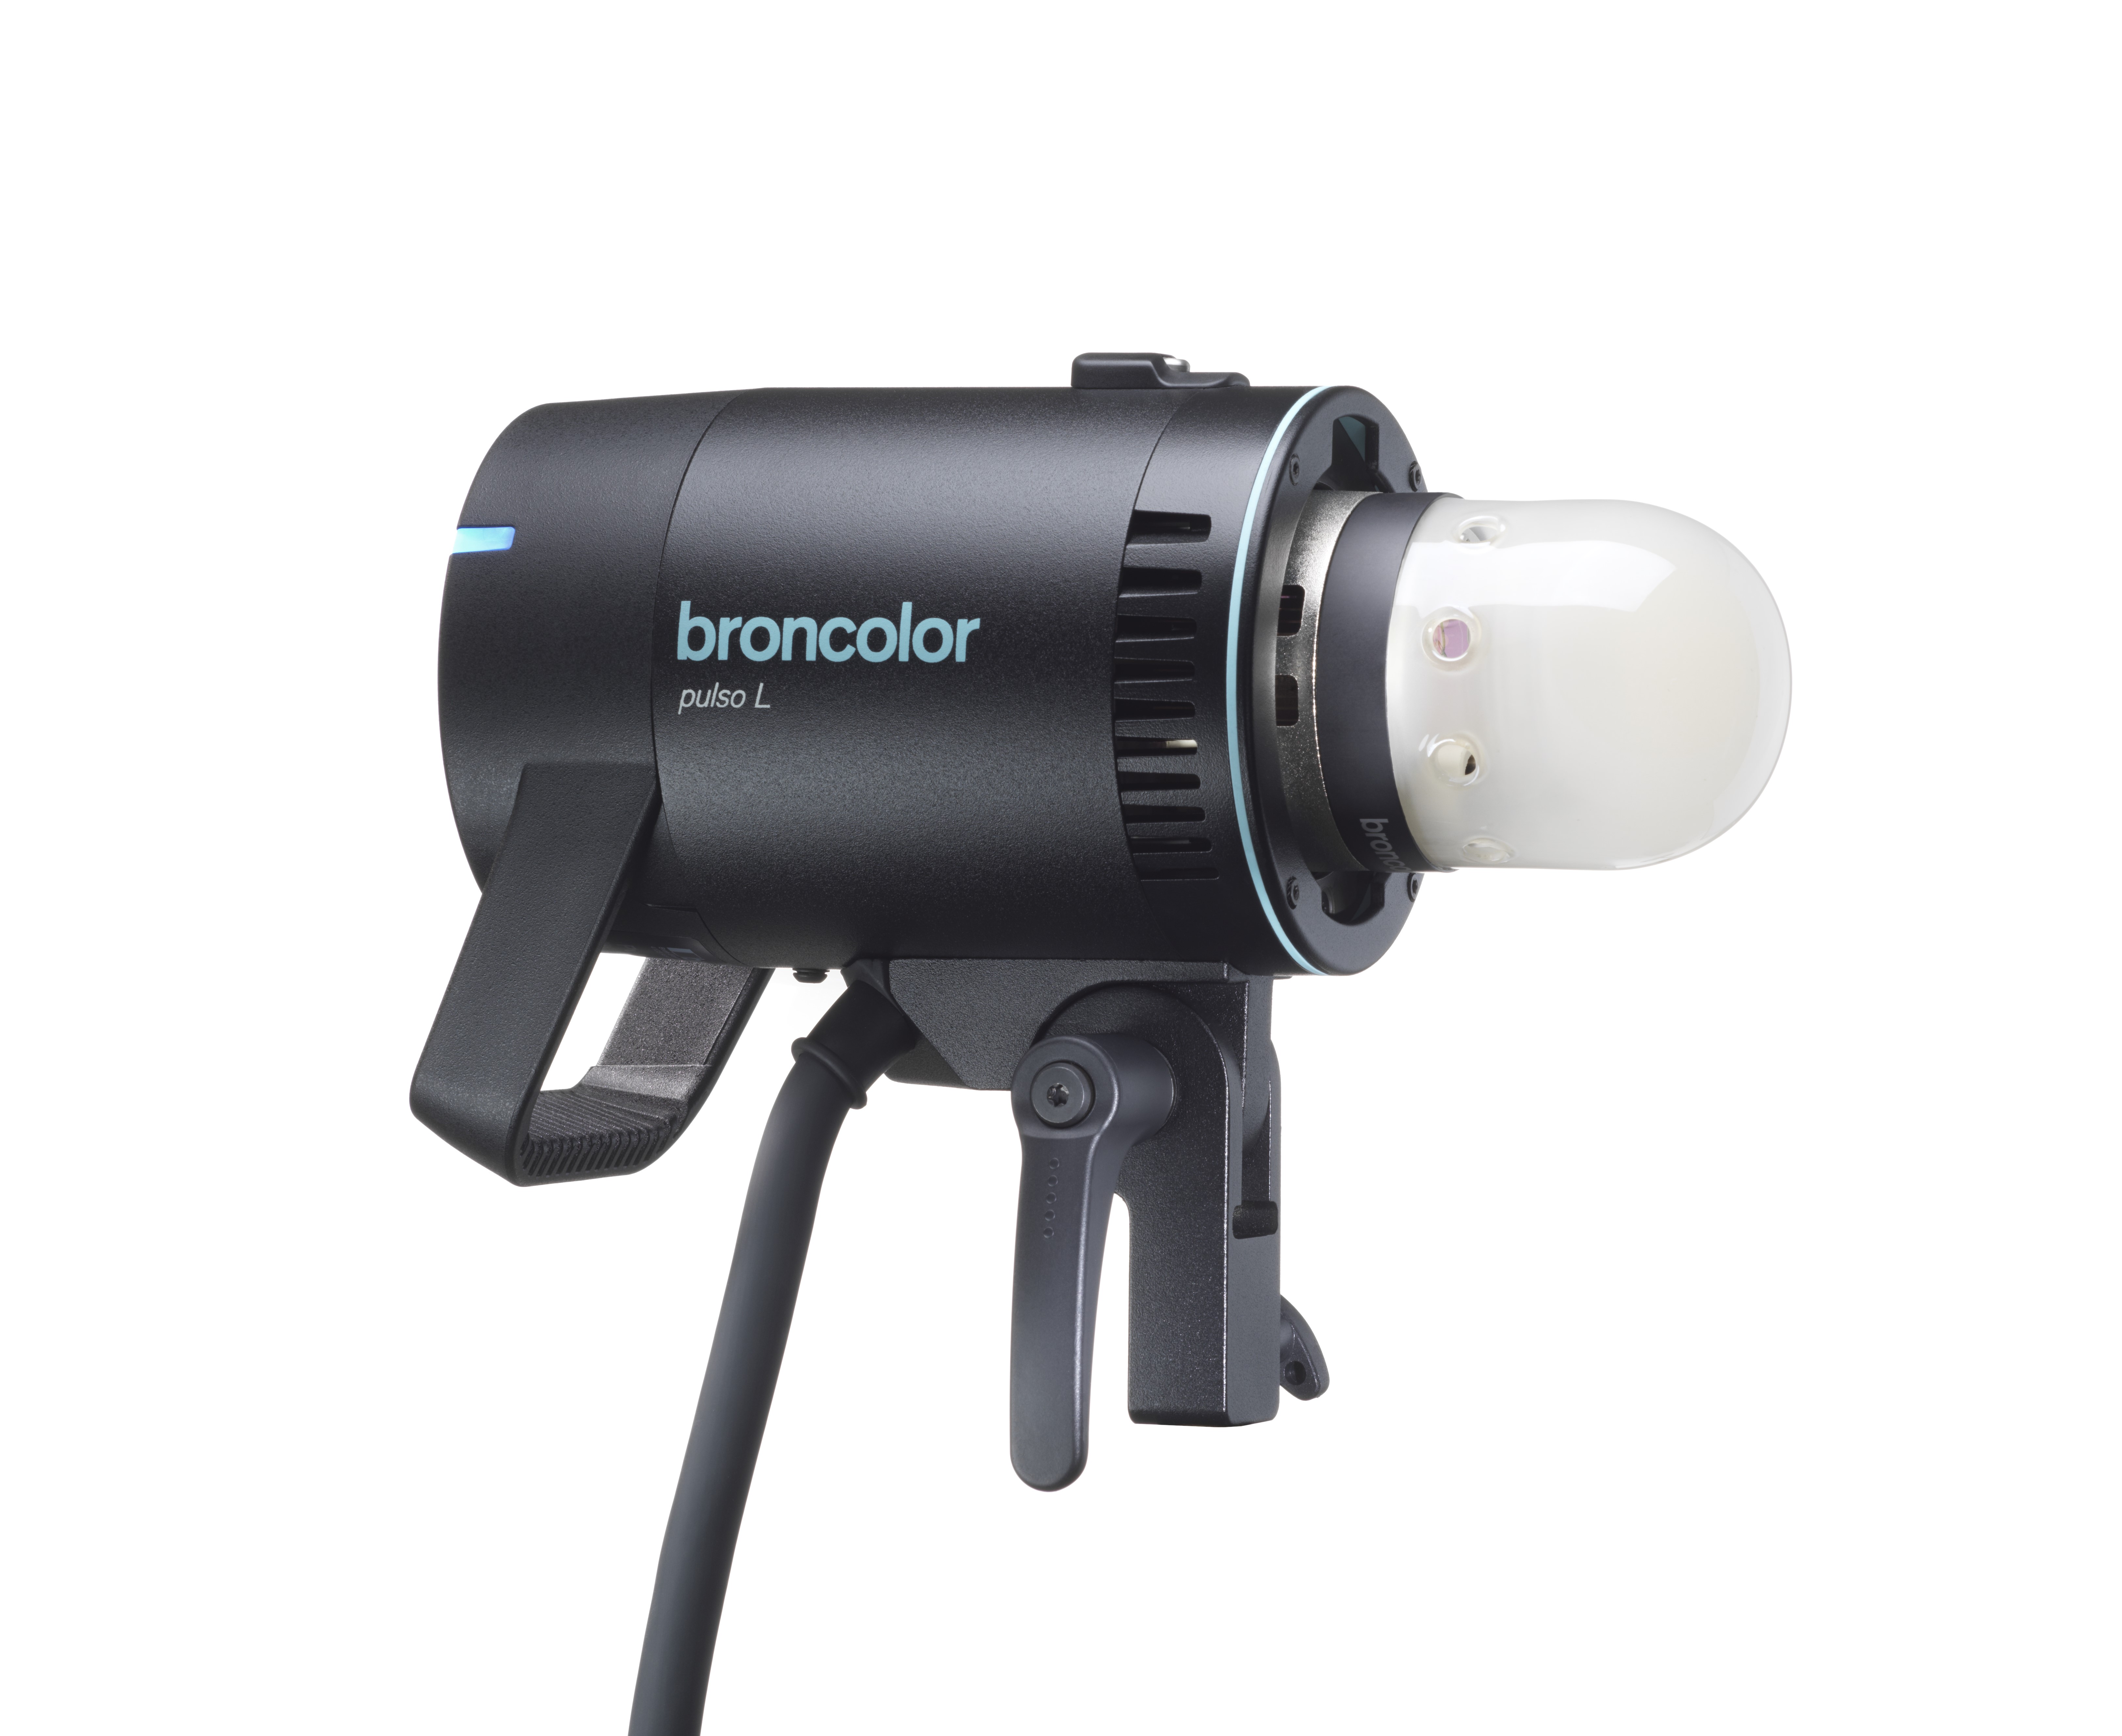 Pulso L
-
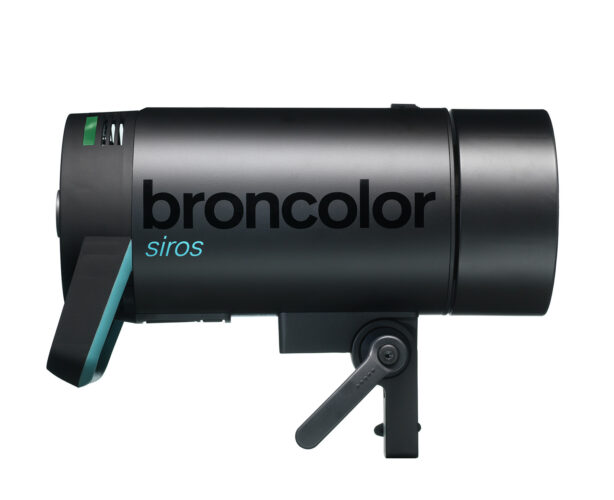 Siros S
-
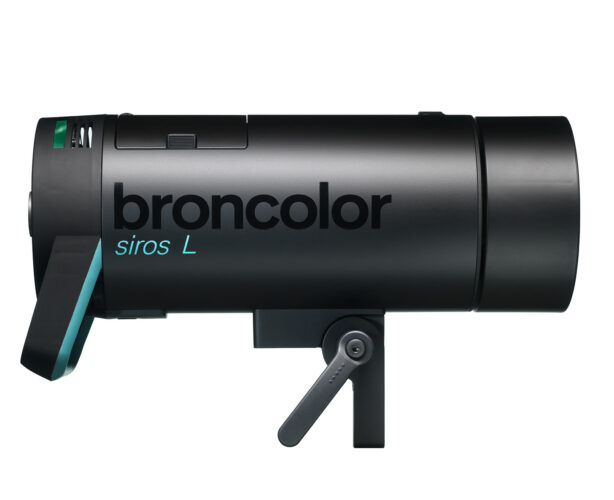 Siros L
-
 Scoro E + S
-
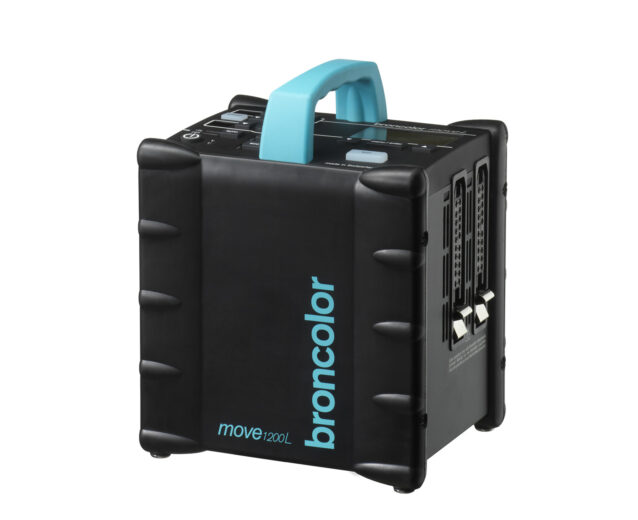 Move 1200 L
-
 RFS 2.1
-
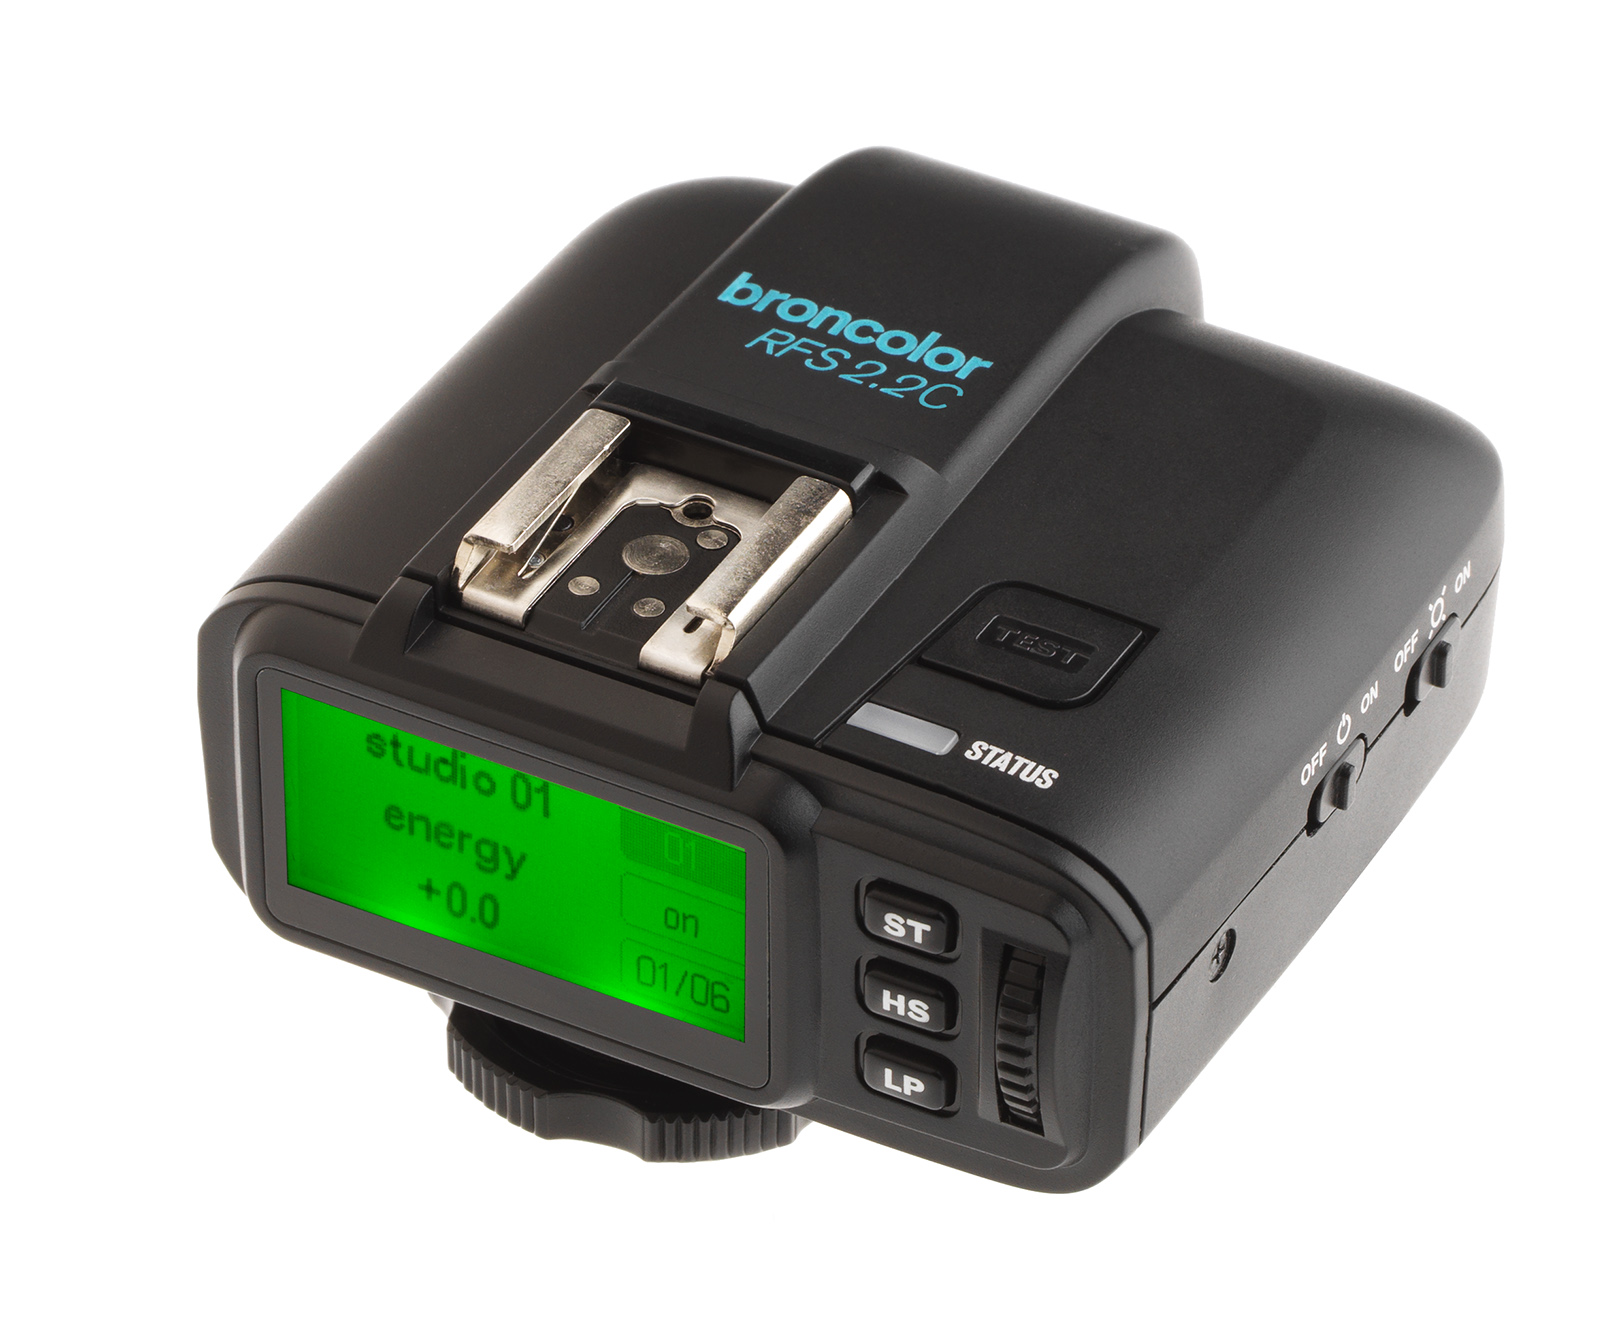 RFS 2.2
-
 RFS 3
RFS 3
-
 Pulso G, Unilite and Picolite
-
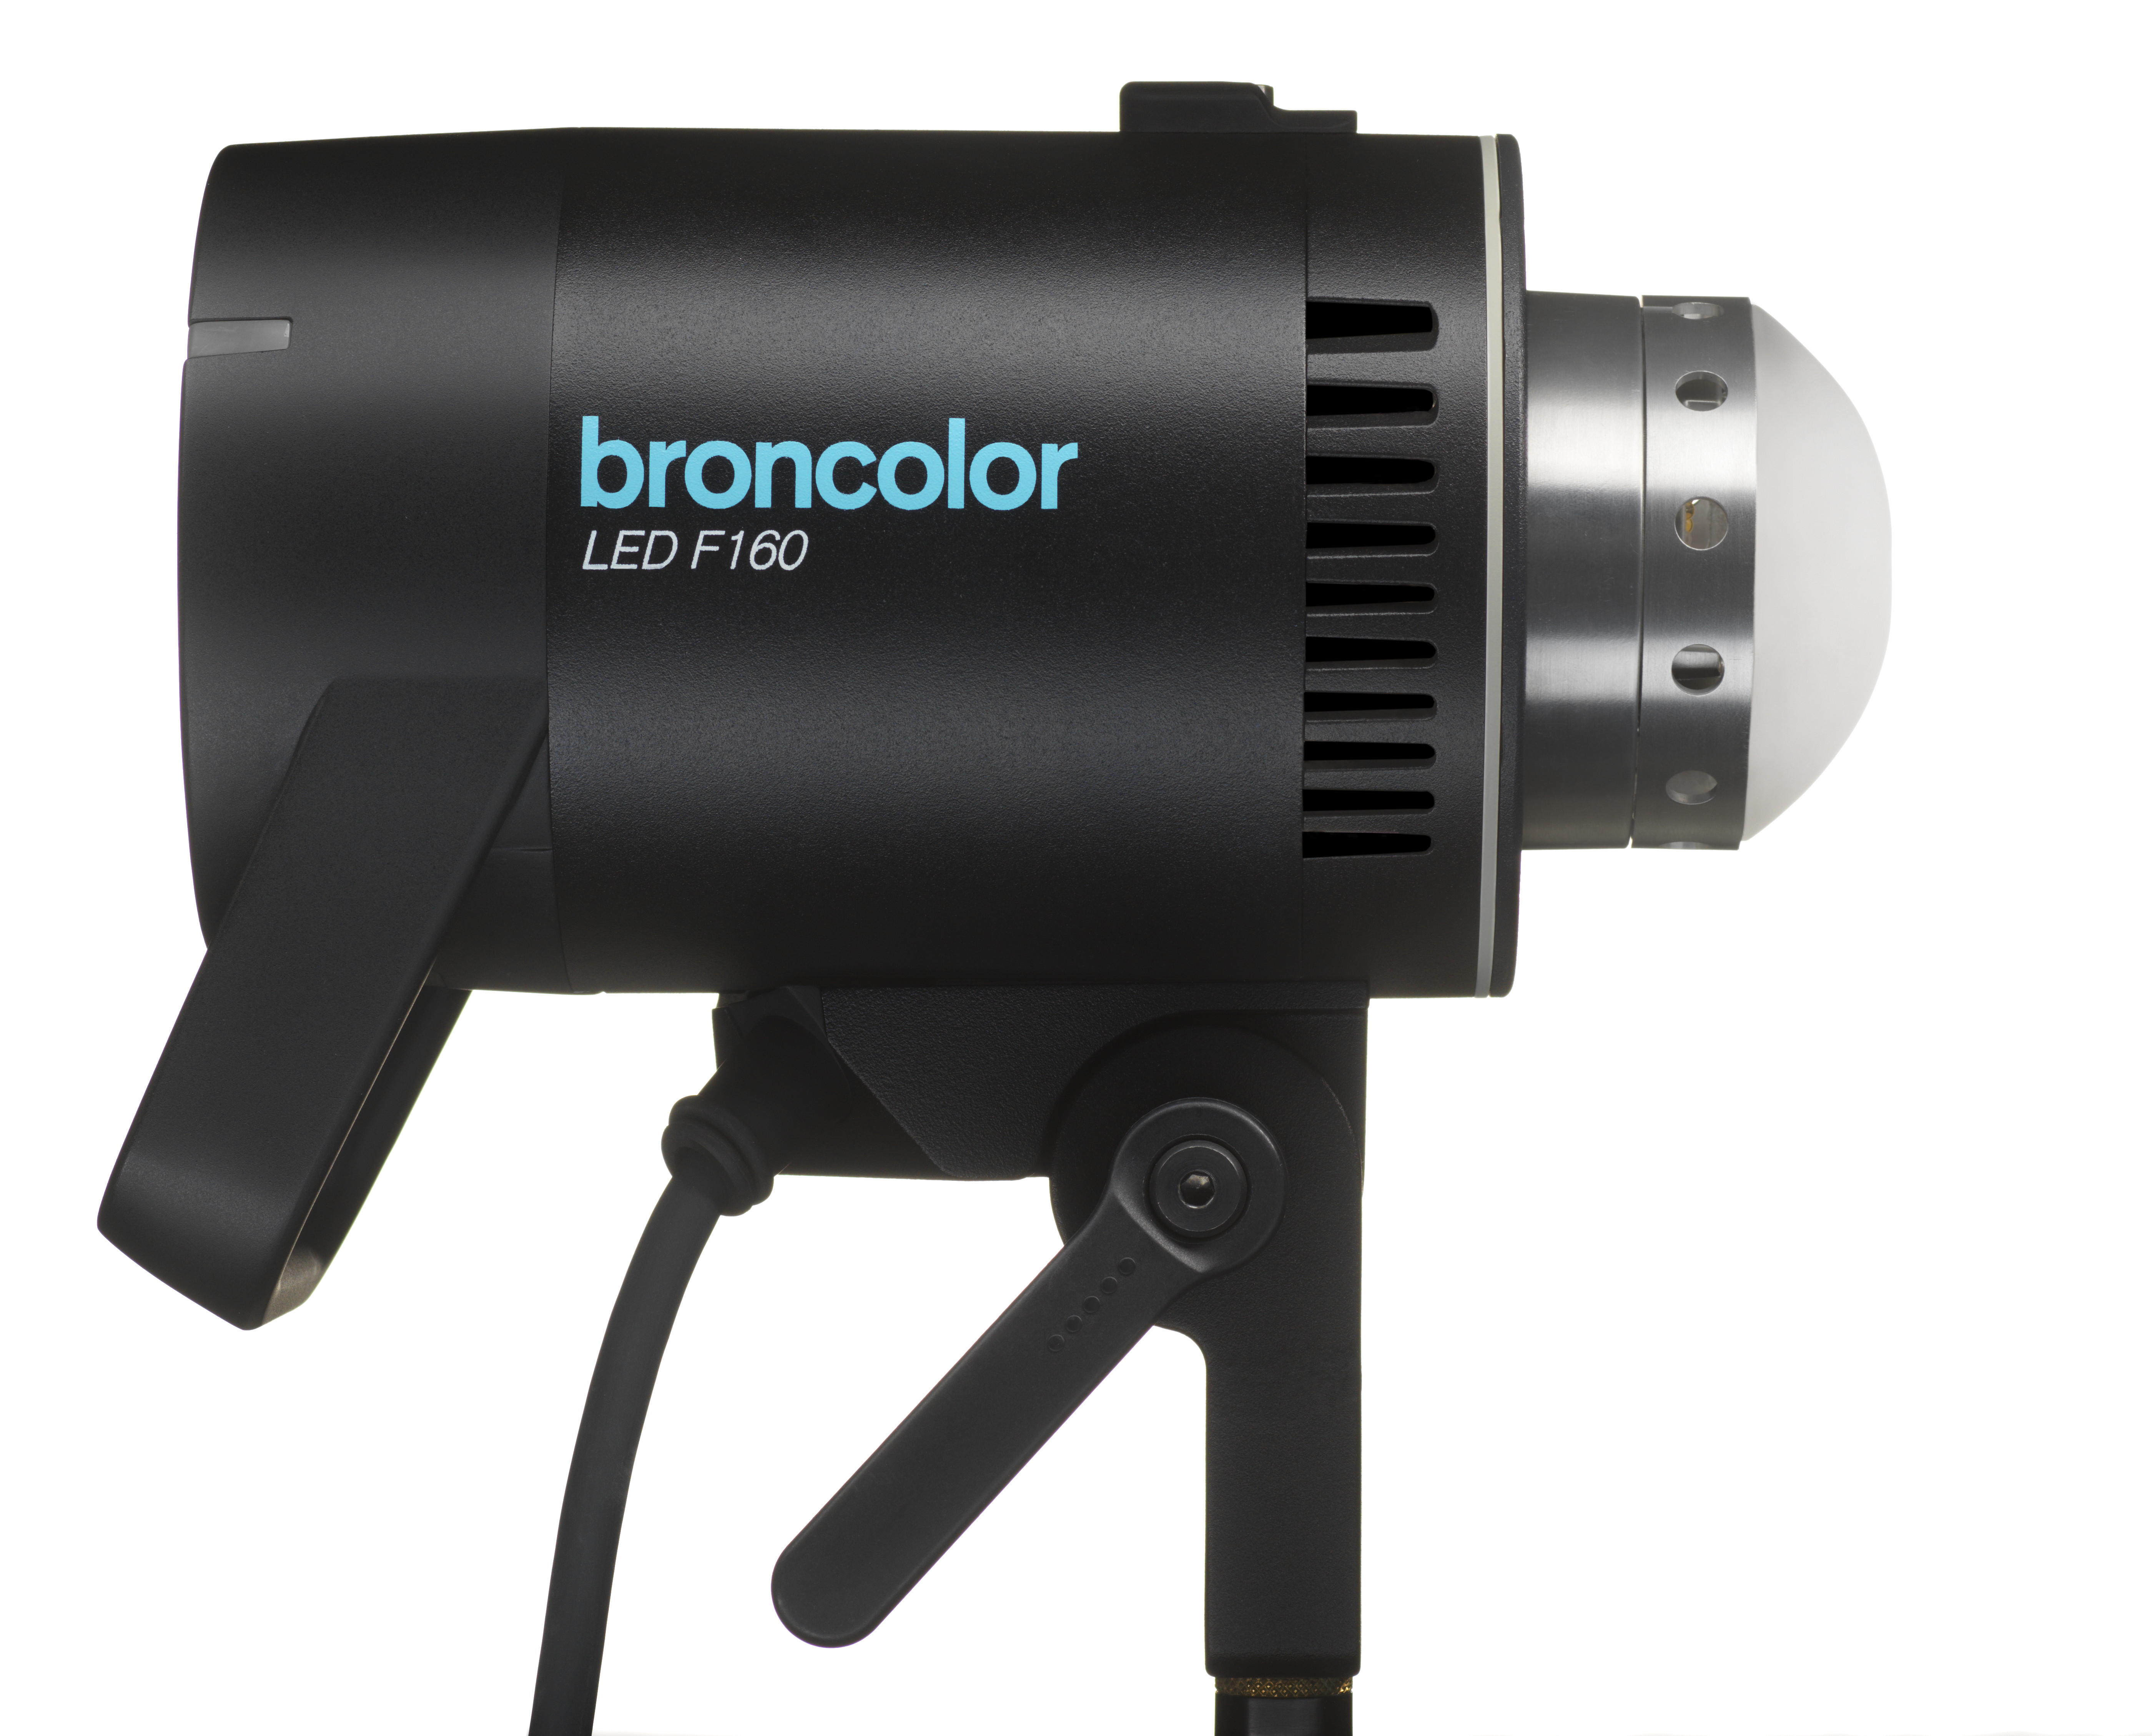 LED F160
-
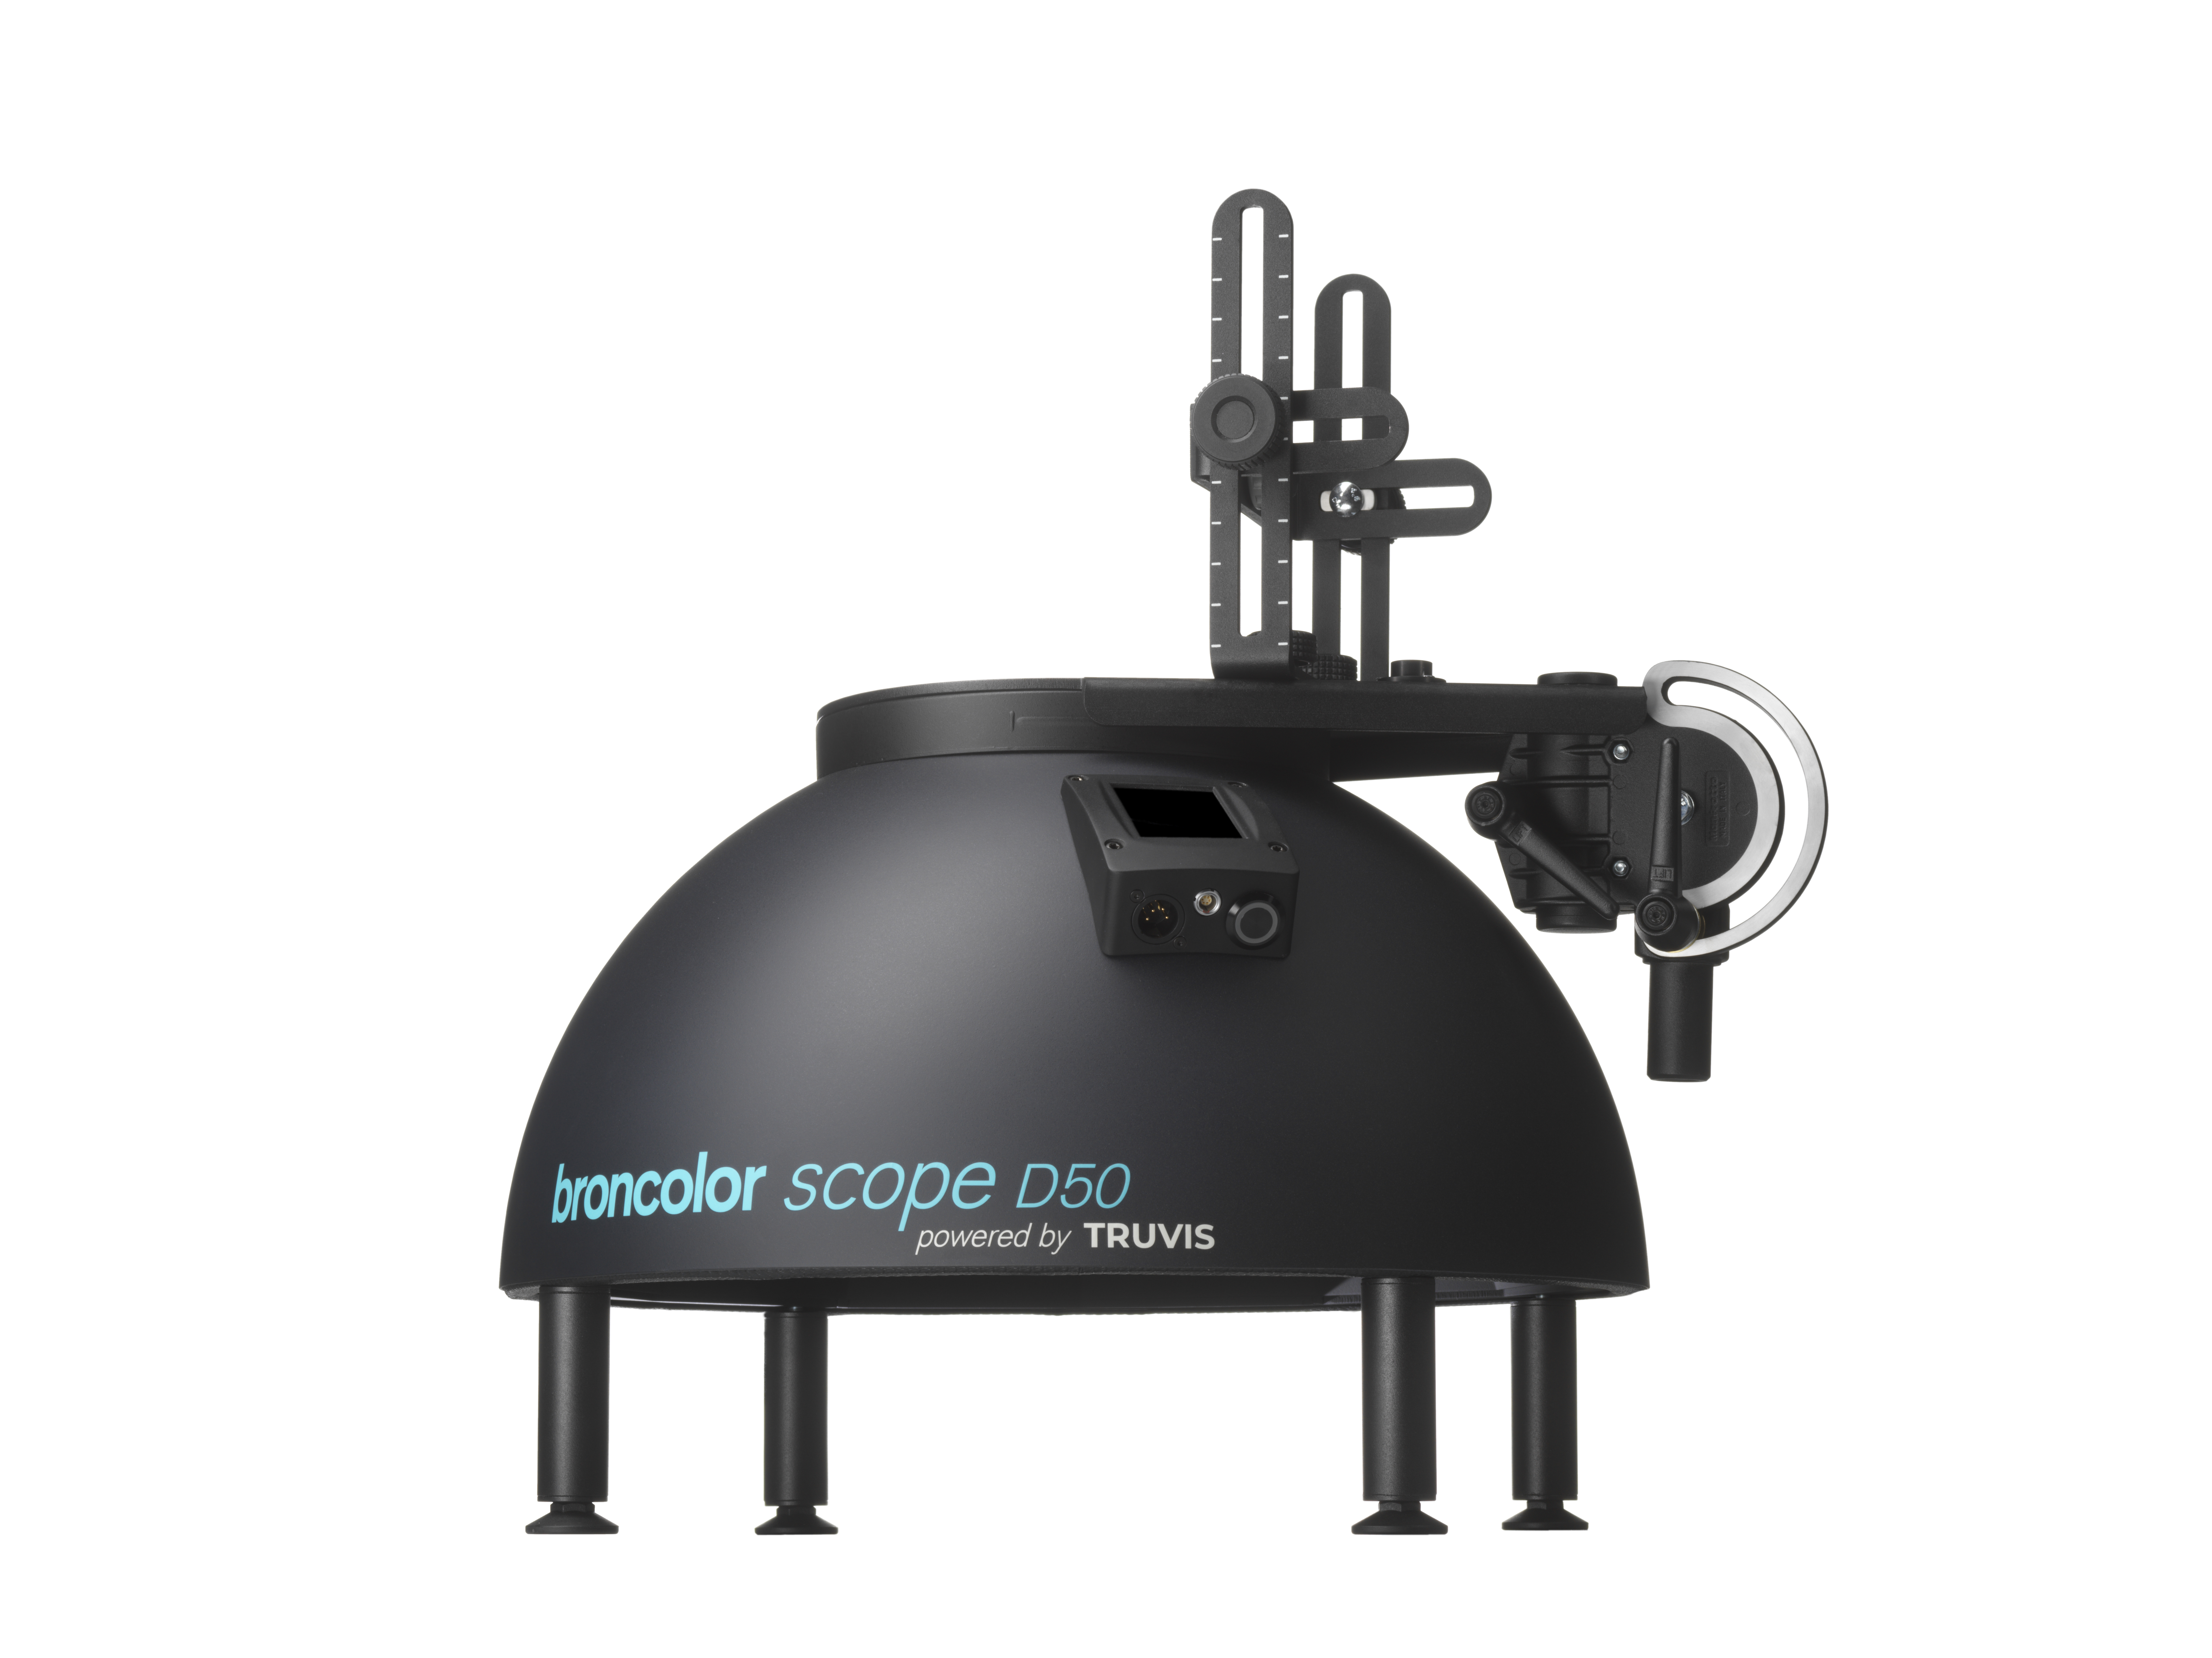 Scope D50
-
Compatibility (Lamp <-> light shaper | Lamp <-> power pack)
-
Locate your distributor or dealer
1) To enter the main menu, press the rotary controller.
2) Turn the rotary controller clockwise or anti-clockwise to reach the required menu item.
3) To confirm your selection, press the rotary controller again. The selected menu item starts to blink.
| Display | Options | Description |
| Speed | on off |
Controlling flash times |
| WiFi | on off sync |
WiFi settings |
| HS | on off |
Switches HS on or off |
| st / ch | 1 – 99 | Assignment of studio address / channels from 1 – 99 |
| lamp | 1 – 40 | Setting the lamp address / zone from 1 – 40 |
| seq | off 2-50 |
Selection of a certain number of flash releases from 2 – 50 |
| beep | on off |
Switches acoustic “ready” signal on or off |
| sync | rf ce all -- |
Selection of different methods of release. (radio “rf”, photocell “ce”, photocell and radio “all” or only sync cable “--”) |