Special functions - Siros S

-
Stelos 800 L
Stelos: Safety Instructions – read before use | Environment Stelos: Firmware update Stelos: User Interface | Controls | Functions | Handling Stelos: Technical Data Stelos: Remote control | Flash triggering Stelos: Power supply | Battery Stelos: Maintenance | Repair | Warranty Stelos: Accessories & Spare Parts Stelos: Error messages
-
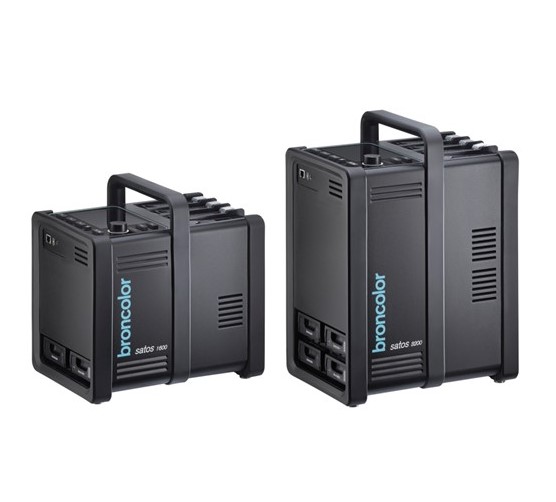
Satos
Satos: Safety Instructions – read before use | Environment Satos: Firmware update Satos Satos: User Interface | Controls | Functions | Handling Satos: Technical Data Satos: Remote control | Flash triggering Satos: Power supply | Battery Satos: Maintenance | Repair | Consumables | Spare parts | Guarantee Satos: Accessories Satos: Charging station for up to 4 slide-in batteries
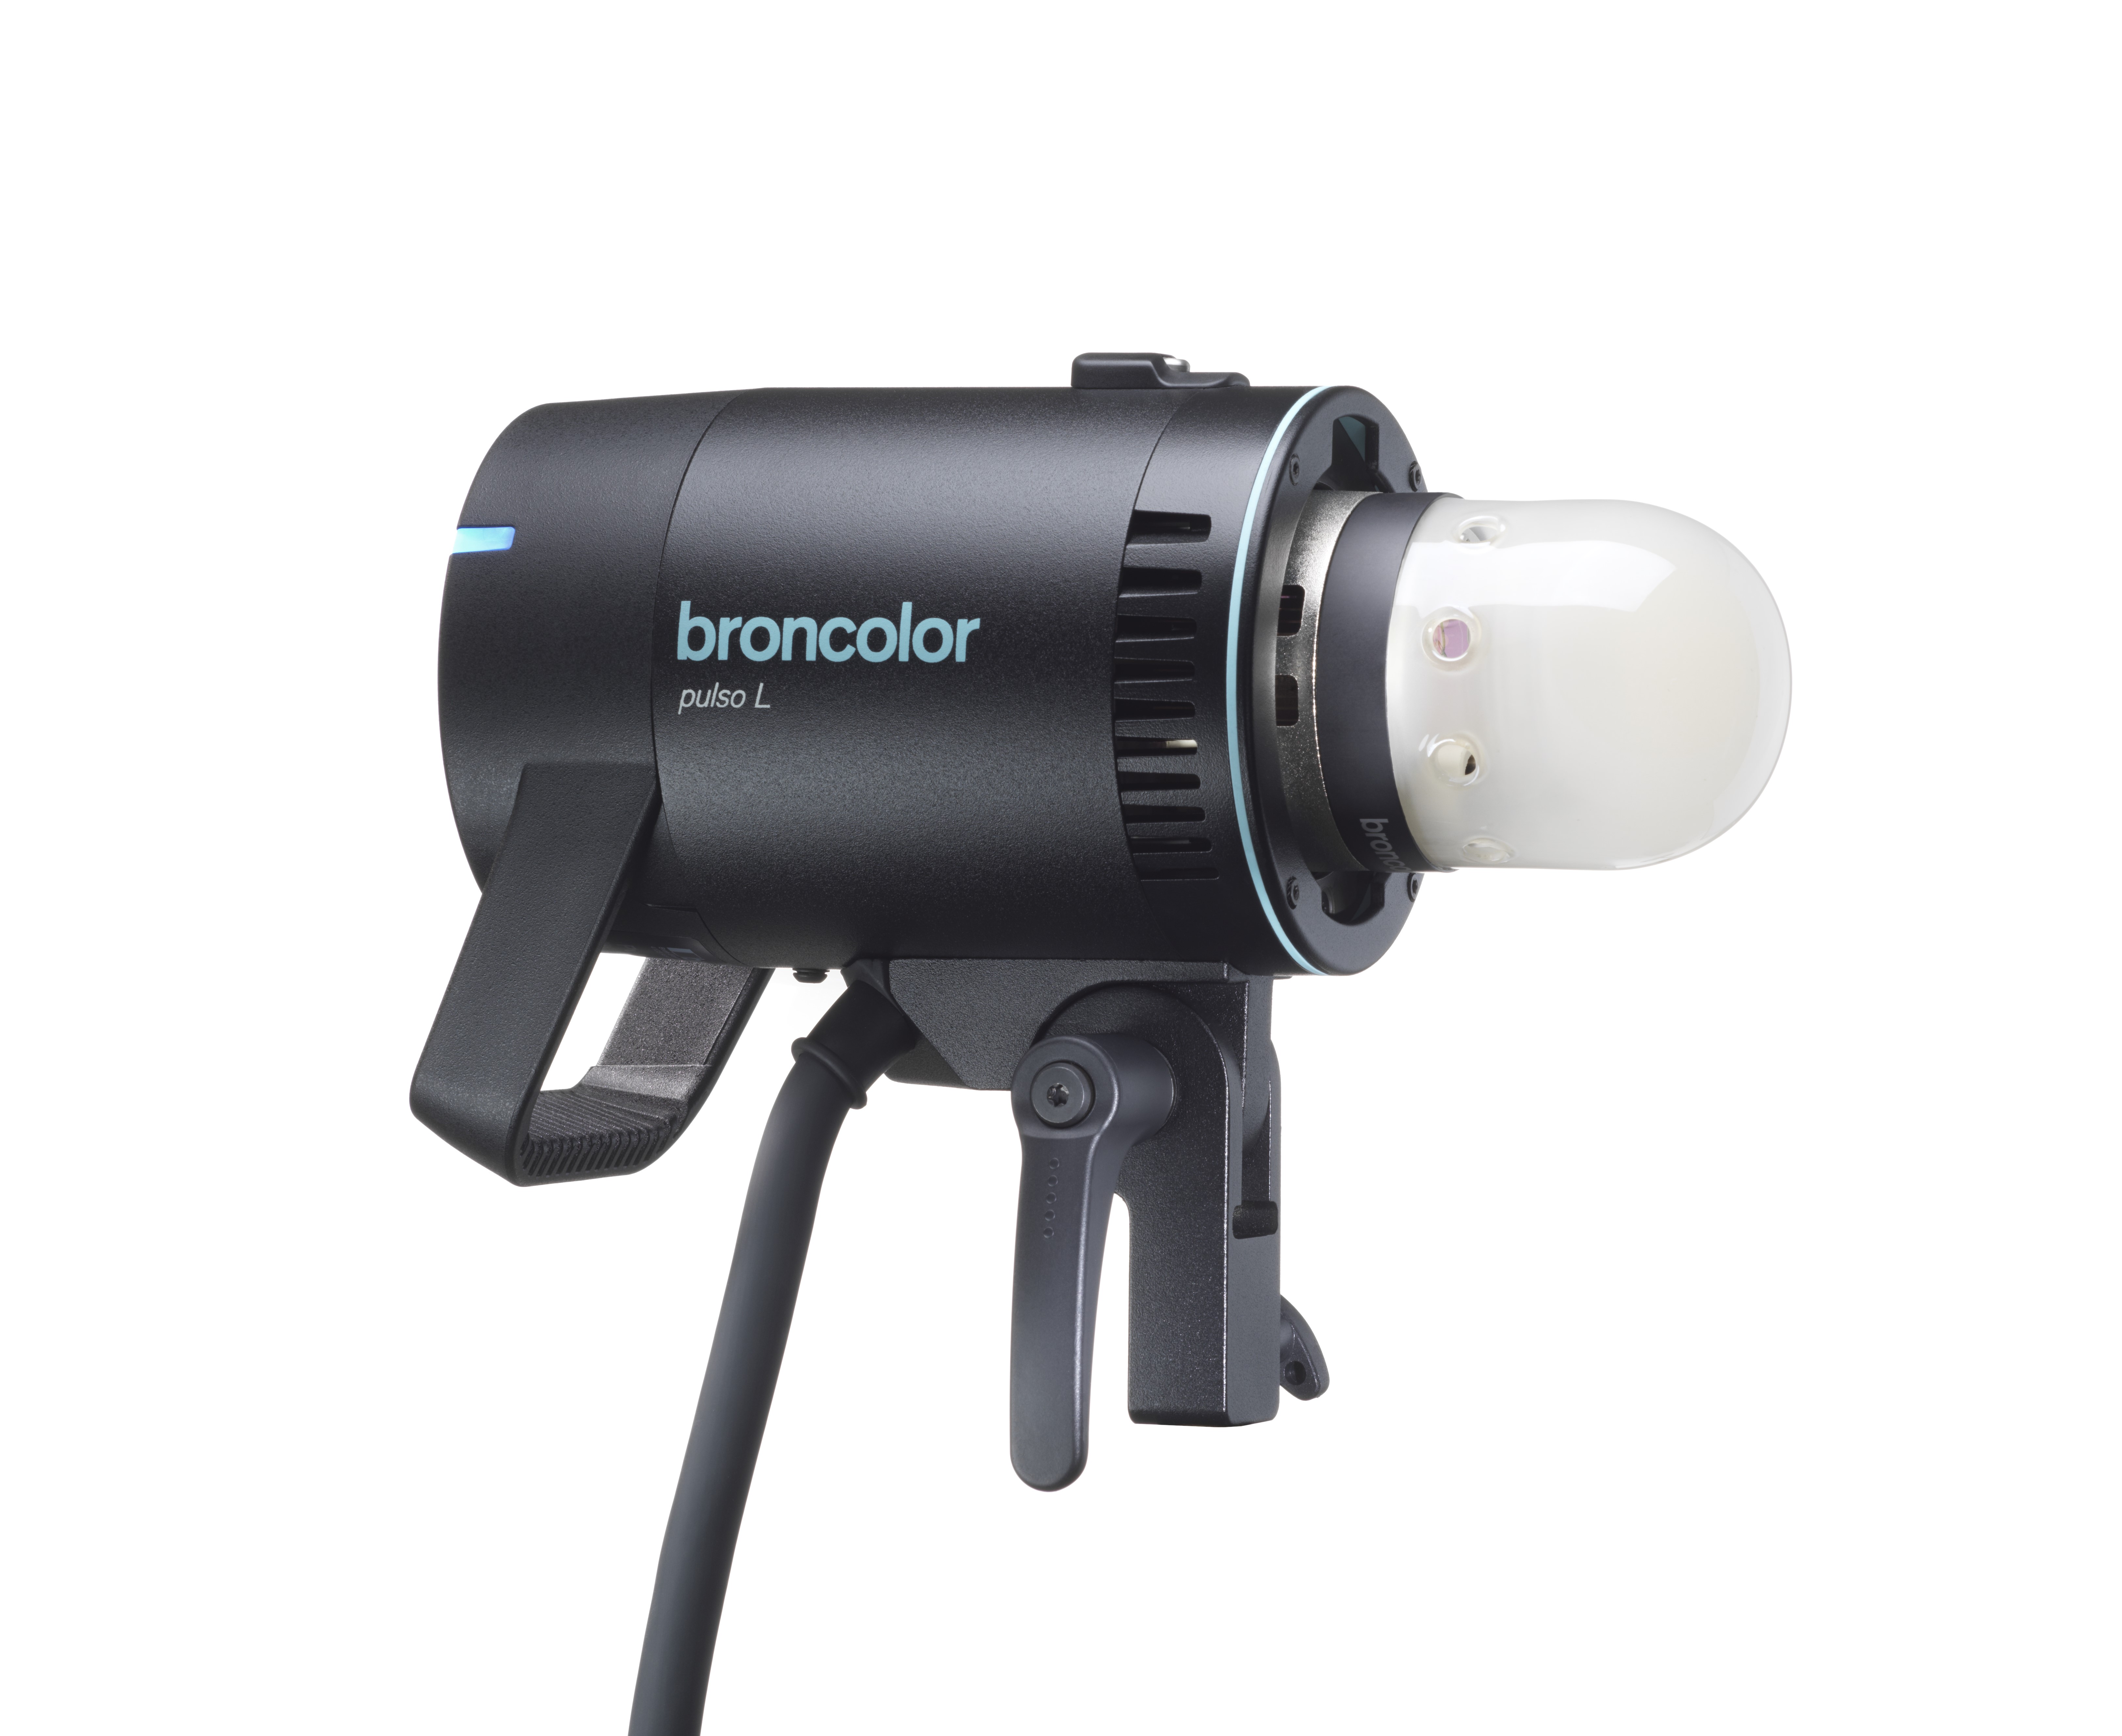
- Pulso L
-
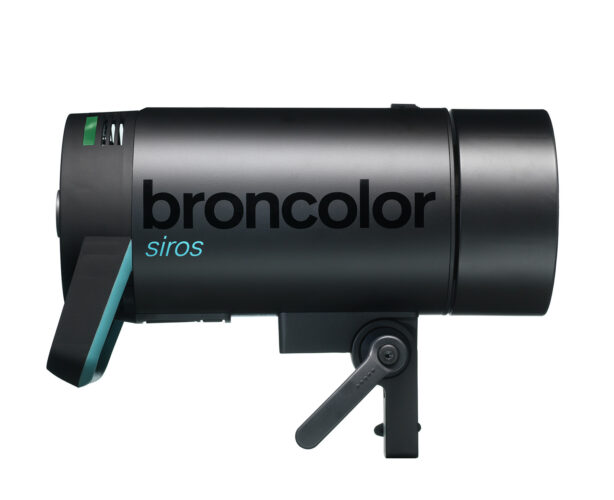
Siros S
Siros S: Safety Instructions – read before use | Environment Siros S: Firmware update Siros S: User Interface | Controls | Functions | Handling Siros S: Technical Data Siros S: Remote control | Flash triggering Siros S: Power supply Siros S: Maintenance | Repair | Consumables | Spare parts | Guarantee Siros S: Accessories
-
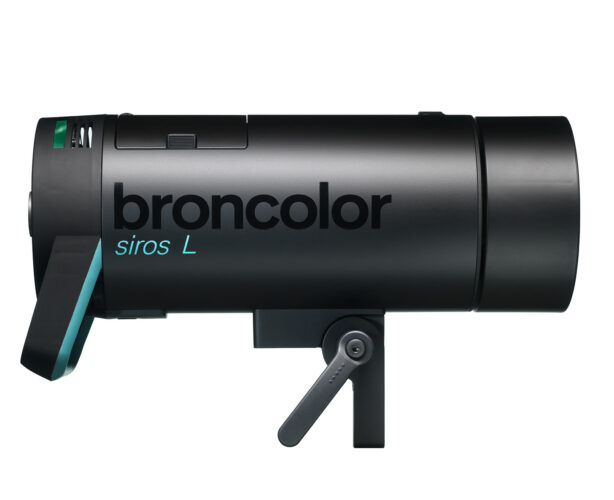
Siros L
Siros L: Safety Instructions – read before use | Environment Siros L: Firmware update Siros L Siros L: User Interface | Controls | Functions | Handling Siros L: Technical Data Siros L: Remote control | Flash triggering Siros L: Power supply | Battery Siros L: Maintenance | Repair | Consumables | Spare parts | Guarantee Siros L: Accessories
- Scoro E + S
- Move 1200 L
- RFS 2.1
- RFS 2.2
-
RFS 3
RFS 3: Safety Instructions – read before use | Environment RFS 3: Scope of delivery and operating elements RFS 3: User Interface | Controls | Functions | Handling RFS 3: Firmware Update RFS 3.0 RFS 3: Compatibility RFS 3: Technical Data RFS 3: Maintenance | Repair | Consumables | Spare parts | Guarantee RFS 3: Trouble shooting
- Pulso G, Unilite and Picolite
- LED F160
- Scope D50
- Compatibility (Lamp <-> light shaper | Lamp <-> power pack)
- Locate your distributor or dealer
-
 Stelos 800 L
-
 Satos
Satos
-
 Pulso L
-
 Siros S
-
 Siros L
-
 Scoro E + S
-
 Move 1200 L
-
 RFS 2.1
-
 RFS 2.2
-
 RFS 3
RFS 3
-
 Pulso G, Unilite and Picolite
-
 LED F160
-
 Scope D50
-
Compatibility (Lamp <-> light shaper | Lamp <-> power pack)
-
Locate your distributor or dealer
Reset (to factory settings)
Press the "test" key for 4 s. This resets all functions to the works settings. Resetting is acknowledged with a double beep.
"bronControl" app and WiFi settings
To control your Siros monolight, you can also download the "bronControl" app free of charge. To find the app, search for "bronControl" in Apple’s App Store, or in Google’s Play Store.
Operating modes
Operation in "private" mode (factory setting)
If the WiFi mode is activated on more than one monolight, these units all link up automatically with the same studio address to form a private network. A smartphone or tablet must then be connected to this network in order to control it. To use this, activate the WiFi function on your smartphone or tablet. Your device will then automatically search for available WiFi networks. Connect your smartphone or tablet to the appropriate Bron-Studio network. The connection password is: bronControl. Now start the "bronControl" app on your device. Add the appropriate studio number under "add new studio" and connect the app with this studio. For further instructions about operation, please use the help function "?" in the app.
Operation in "enterprise" mode
If there is an existing WiFi network (router), the unit can be integrated into this network using a smartphone or tablet. To achieve this, in the "bronControl" app, under settings, go to "Network Settings" and enter your router’s settings in "enterprise" mode. Make sure the units are set to the correct studio address. Siros saves the last type of connection and tries to connect to the last network the next time it starts.
Menu settings
on / off / sync (on / -- / sy)
| on | WiFi module is activated. The unit tries to connect to a network. |
| -- | WiFi module is deactivated. |
| sy | When "sy" is selected, the unit reverts to a "private" mode. This means that the unit looses its network setting and connects to the private network. |
WiFi display on unit
| Symbol | Description |
| Off | WiFi is not activated or there is no WiFi module installed |
| Blinking | WiFi is activated, but not connected to a network |
| Permanently on blue | WiFi is activated and connected to a Siros network (private) |
| Permanently on violet | WiFi is activated and connected to an existing network (enterprise) |
Cognition lights
When the various lamp channels are selected (zones), the cognition light on the top surface of the unit changes colour. The purpose of this is to differentiate between individual units when they are controlled by the "bronControl" app. The light on the unit changes colour when the app is activated on a smartphone or tablet or when the rotary controller on the unit is pressed; it changes back to
blue on leaving the menu.
The lamp channel colours are as follows:
Lamp channel 1 blue
Lamp channel 2 green
Lamp channel 3 violet
Lamp channel 4 yellow
Lamp channel 5 turquoise
From lamp channel 6, the colours repeat in the same order (starting with blue).