Device Operation (RFS 3)

-
Stelos 800 L
Stelos: Safety Instructions – read before use | Environment Stelos: Firmware update Stelos: User Interface | Controls | Functions | Handling Stelos: Technical Data Stelos: Remote control | Flash triggering Stelos: Power supply | Battery Stelos: Maintenance | Repair | Warranty Stelos: Accessories & Spare Parts Stelos: Error messages
-
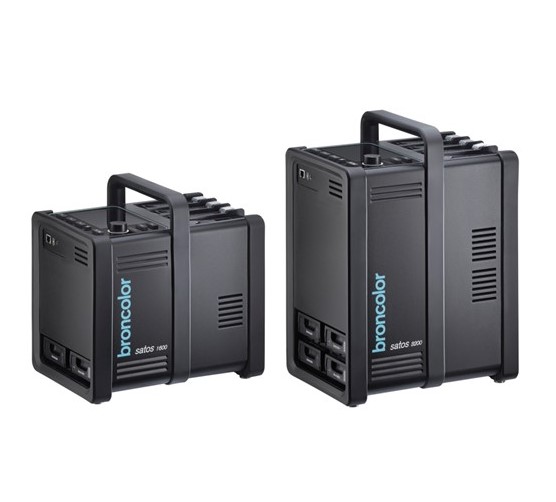
Satos
Satos: Safety Instructions – read before use | Environment Satos: Firmware update Satos Satos: User Interface | Controls | Functions | Handling Satos: Technical Data Satos: Remote control | Flash triggering Satos: Power supply | Battery Satos: Maintenance | Repair | Consumables | Spare parts | Guarantee Satos: Accessories Satos: Charging station for up to 4 slide-in batteries
- Pulso L
-
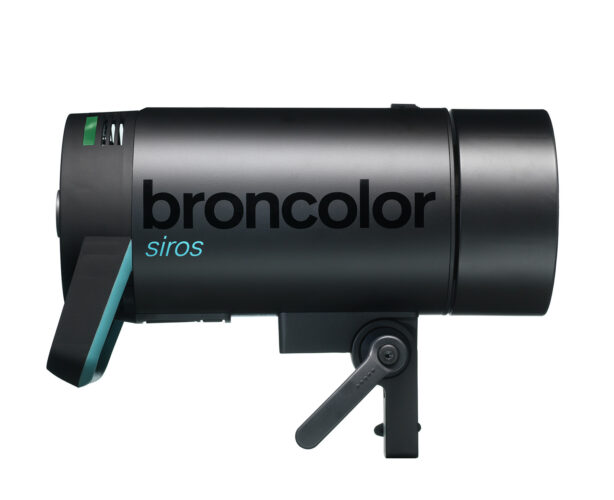
Siros S
Siros S: Safety Instructions – read before use | Environment Siros S: Firmware update Siros S: User Interface | Controls | Functions | Handling Siros S: Technical Data Siros S: Remote control | Flash triggering Siros S: Power supply Siros S: Maintenance | Repair | Consumables | Spare parts | Guarantee Siros S: Accessories
-
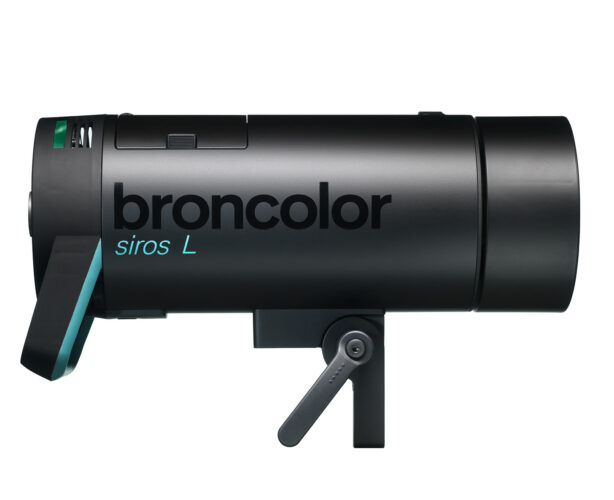
Siros L
Siros L: Safety Instructions – read before use | Environment Siros L: Firmware update Siros L Siros L: User Interface | Controls | Functions | Handling Siros L: Technical Data Siros L: Remote control | Flash triggering Siros L: Power supply | Battery Siros L: Maintenance | Repair | Consumables | Spare parts | Guarantee Siros L: Accessories
- Scoro E + S
- Move 1200 L
- RFS 2.1
- RFS 2.2
-
RFS 3
RFS 3: Safety Instructions – read before use | Environment RFS 3: Scope of delivery and operating elements RFS 3: User Interface | Controls | Functions | Handling RFS 3: Firmware Update RFS 3.0 RFS 3: Compatibility RFS 3: Technical Data RFS 3: Maintenance | Repair | Consumables | Spare parts | Guarantee RFS 3: Trouble shooting
- Pulso G, Unilite and Picolite
- LED F160
- Scope D50
- Compatibility (Lamp <-> light shaper | Lamp <-> power pack)
- Locate your distributor or dealer
-
 Stelos 800 L
-
 Satos
Satos
-
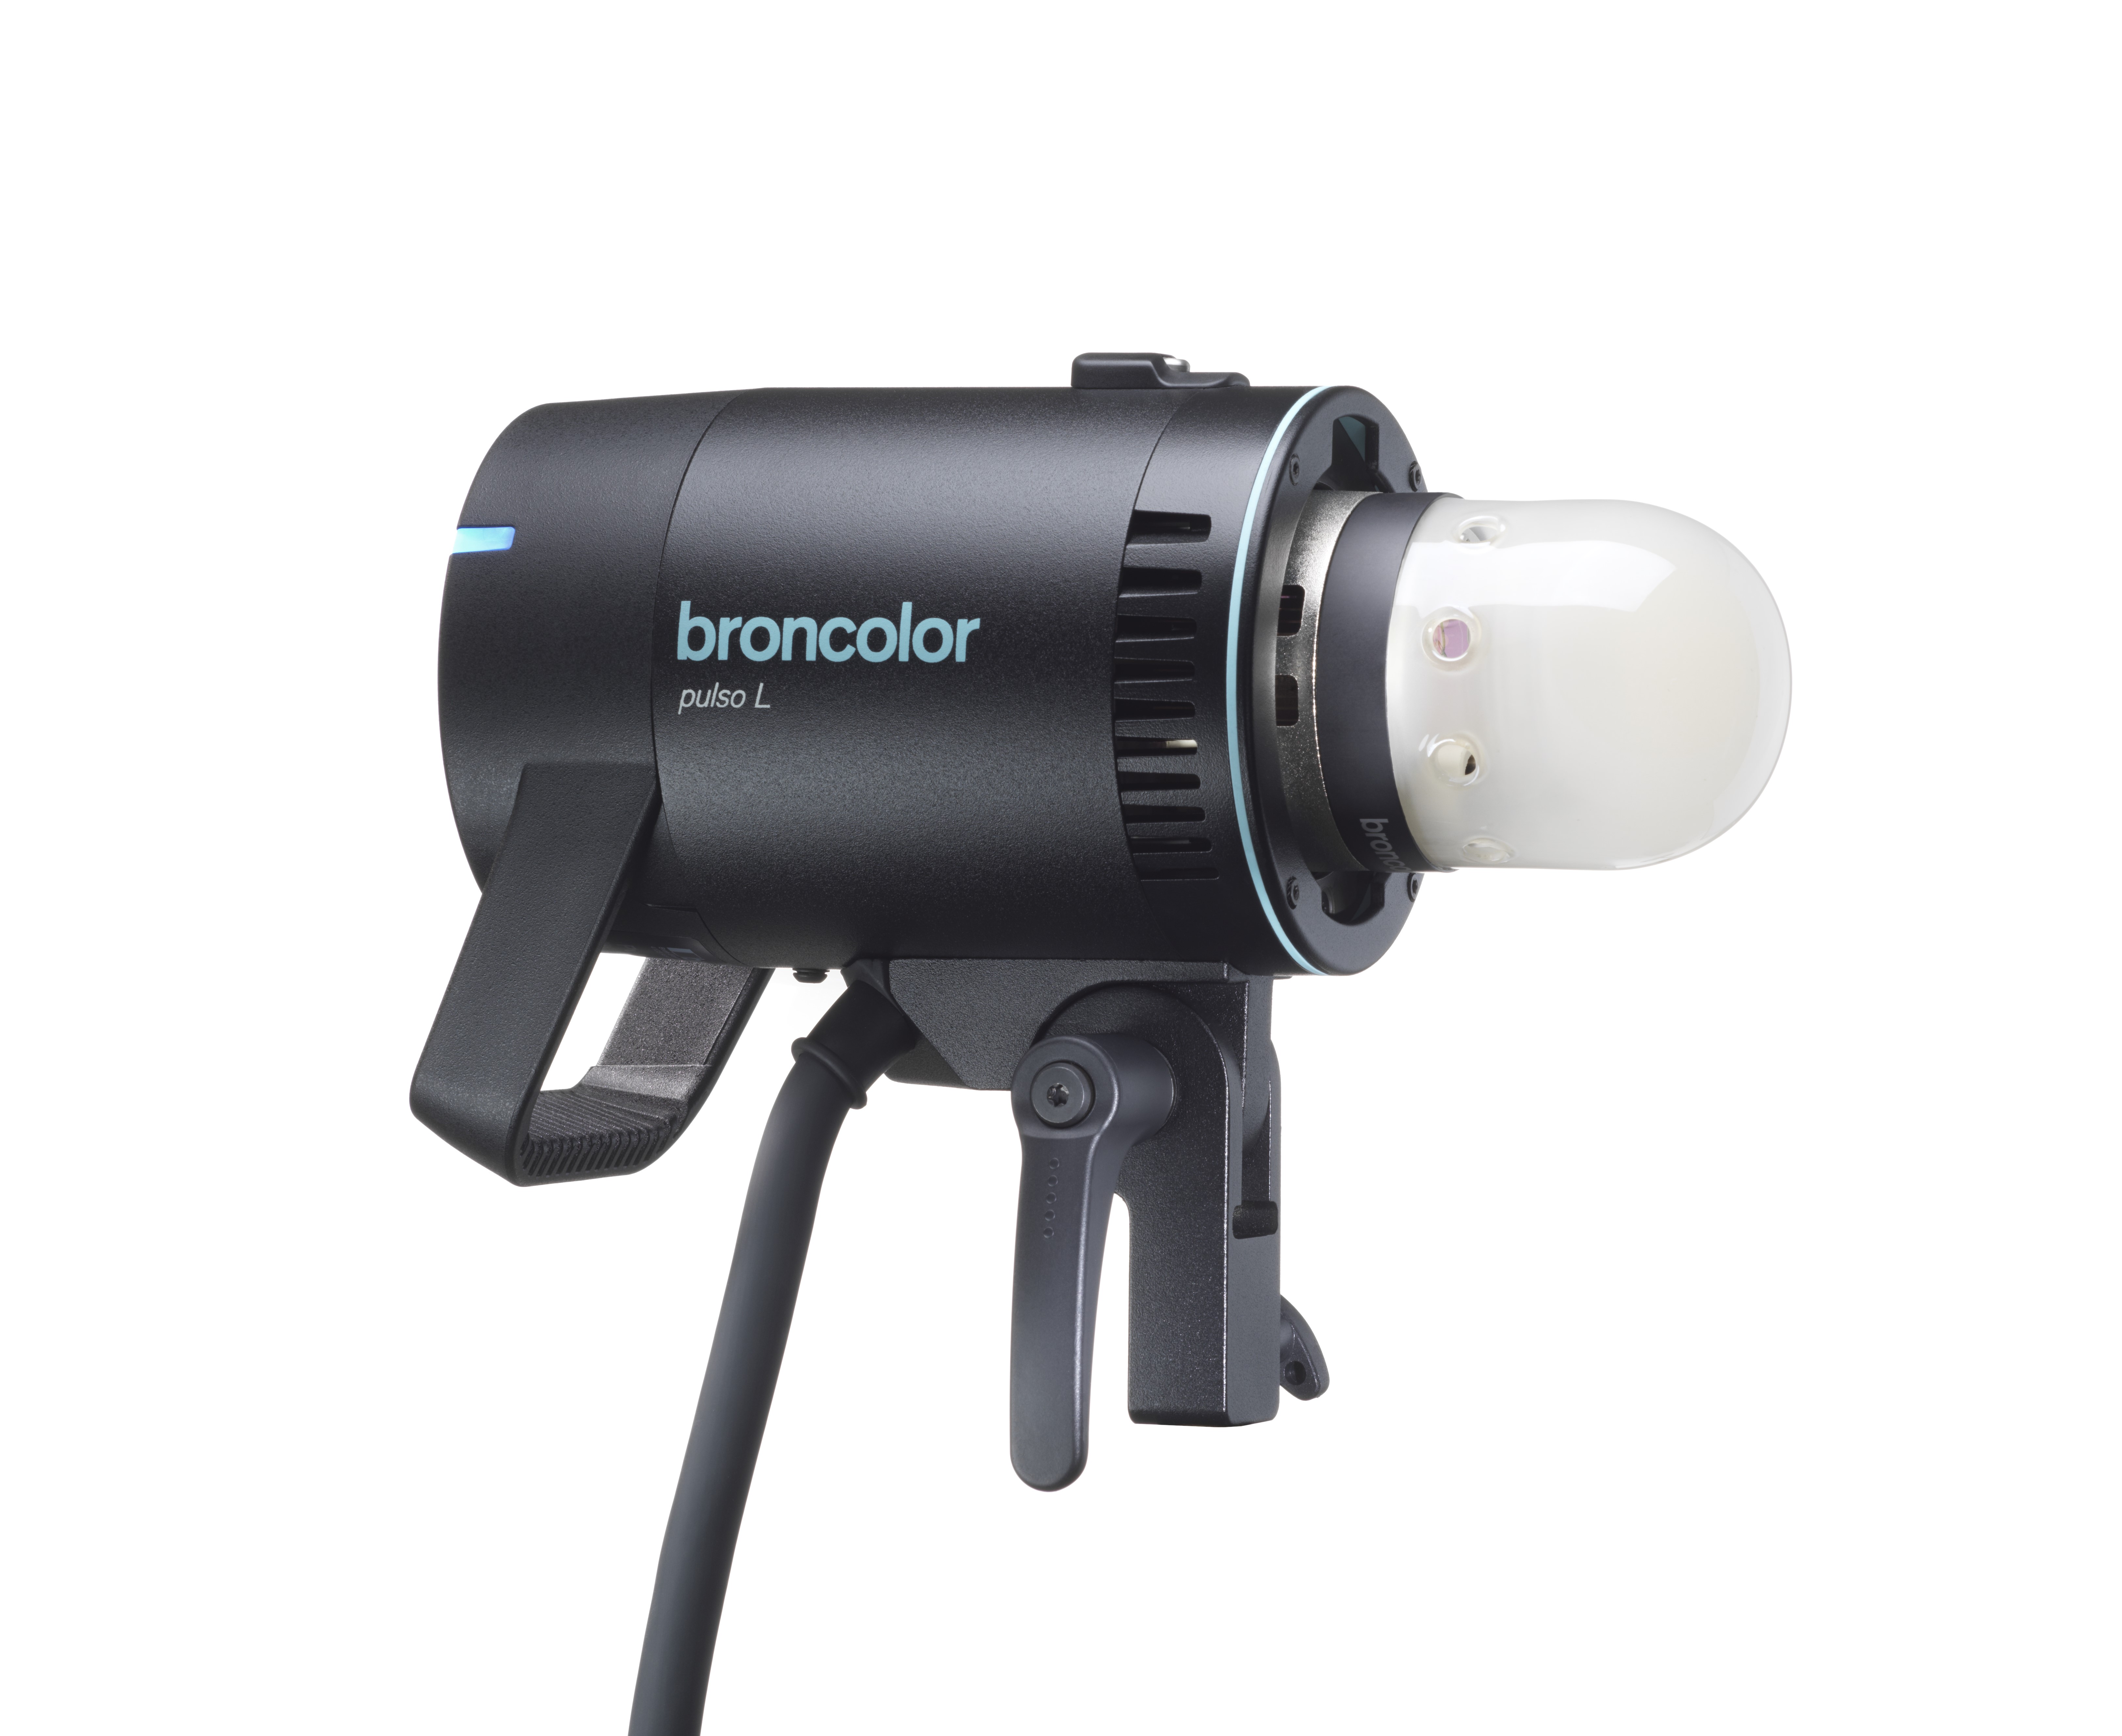 Pulso L
-
 Siros S
-
 Siros L
-
 Scoro E + S
-
 Move 1200 L
-
 RFS 2.1
-
 RFS 2.2
-
 RFS 3
RFS 3
-
 Pulso G, Unilite and Picolite
-
 LED F160
-
 Scope D50
-
Compatibility (Lamp <-> light shaper | Lamp <-> power pack)
-
Locate your distributor or dealer
General operation
You can either operate the device by touch or by the select dial  .
.
Switching on or off the RFS 3 device
Long press (approx. 2 seconds) on this button:
Home Screen

- Pictogram for studio address (channel number); has to be set identically on the RFS 3 and the flash device
- Pictogram for HS function or HSS (high-speed-sync)
- Pictogram for modelling light; the left graphic is showing the modelling light switched on; the right graphic is showing the modelling light switched off
-
Battery indicator (three segments)

- Individual lamp address area (‘groups’)
- “Master” (controlling all individual light addresses simultaneously)
- By scrolling down, the pictogram for adding or deleting individual light addresses becomes visible. Press on it or use the select dial to enter this submenu.

You can add up to 40 individual lamp addresses (‘groups’), scroll up or down, press on the respective number.
How to adjust the flash energy?

Option 1:
Tap on the ‘+’ (increase) or ‘-‘ (decrease) as often as needed. Each short tap equals a ‘0.1’ step.
A long press on the ‘+’ or ‘-‘ equals a full stop (1.0).

Option 2:

Use the select dial to navigate to the respective lamp address.
In the above example, the blue focus frame is on address number 1. Turn the wheel in 0.1-steps until you have reached the desired value. Then, short press on the select dial. The command will then be sent to the broncolor flash device(s) and the positive or negative value disappears.
How to access the list of submenus, the global modelling light button or the screen lock button?

Options:
- On the home screen, swipe downwards with your finger
or
2. Short press on this button:
- The global modelling light button switches on or off the modelling light of all active groups (light addresses)
switched off: 

switched on: 

- Short press on this pictogram will immediately lock the screen of the RFS 3. A 2 seconds long press will unlock the screen of the RFS 3.
- Touch this pictogram in order to return to the home screen.
- Touch this pictogram to show the list of submenu entries.
How to close a submenu window or how to go back one level?

Options:
- Touch the small white bar and always drag it to the opposite side of the screen. This principle works vertically or horizontally depending on the submenu.
- Short press on this button
 , depending on the depth of the submenu two button presses may be necessary to return to the home screen.
The submenu entries:
Studio submenu


Choose a number between 1 and 99. This number must also be set on the broncolor flash device.
Press on “select”.
The synchronisation process is completed after a few seconds.
Helpful tips
Switch to an alternative studio address if you experience unwanted flash triggering orradio interference*.
The same studio address on several broncolor flash devices (and on the RFS radio transmitter) ensures that they would all respond to the radio transmitter's commands.
*In case of problems and undefined disturbances of the broncolor RFS unit operation, a strong frequency irradiation may interfere with the radio communication between the units. In this case, you should find a better location for your equipment to avoid any potential frequency interference from baby monitors, video bridges, microwaves, DECT cordless phones, WLAN or Bluetooth devices, or use an alternate studio channel.
SYNC submenu


The left graphic shows HS / HSS switched on.
The right graphic shows HS / HSS switched off.
Note on the RFS 3 L (Leica):
The sync mode cannot be set on the RFS 3 L, but instead it can be set on the camera to control the high-speed-sync / rear-curtain sync / front-curtain sync.
The following settings are based on the Leica M10 as an example.
1. Set high-speed sync:
If the selected or calculated shutter speed of the Leica M10 is faster than the sync speed 1/180s, the camera automatically activates the high-speed sync mode.
2. Set rear-curtain sync:
Go to main menu→ select flash settings in the main menu→ select the flash trigger time→ select end of exposure.
3. Set front-curtain sync:
Go to the main menu→ select flash settings in the main menu → select the flash trigger time→ select start of exposure
Note on the RFS 3 F (Fuji):
1. High-speed sync: Set the SYNC of flash in the camera as “FP”, then set the camera shutter.
2. Front curtain sync: Set the SYNC of flash in the camera as FRONT, then set the camera shutter.
3. Rear curtain sync: Set the SYNC of flash in the camera as REAR, then set the camera shutter.
Auto off submenu


Option 1 Switch off the “auto off” function, i.e. your RFS 3 device will stay on as long as its battery lasts.
Option 2 After 30 minutes without any interaction with the device, the RFS 3 will automatically switch off in order to save battery life.
Option 3 After 60 minutes without any interaction with the device, the RFS 3 will automatically switch off in order to save battery life.
Option 4 After 90 minutes without any interaction with the device, the RFS 3 will automatically switch off in order to save battery life.
Screen submenu


You can adjust the display brightness continuously using the upper slider.
By means of the time value you can make the display dim down to save battery life:
- after 15 seconds
- after 30 seconds
- after 1 minute
- after 2 minutes
- after 3 minutes.
Language submenu


The following languages are available:
- English
- Chinese simplified
- German
- French
- Italian
- Japanese
- Korean
- Polish
- Spanish
Reset submenu


‘Cancel’ will leave the menu.
‘Apply’ will load the factory settings.
Device info submenu


Here, you can read the current firmware version.