LCD display and menu system (Scoro E & S)

-
Stelos 800 L
Stelos: Safety Instructions – read before use | Environment Stelos: Firmware update Stelos: User Interface | Controls | Functions | Handling Stelos: Technical Data Stelos: Remote control | Flash triggering Stelos: Power supply | Battery Stelos: Maintenance | Repair | Warranty Stelos: Accessories & Spare Parts Stelos: Error messages
-
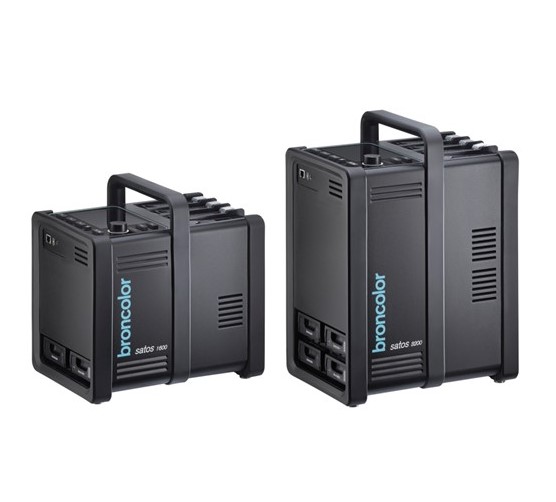
Satos
Satos: Safety Instructions – read before use | Environment Satos: Firmware update Satos Satos: User Interface | Controls | Functions | Handling Satos: Technical Data Satos: Remote control | Flash triggering Satos: Power supply | Battery Satos: Maintenance | Repair | Consumables | Spare parts | Guarantee Satos: Accessories Satos: Charging station for up to 4 slide-in batteries
- Pulso L
-
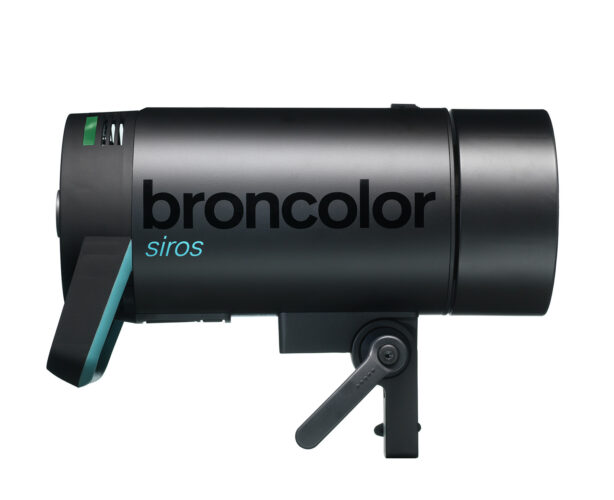
Siros S
Siros S: Safety Instructions – read before use | Environment Siros S: Firmware update Siros S: User Interface | Controls | Functions | Handling Siros S: Technical Data Siros S: Remote control | Flash triggering Siros S: Power supply Siros S: Maintenance | Repair | Consumables | Spare parts | Guarantee Siros S: Accessories
-
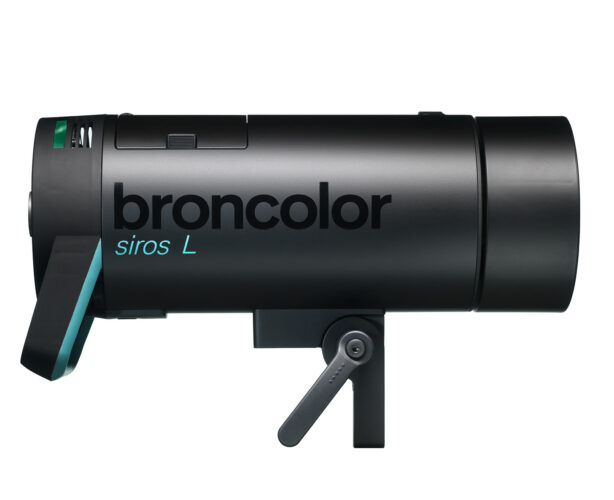
Siros L
Siros L: Safety Instructions – read before use | Environment Siros L: Firmware update Siros L Siros L: User Interface | Controls | Functions | Handling Siros L: Technical Data Siros L: Remote control | Flash triggering Siros L: Power supply | Battery Siros L: Maintenance | Repair | Consumables | Spare parts | Guarantee Siros L: Accessories
- Scoro E + S
- Move 1200 L
- RFS 2.1
- RFS 2.2
-
RFS 3
RFS 3: Safety Instructions – read before use | Environment RFS 3: Scope of delivery and operating elements RFS 3: User Interface | Controls | Functions | Handling RFS 3: Firmware Update RFS 3.0 RFS 3: Compatibility RFS 3: Technical Data RFS 3: Maintenance | Repair | Consumables | Spare parts | Guarantee RFS 3: Trouble shooting
- Pulso G, Unilite and Picolite
- LED F160
- Scope D50
- Compatibility (Lamp <-> light shaper | Lamp <-> power pack)
- Locate your distributor or dealer
-
 Stelos 800 L
-
 Satos
Satos
-
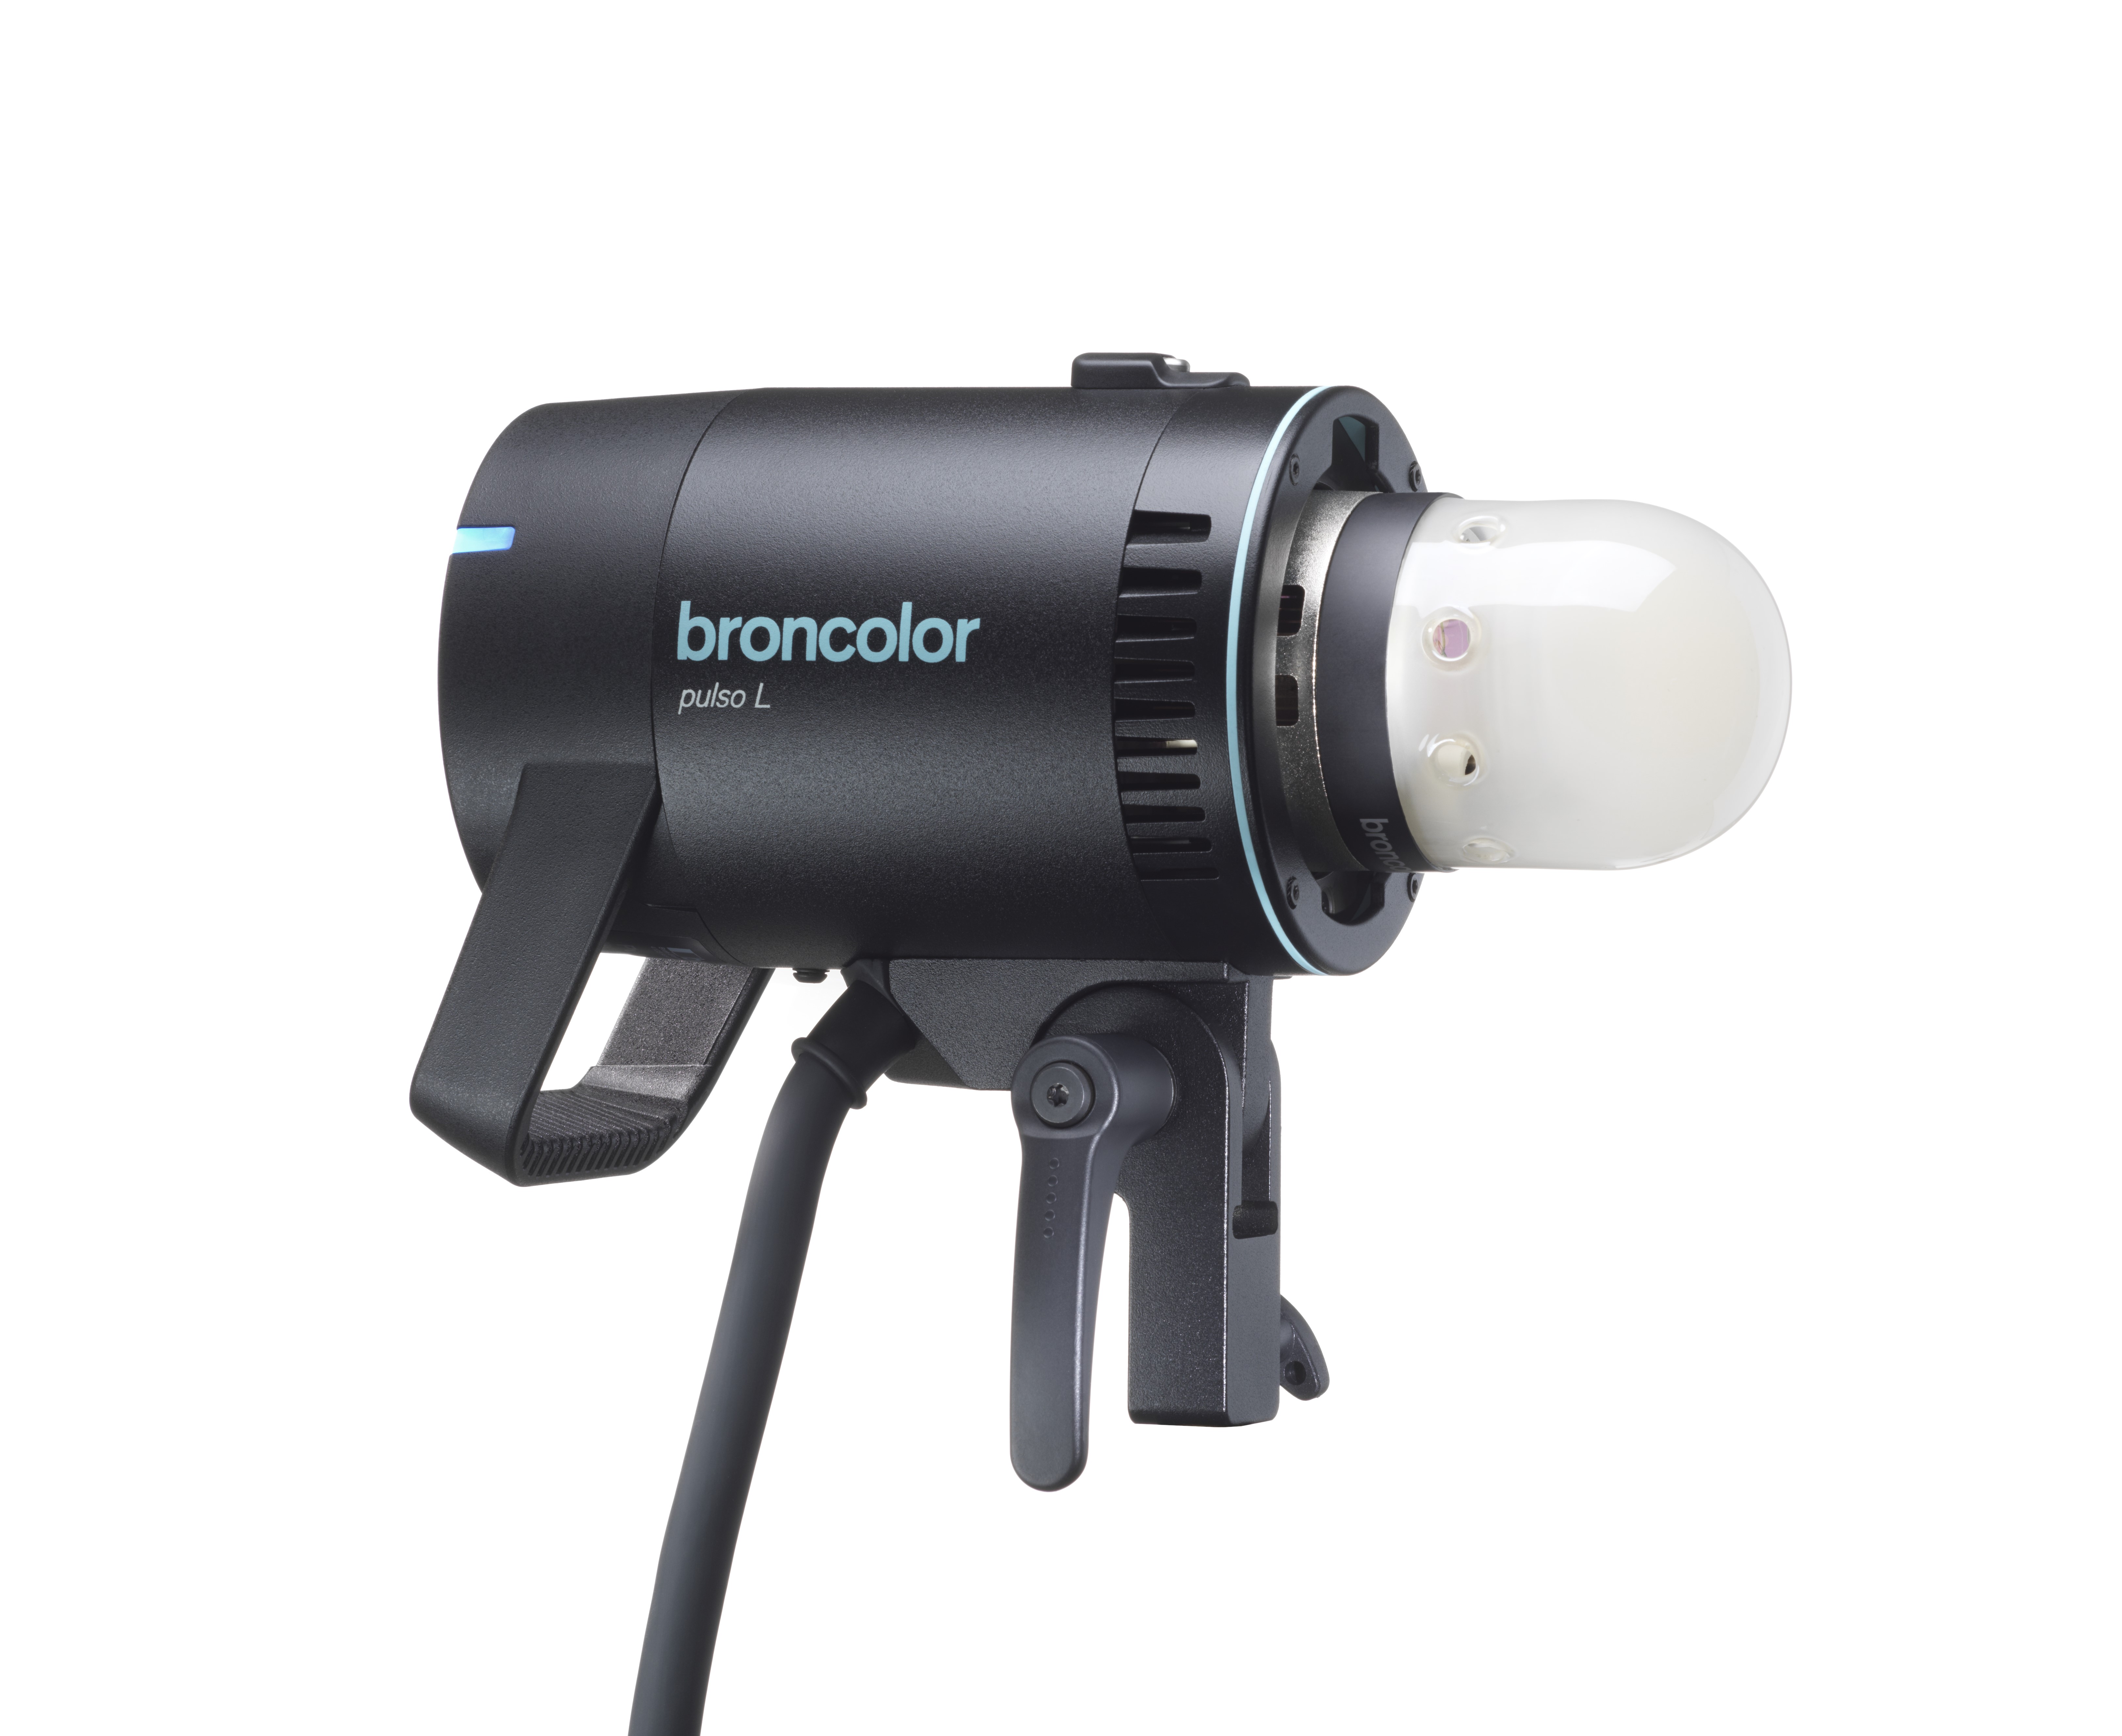 Pulso L
-
 Siros S
-
 Siros L
-
 Scoro E + S
-
 Move 1200 L
-
 RFS 2.1
-
 RFS 2.2
-
 RFS 3
RFS 3
-
 Pulso G, Unilite and Picolite
-
 LED F160
-
 Scope D50
-
Compatibility (Lamp <-> light shaper | Lamp <-> power pack)
-
Locate your distributor or dealer
The LCD display presents an absolute innovation. It has never been so easy to activate that many settings with so few keys. The display is a significant tool, and therefore it is important that, firstly, you become well acquainted with the structure of the menu system.
The brightness of the user interface can be automatically or manually dimmed dependent on the ambient light. See LCD setting function “Brightness display”.

LCD display menu system
Directly after switching on the unit a start display appears for approximately 5 s with information
about the unit and the owner. Afterwards the unit changes automatically to the normal operating mode. By default, the flash duration (t 01) is shown permanently. In addition, depending on whether the flash duration or the colour temperature have been altered, the display will adjust
and the current value will be indicated.
When delay (dly), sequence (seq), interval (int), alternate (alt) are activated as well as the studio and unit address (if desired), the corresponding functions will be shown on the main page. The functions shown in the display give an overview of the most important activated additional functions
of the power pack.
The main menu is called up with the key "menu" (22). At the same time, at the bottom edge of the
display, a user guide appears, showing the selection keys (21 & 22) each with their supplementary
functions (" /
/ ", "+/-", "select", "cancel", "quit", "help"). To return to normal mode, press the key
"menu" (22). Each set value is displayed in a box at the top of the LCD.
The desired unit functions are selected with the keys "/" and confirmed with the key "select".
The selected function is visually highlighted with a bar. After selecting the desired function, one reaches the second level. There, the options are visiblewithin the chosen function, which can then be selected with the keys "/", or "-/+". The previously stored setting is always indicated in a box at the top line. The function on which the cursor is currently positioned is marked with a bar. The new setting will only be set after the “select” key has been pressed again. The key "quit" or menu (22) leads back to the respective higher level. Therefore, it is also possible to quit the submenu without storing a new setting.

Auxiliary function
The key "help" activates an info-text for the respective setting. A practical short description of the
addressed functions is stored there. To return to the main menu press the key "menu" (22).
