Modelling light (Scoro E & S)

-
Stelos 800 L
Stelos: Safety Instructions – read before use | Environment Stelos: Firmware update Stelos: User Interface | Controls | Functions | Handling Stelos: Technical Data Stelos: Remote control | Flash triggering Stelos: Power supply | Battery Stelos: Maintenance | Repair | Warranty Stelos: Accessories & Spare Parts Stelos: Error messages
-
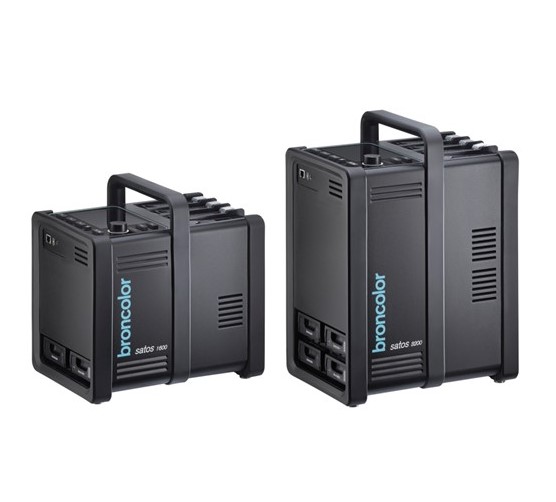
Satos
Satos: Safety Instructions – read before use | Environment Satos: Firmware update Satos Satos: User Interface | Controls | Functions | Handling Satos: Technical Data Satos: Remote control | Flash triggering Satos: Power supply | Battery Satos: Maintenance | Repair | Consumables | Spare parts | Guarantee Satos: Accessories Satos: Charging station for up to 4 slide-in batteries
- Pulso L
-
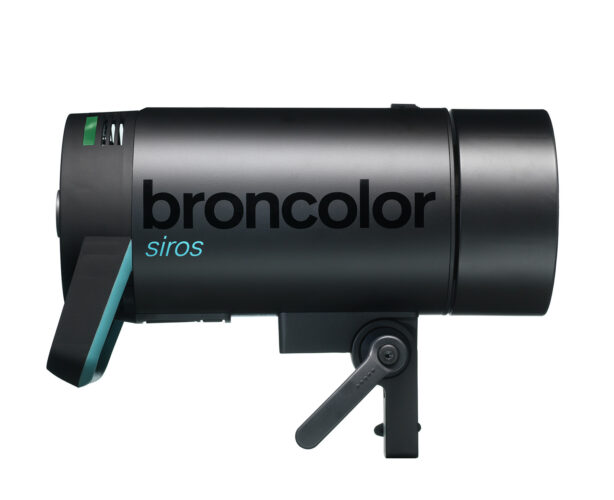
Siros S
Siros S: Safety Instructions – read before use | Environment Siros S: Firmware update Siros S: User Interface | Controls | Functions | Handling Siros S: Technical Data Siros S: Remote control | Flash triggering Siros S: Power supply Siros S: Maintenance | Repair | Consumables | Spare parts | Guarantee Siros S: Accessories
-
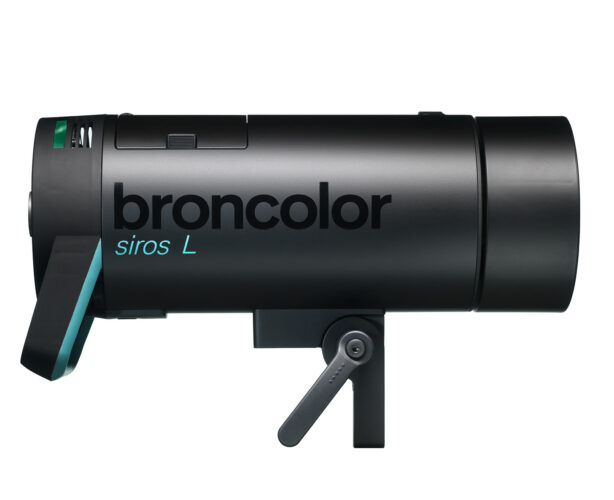
Siros L
Siros L: Safety Instructions – read before use | Environment Siros L: Firmware update Siros L Siros L: User Interface | Controls | Functions | Handling Siros L: Technical Data Siros L: Remote control | Flash triggering Siros L: Power supply | Battery Siros L: Maintenance | Repair | Consumables | Spare parts | Guarantee Siros L: Accessories
- Scoro E + S
- Move 1200 L
- RFS 2.1
- RFS 2.2
-
RFS 3
RFS 3: Safety Instructions – read before use | Environment RFS 3: Scope of delivery and operating elements RFS 3: User Interface | Controls | Functions | Handling RFS 3: Firmware Update RFS 3.0 RFS 3: Compatibility RFS 3: Technical Data RFS 3: Maintenance | Repair | Consumables | Spare parts | Guarantee RFS 3: Trouble shooting
- Pulso G, Unilite and Picolite
- LED F160
- Scope D50
- Compatibility (Lamp <-> light shaper | Lamp <-> power pack)
- Locate your distributor or dealer
-
 Stelos 800 L
-
 Satos
Satos
-
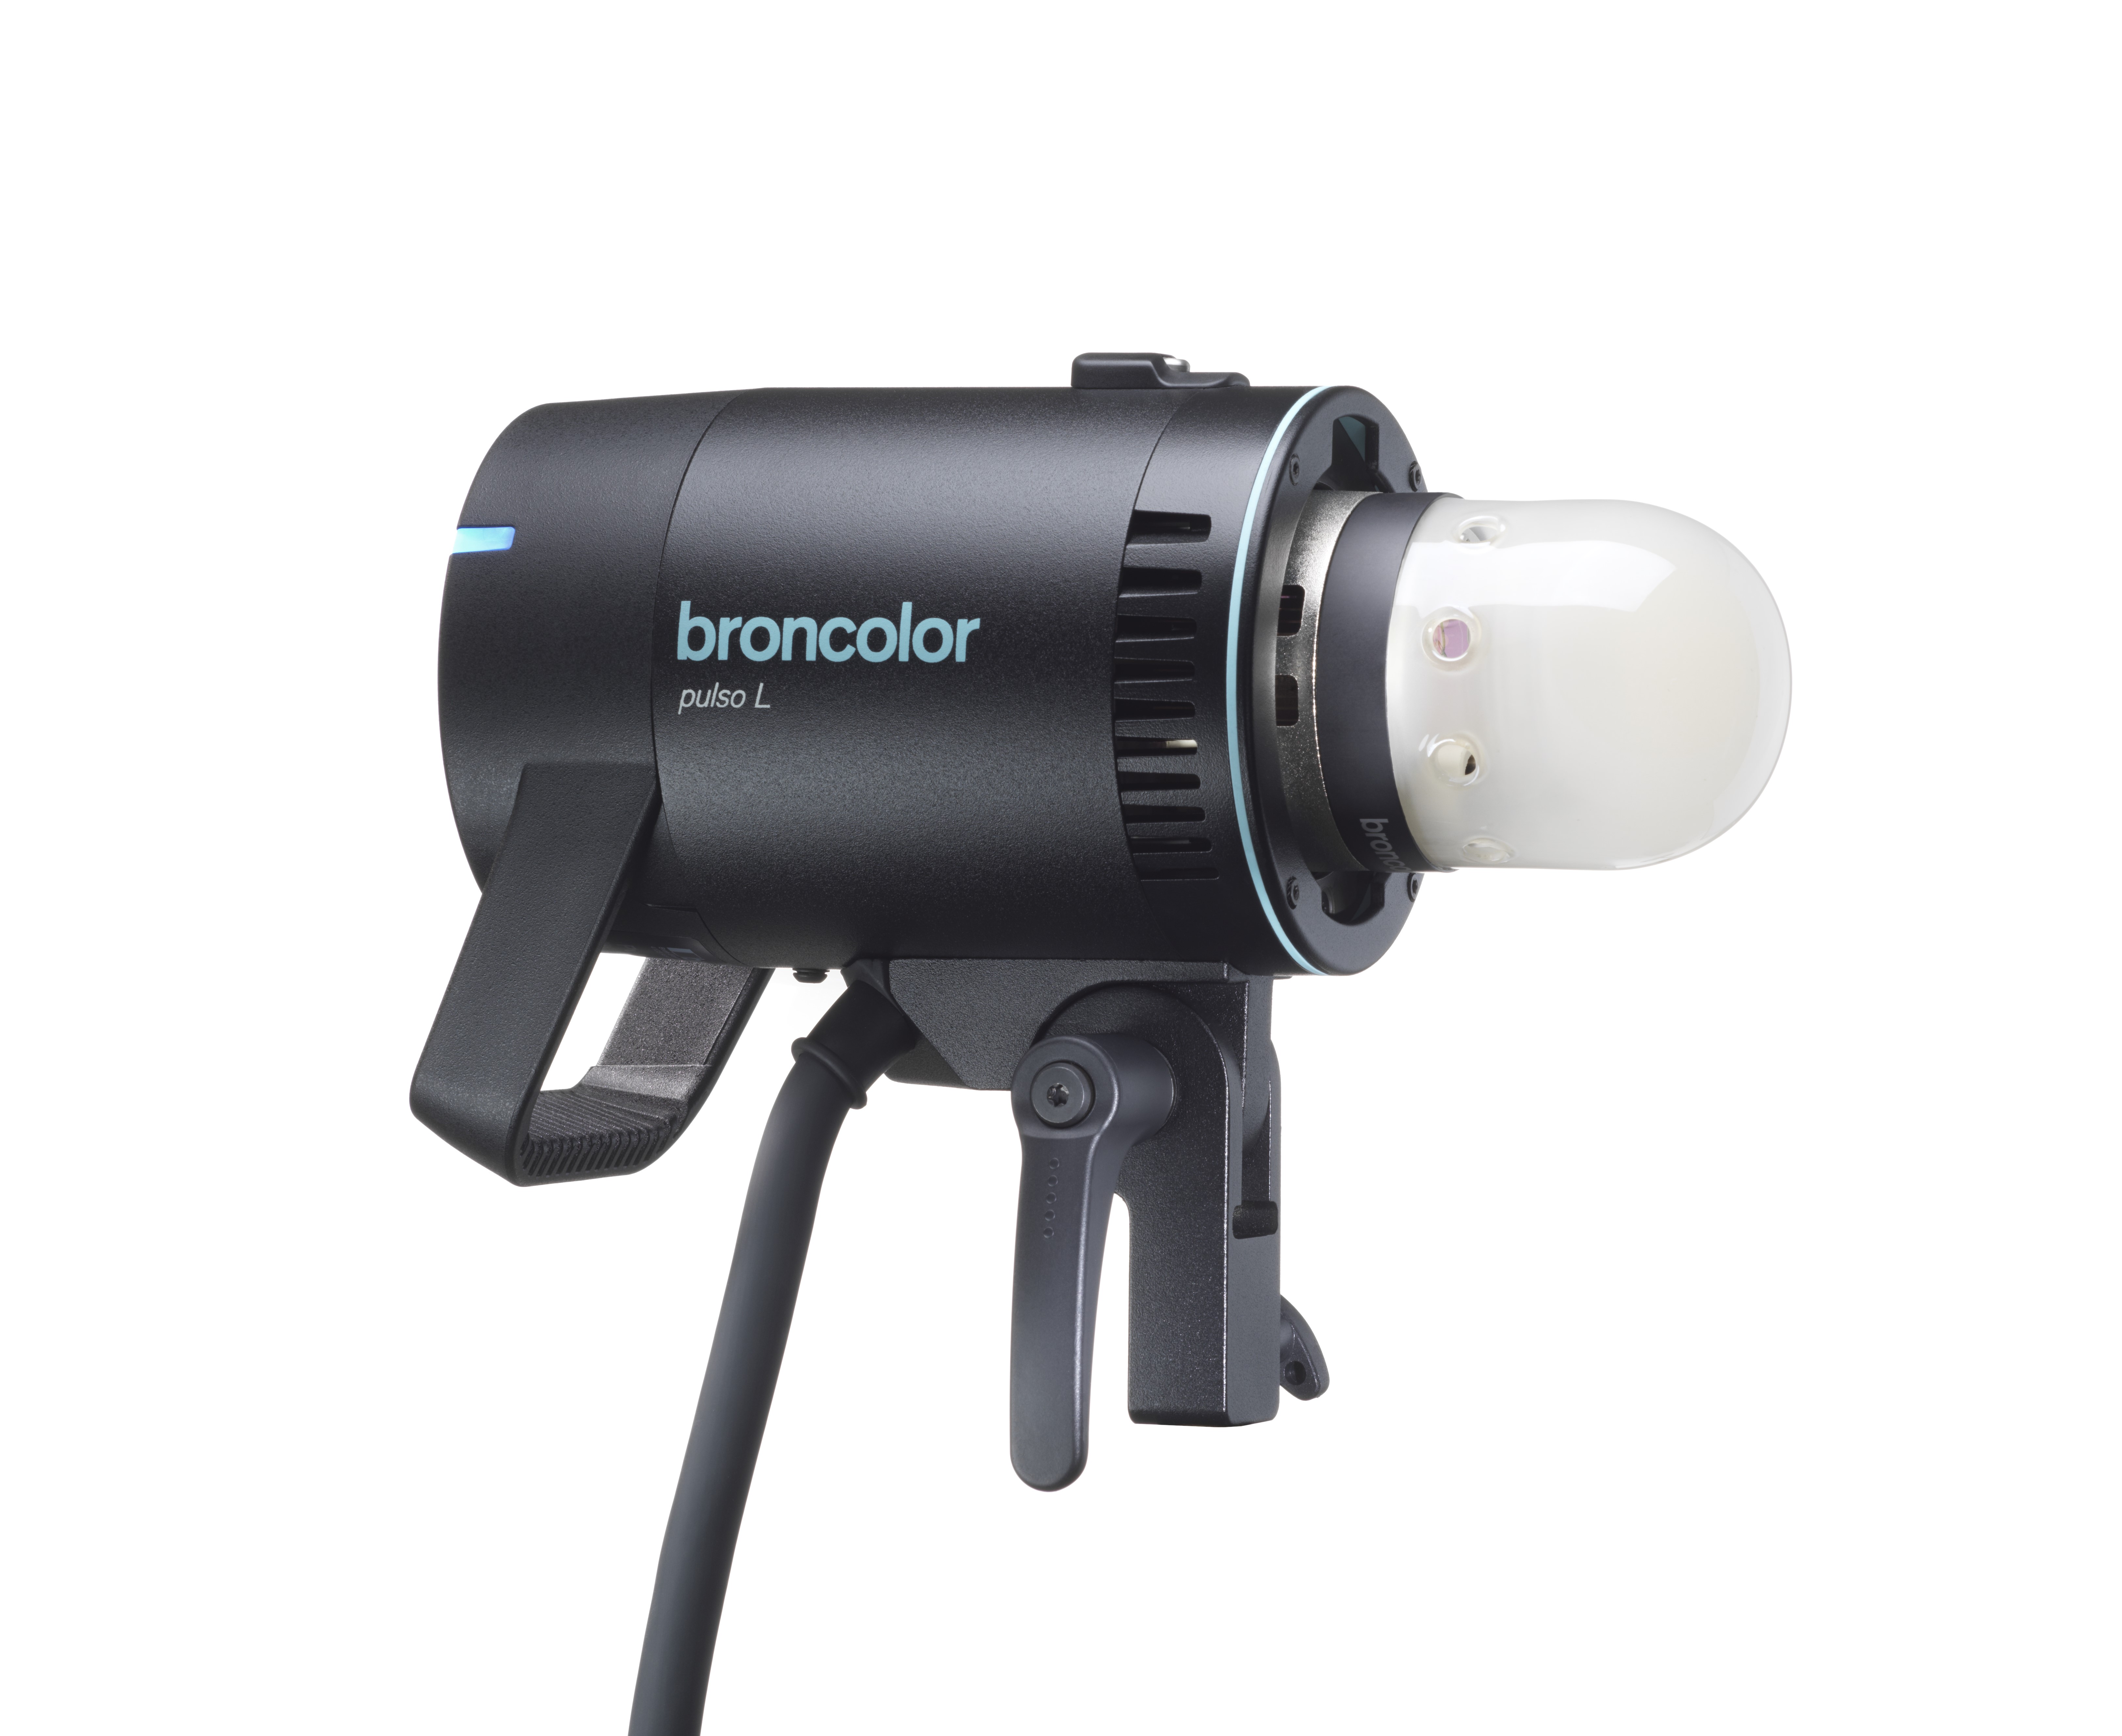 Pulso L
-
 Siros S
-
 Siros L
-
 Scoro E + S
-
 Move 1200 L
-
 RFS 2.1
-
 RFS 2.2
-
 RFS 3
RFS 3
-
 Pulso G, Unilite and Picolite
-
 LED F160
-
 Scope D50
-
Compatibility (Lamp <-> light shaper | Lamp <-> power pack)
-
Locate your distributor or dealer
Table of Contents
The "mod" key (15) switches on the modelling lamp for all connected lamps. When switched on, the blue LED next to the "mod" key lights up. The lamps have also an additional modelling lamp switch. Furthermore, it is possible to operate the modelling light proportionally (section 6.1) and adapt it to the various maximum outputs of broncolor power packs.
Pressing the "mod" key (15) (for 1 s) when the modelling lamp is on, will give direct access to the "full" mode. To return to the previous mode briefly press "mod" again.
Attention:
Please ensure that the modelling lamp voltage corresponds with the local mains (AC -line) voltage.
Proportionality
The modelling light brightness can be set proportionally to the flash intensity. Stages prop1, prop2, prop3, prop4 and prop5 are used to adapt the modelling light brightness of power packs with different output. The setting "modelling light proportional" duly allows for the output set, the number of lamps as well as a possible asymmetrical energy distribution of the
Scoro power packs. Proportionality is guaranteed if the identical operating mode has been set for all power packs. The higher the digit, the brighter the modelling light.
The following operating modes are possible:
"propmax" → When working with only a single power pack (in asymmetrical operation); using the setting "propmax", the modelling light of the lamp with the highest flash energy operates at full output, and the other lamps will be proportionally dimmed, in accordance with their power settings.
"full" → All lamps with full modelling light, independent of flash output, type of power pack and output distribution.
"low" → Lighting level reduced for all lamps to reduce power consumption and extend the service life of the halogen lamps.
"prop1-prop5" → These levels allow adapting the Scoro units to the proportionality of other broncolor power packs.
Note: If a power pack is used with less power, it is known that the halogen modelling light is relatively weak and yellowish. To solve this problem, all broncolor
Attention:
The Scoro software automatically indicates in the LC D selection text the possible proportionality levels, and warns of sudden altered power settings made by the user.
Important: The modelling lights of all the connected lamps are proportional when all the power packs (independent of their output) have the same proportionality level. This only applies when all the modelling lights have the same wattage.
Reduced modelling light
To avoid overloading the mains supply (AC-line), the 100 - 120 V versions of the power packs reduce the modelling light intensity during charging. You can clear this factory-installed feature if the power rating of the mains supply (AC-line) is sufficient - see setting possibilities of the dimmer in section 14.11. When working on poor-quality mains supplies (AC-line) you can also slow down the charging rate with the additional function "charge time" – this reduces the risk of blowing the supply fuses (section 14.10).¨ During fast charging of Scoro A2S and A4S, the modelling light is dimmed, with the exception of the lamp with the highest power, to avoid overloading the mains supply, even when no reduction / dimmer was set (section 14.11).
Modelling light switch on lamp
The switch on the lamp is used to switch the modelling light on and off. To avoid damage to the lamp filament, always switch off the modelling light before moving the lamp.