Changing the flash tube 1600J <-> 3200J
-
Stelos 800 L
Stelos: Safety Instructions – read before use | Environment Stelos: Firmware update Stelos: User Interface | Controls | Functions | Handling Stelos: Technical Data Stelos: Remote control | Flash triggering Stelos: Power supply | Battery Stelos: Maintenance | Repair | Warranty Stelos: Accessories & Spare Parts Error messages
-
Satos
Safety Instructions – read before use | Environment Firmware update Satos User Interface | Controls | Functions | Handling Technical Data Remote control | Flash triggering Power supply | Battery Maintenance | Repair | Consumables | Spare parts | Guarantee Accessories Charging station for up to 4 slide-in batteries
- Pulso L
- Siros S
- Siros L
- Scoro E + S
- Move 1200 L
- RFS 2.1
- RFS 2.2
- RFS 3
- Pulso G, Unilite and Picolite
- LED F160
- Scope D50
- Compatibility (Lamp <-> light shaper | Lamp <-> power pack)
- Locate your distributor or dealer
-
 Stelos 800 L
-
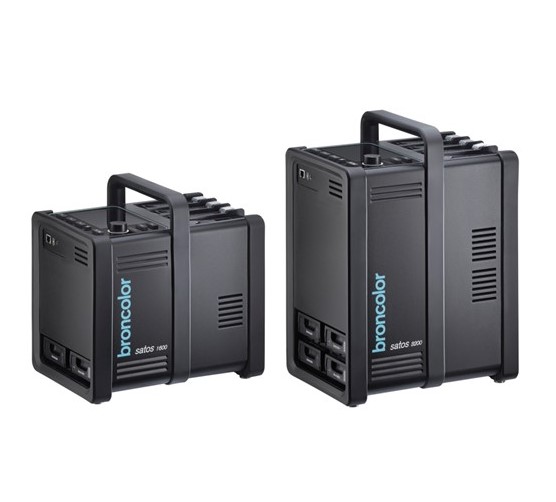 Satos
Satos
-
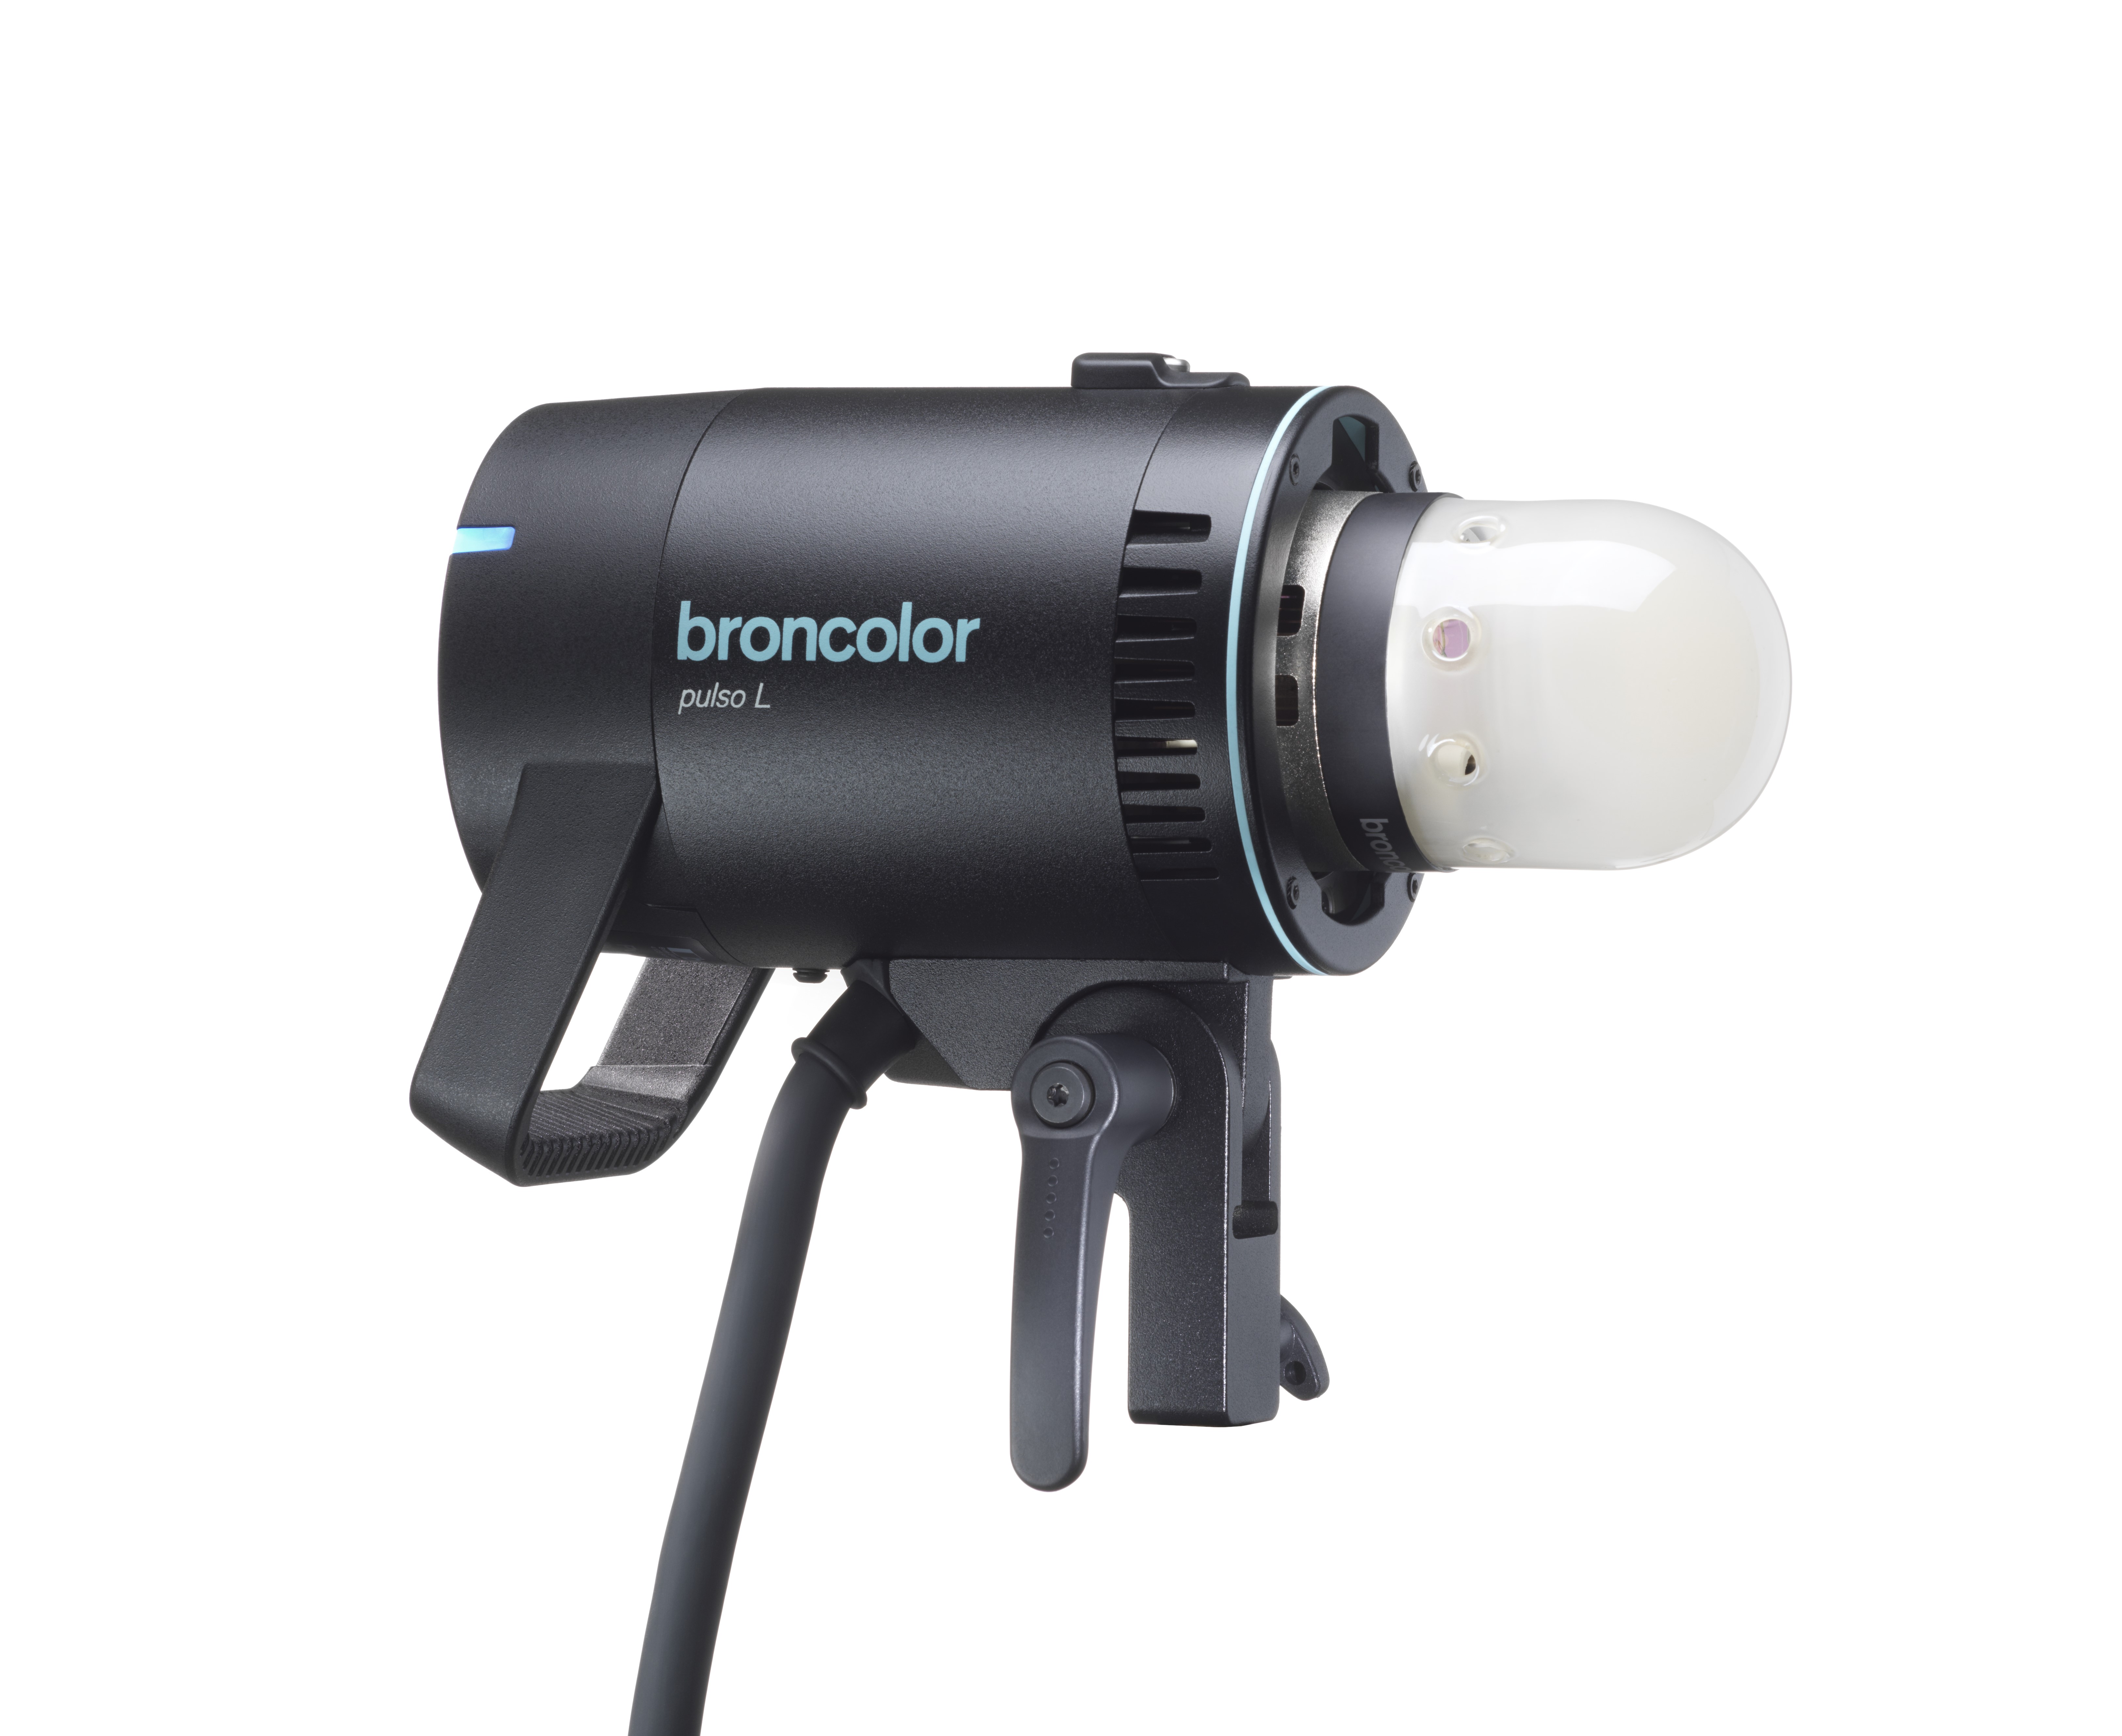 Pulso L
-
 Siros S
-
 Siros L
-
 Scoro E + S
-
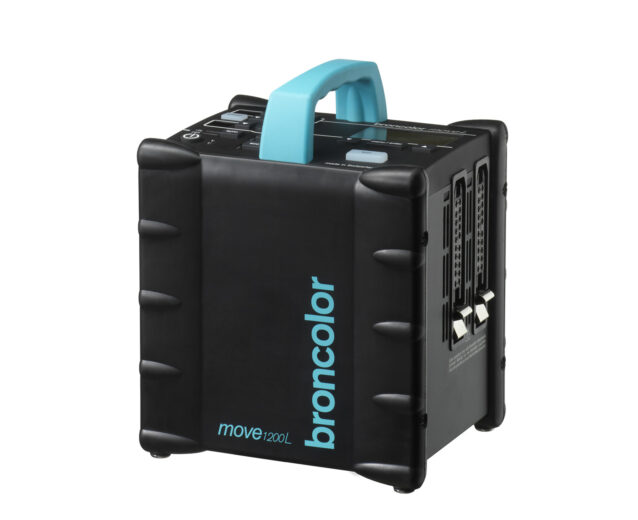 Move 1200 L
-
 RFS 2.1
-
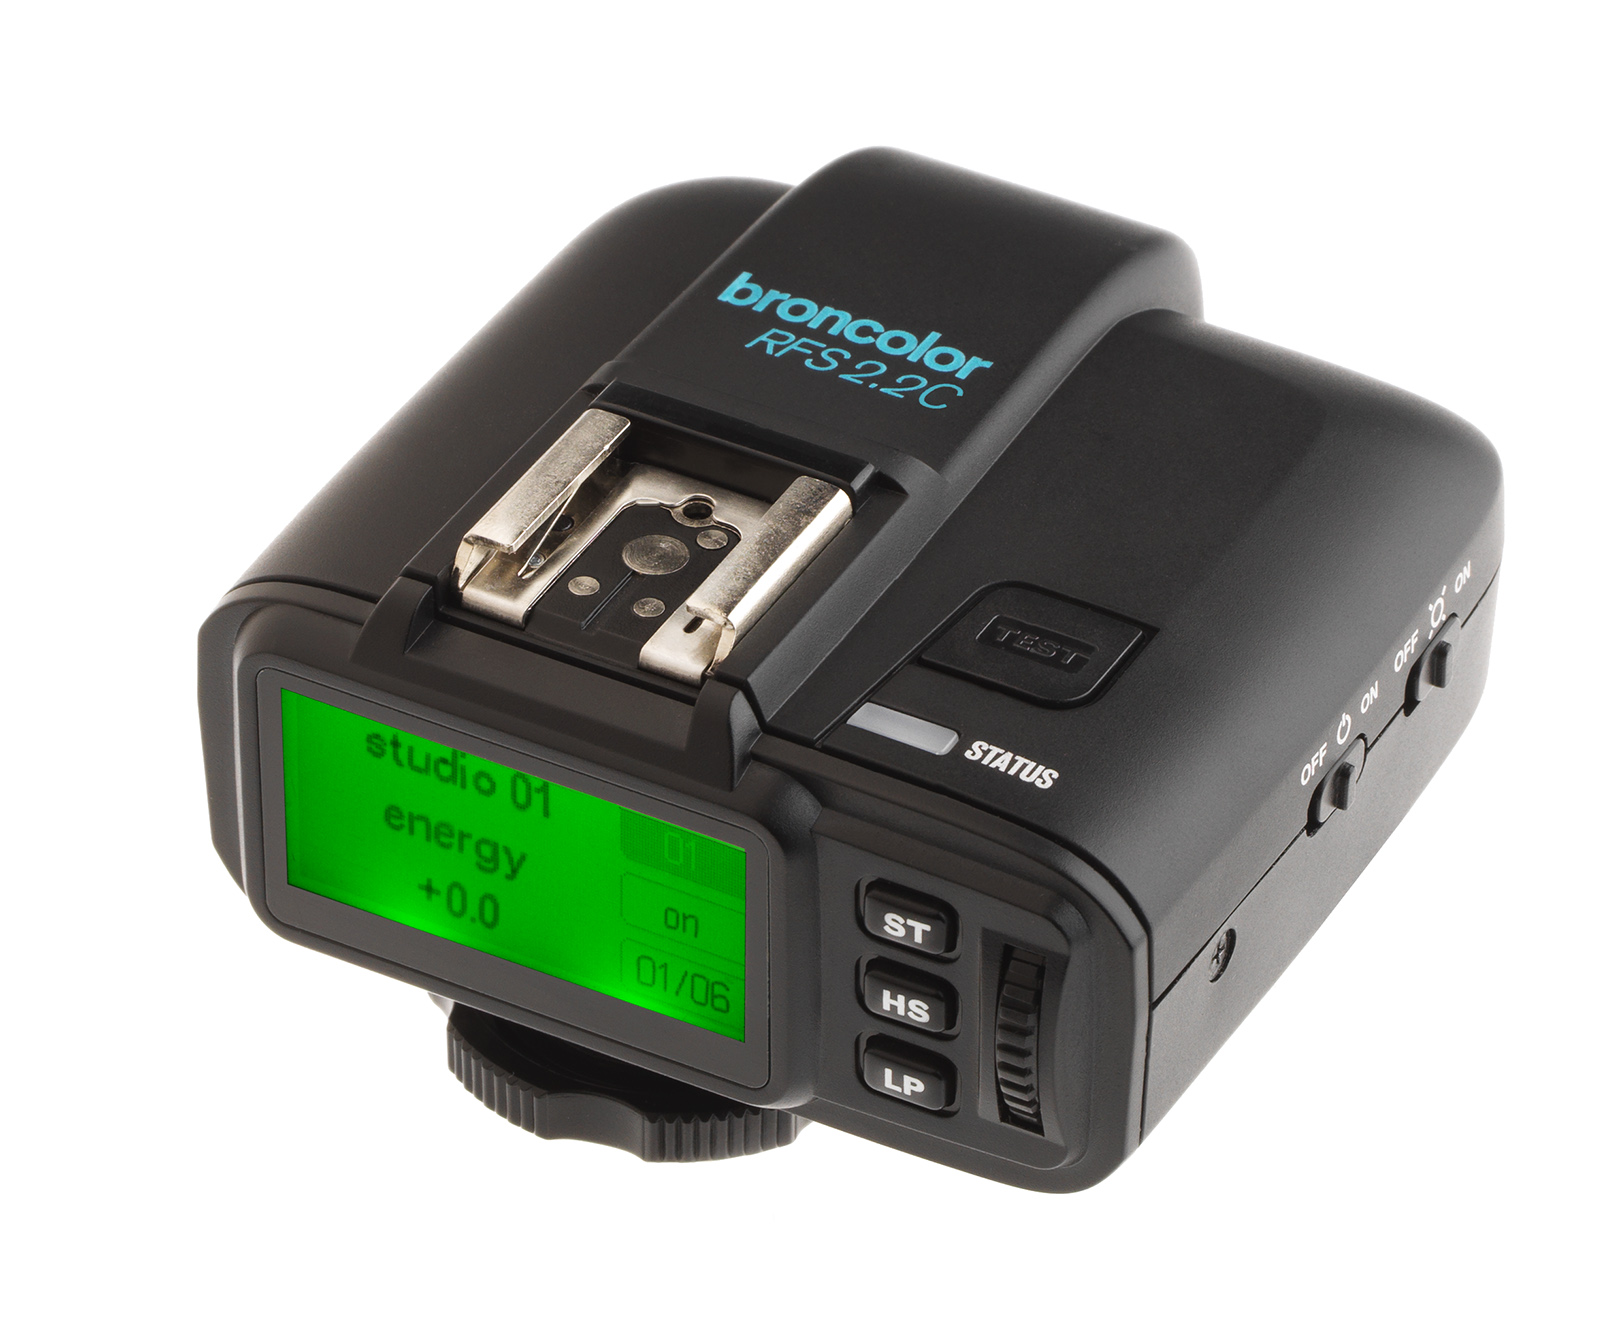 RFS 2.2
-
 RFS 3
RFS 3
-
 Pulso G, Unilite and Picolite
-
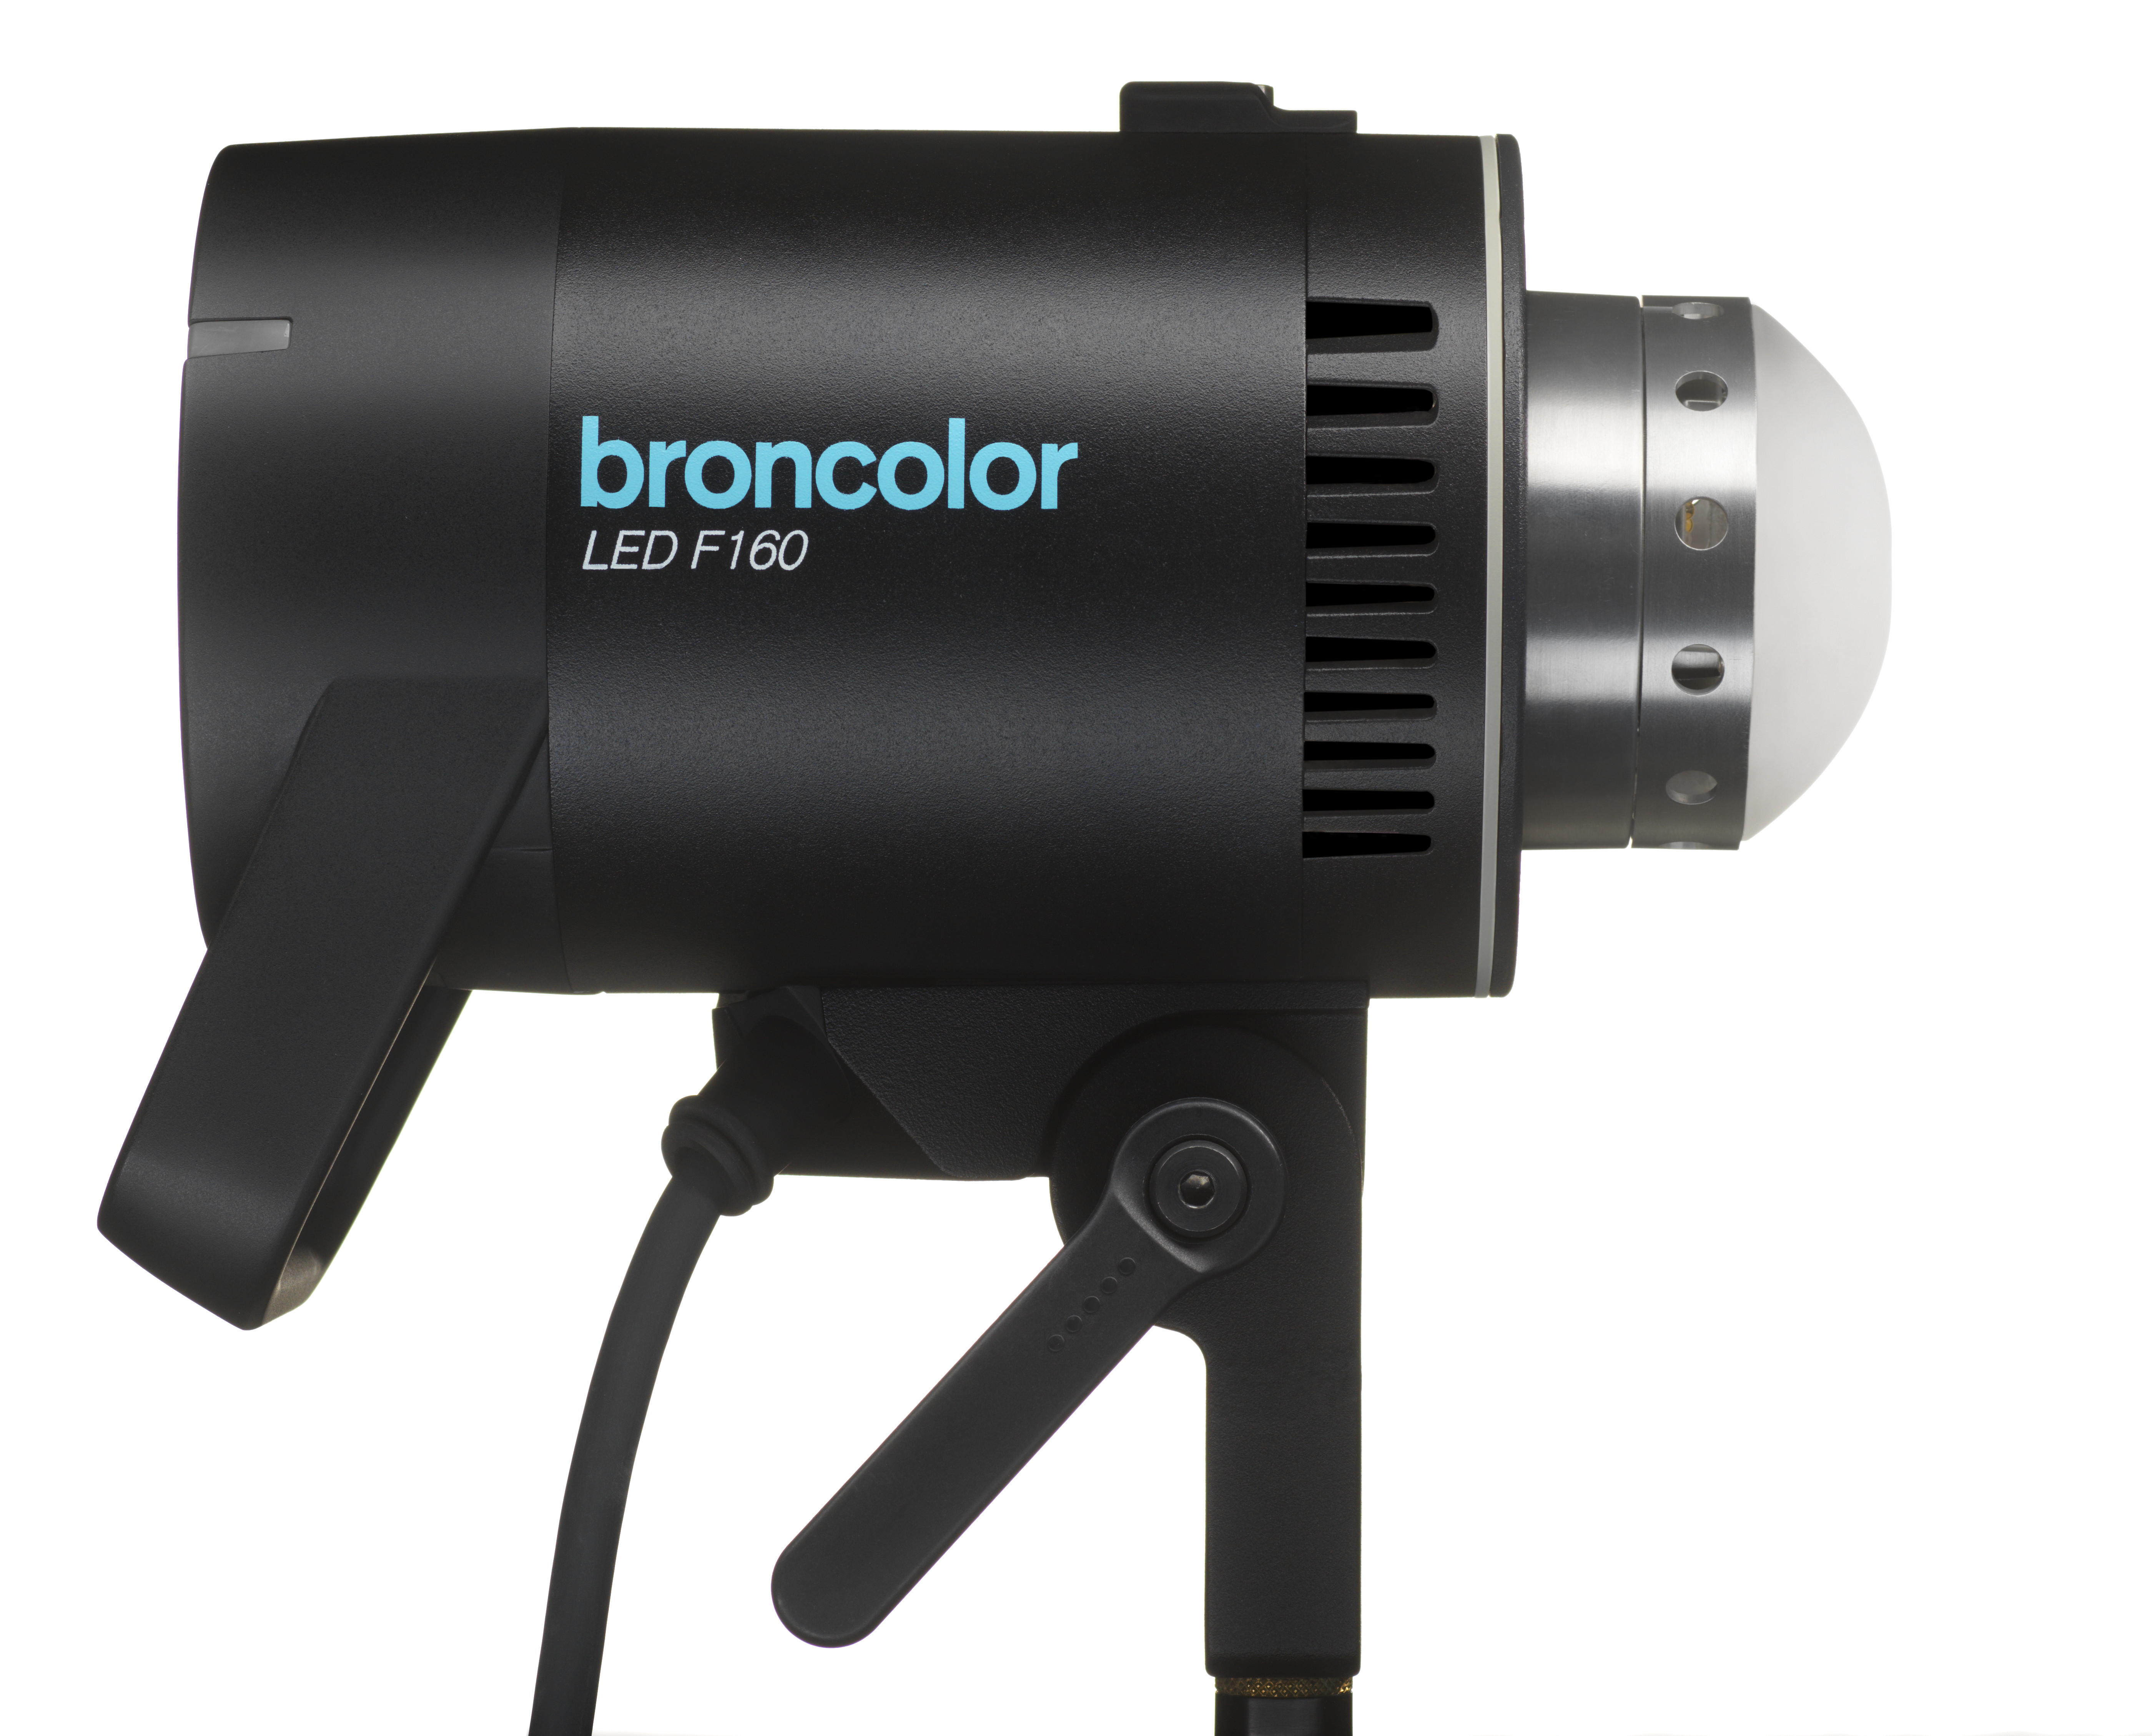 LED F160
-
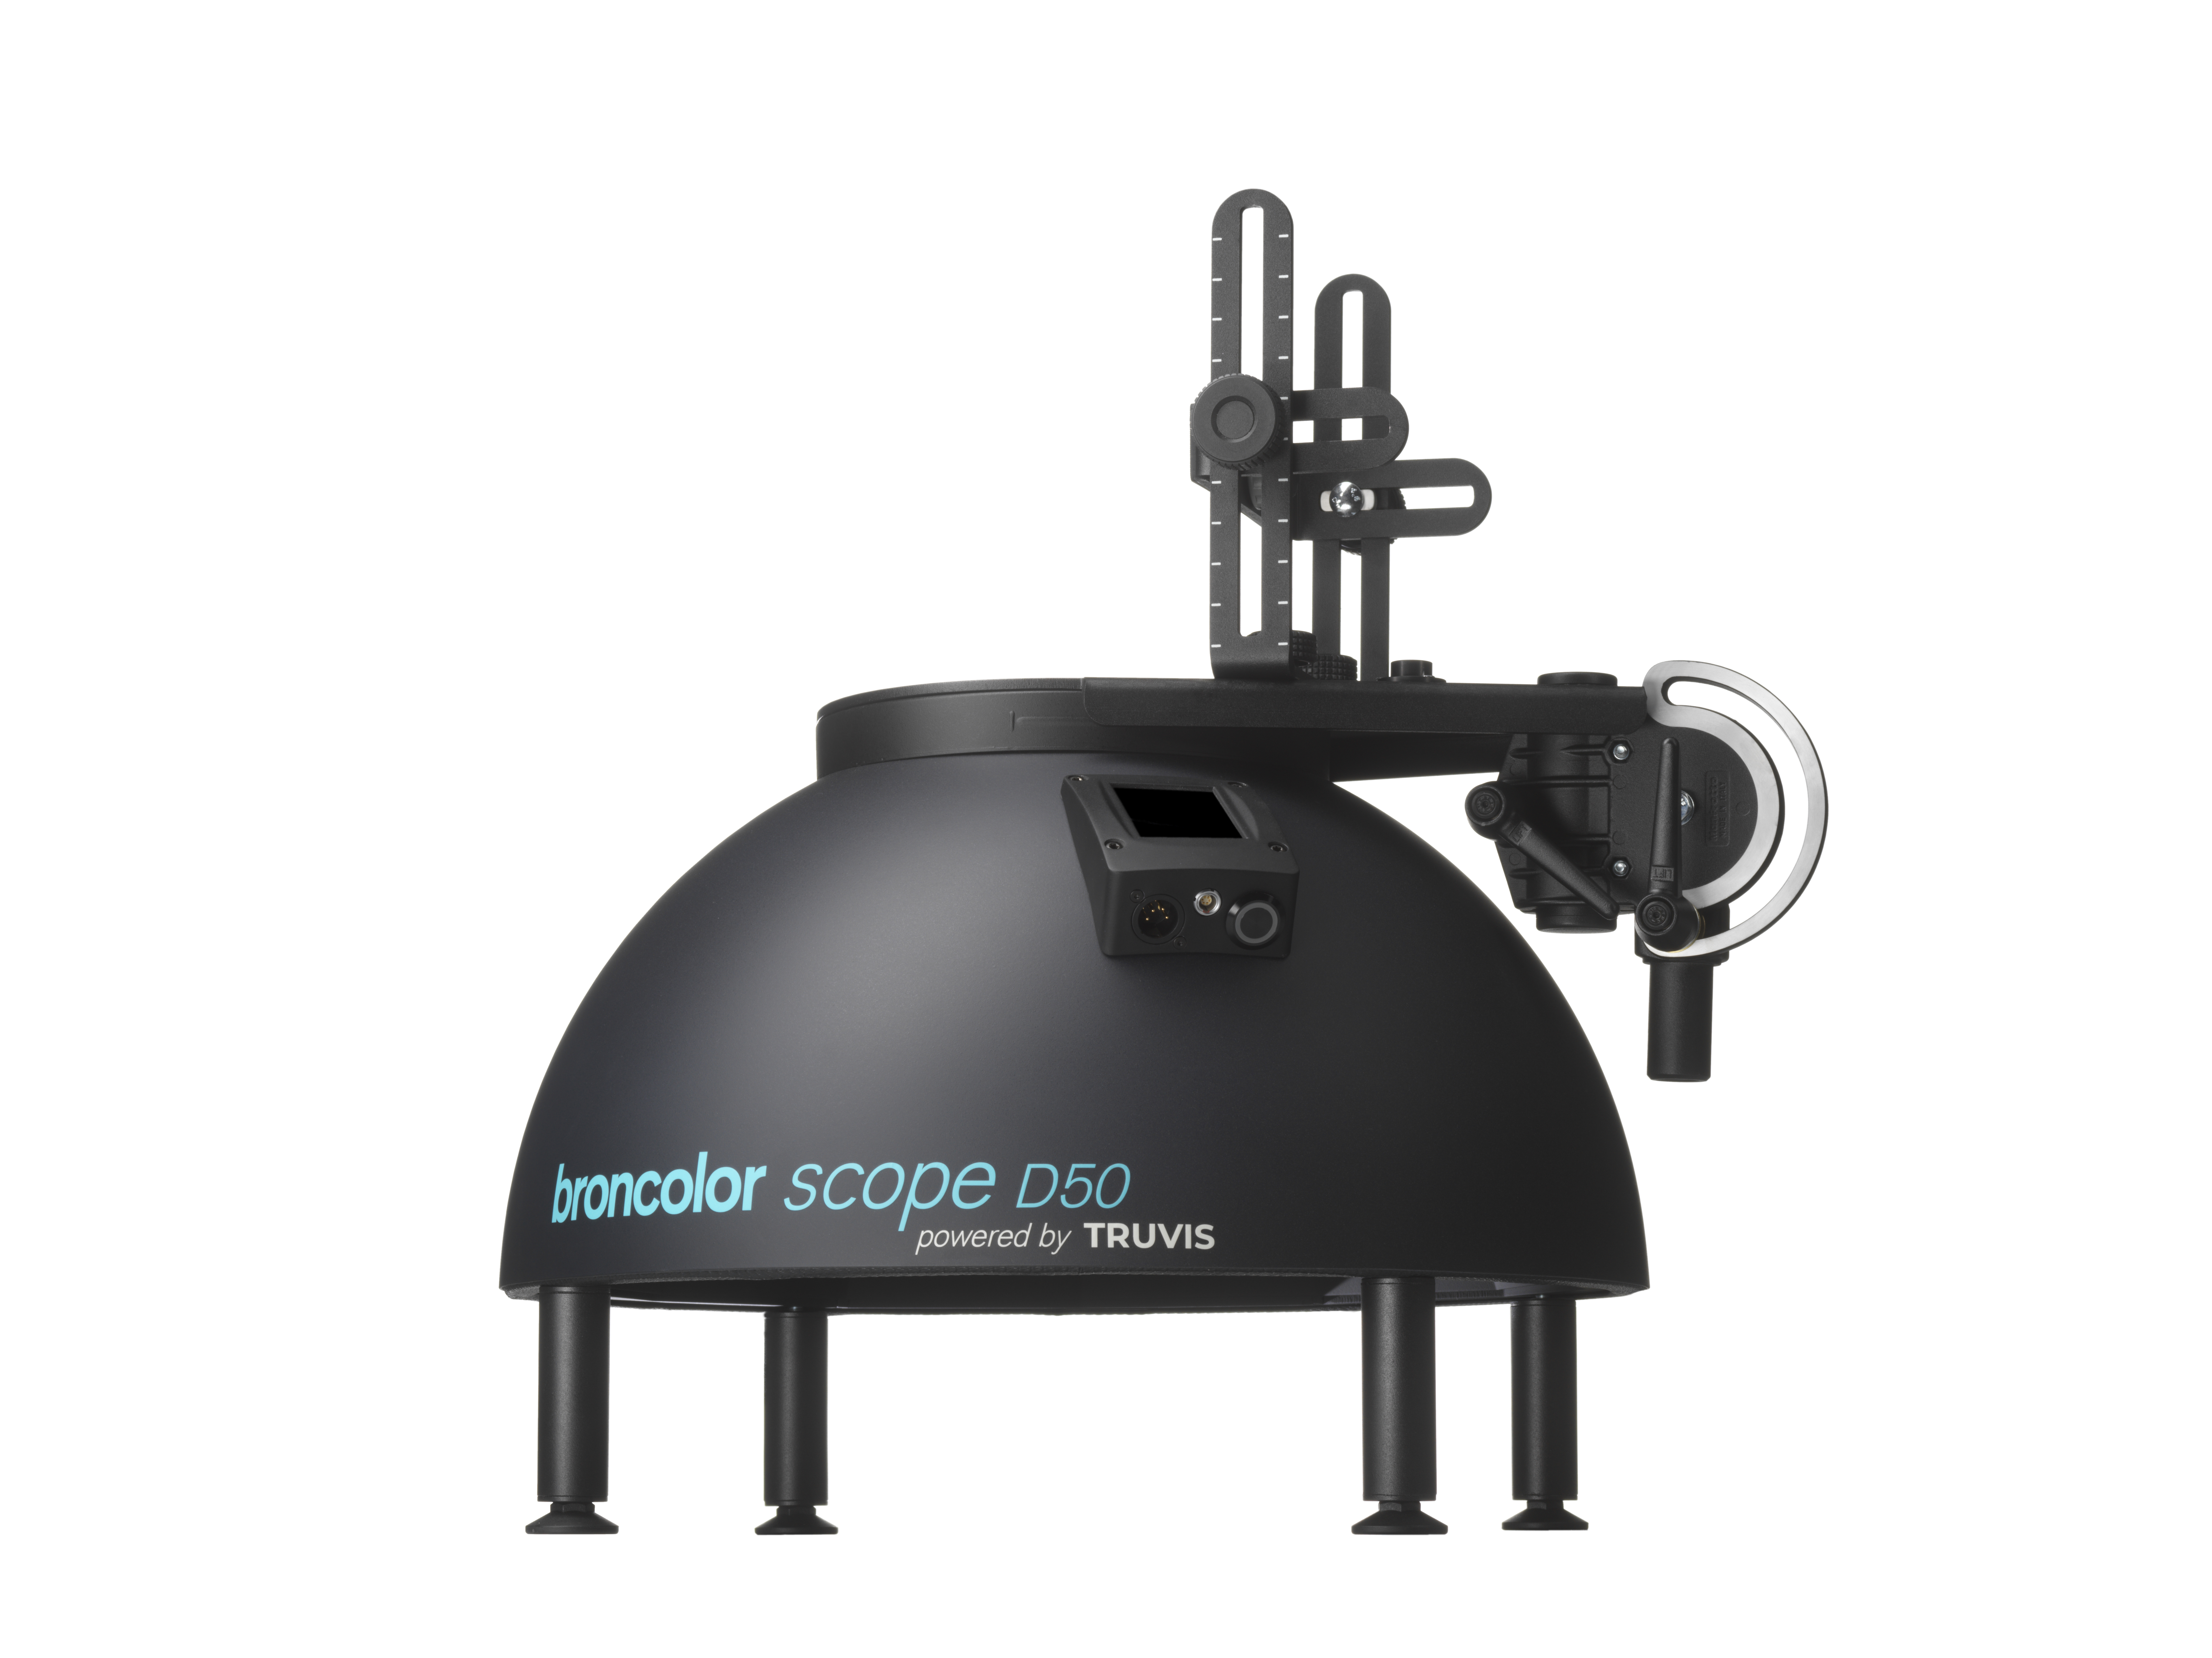 Scope D50
-
Compatibility (Lamp <-> light shaper | Lamp <-> power pack)
-
Locate your distributor or dealer
Table of Contents
The Puslo L can be used with a 1600J or 3200J flash tube and can therefore be adapted to your photographic requirements. Changing the flash tubes is very simple and takes place in 2 steps, the sequence of which must be followed.
Attention!
To avoid damage to your broncolor lamp and to ensure consistent light characteristics, only use original broncolor flash tubes.
Faults that occur due to the use of third-party accessories are excluded from the factory guarantee.
We accept no liability for damage caused by the use of third-party accessories.
1. Replacing the flash tube on the lamp
Make sure that the light is switched off before replacing the flash tube manually.
To remove the flash tube, carefully remove the protective glass by turning it clockwise and then pulling upwards on the black metal ring.
Now pull the flash tube out of the catch on the ceramic base. Hold the metal slide firmly so that it does not come out.
Please take care not to exert pressure on the LED board as this will damage it.
Attention: Removing the flash tube requires some effort.

2. Change the selected flash tube in the lamp menu
- Switch on the light
- Go to the light menu
- Select the "Tube" item by pressing the adjusting dial and select the desired flash tube.
- Confirm your selection by pressing again.