HS - RFS 2.2 transceiver as transmitter

-
Stelos 800 L
Stelos: Safety Instructions – read before use | Environment Stelos: Firmware update Stelos: User Interface | Controls | Functions | Handling Stelos: Technical Data Stelos: Remote control | Flash triggering Stelos: Power supply | Battery Stelos: Maintenance | Repair | Warranty Stelos: Accessories & Spare Parts Stelos: Error messages
-
Satos
Satos: Safety Instructions – read before use | Environment Satos: Firmware update Satos Satos: User Interface | Controls | Functions | Handling Satos: Technical Data Satos: Remote control | Flash triggering Satos: Power supply | Battery Satos: Maintenance | Repair | Consumables | Spare parts | Guarantee Satos: Accessories Satos: Charging station for up to 4 slide-in batteries
- Pulso L
-
Siros S
Siros S: Safety Instructions – read before use | Environment Siros S: Firmware update Siros S: User Interface | Controls | Functions | Handling Siros S: Technical Data Siros S: Remote control | Flash triggering Siros S: Power supply Siros S: Maintenance | Repair | Consumables | Spare parts | Guarantee Siros S: Accessories
-
Siros L
Siros L: Safety Instructions – read before use | Environment Siros L: Firmware update Siros L Siros L: User Interface | Controls | Functions | Handling Siros L: Technical Data Siros L: Remote control | Flash triggering Siros L: Power supply | Battery Siros L: Maintenance | Repair | Consumables | Spare parts | Guarantee Siros L: Accessories
- Scoro E + S
- Move 1200 L
- RFS 2.1
- RFS 2.2
-
RFS 3
RFS 3: Safety Instructions – read before use | Environment RFS 3: Scope of delivery and operating elements RFS 3: User Interface | Controls | Functions | Handling RFS 3: Firmware Update RFS 3.0 RFS 3: Compatibility RFS 3: Technical Data RFS 3: Maintenance | Repair | Consumables | Spare parts | Guarantee RFS 3: Trouble shooting
- Pulso G, Unilite and Picolite
- LED F160
- Scope D50
- Compatibility (Lamp <-> light shaper | Lamp <-> power pack)
- Locate your distributor or dealer
-
 Stelos 800 L
-
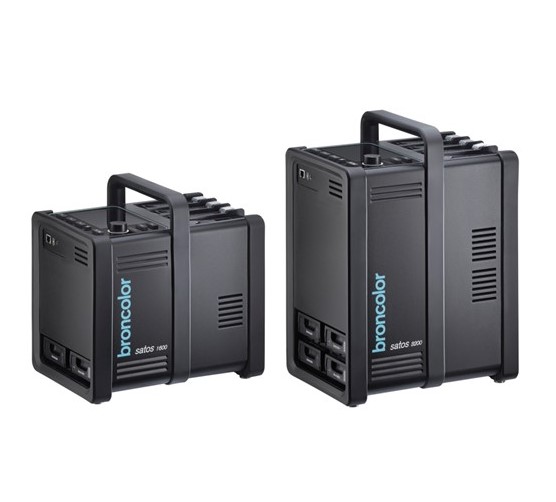 Satos
Satos
-
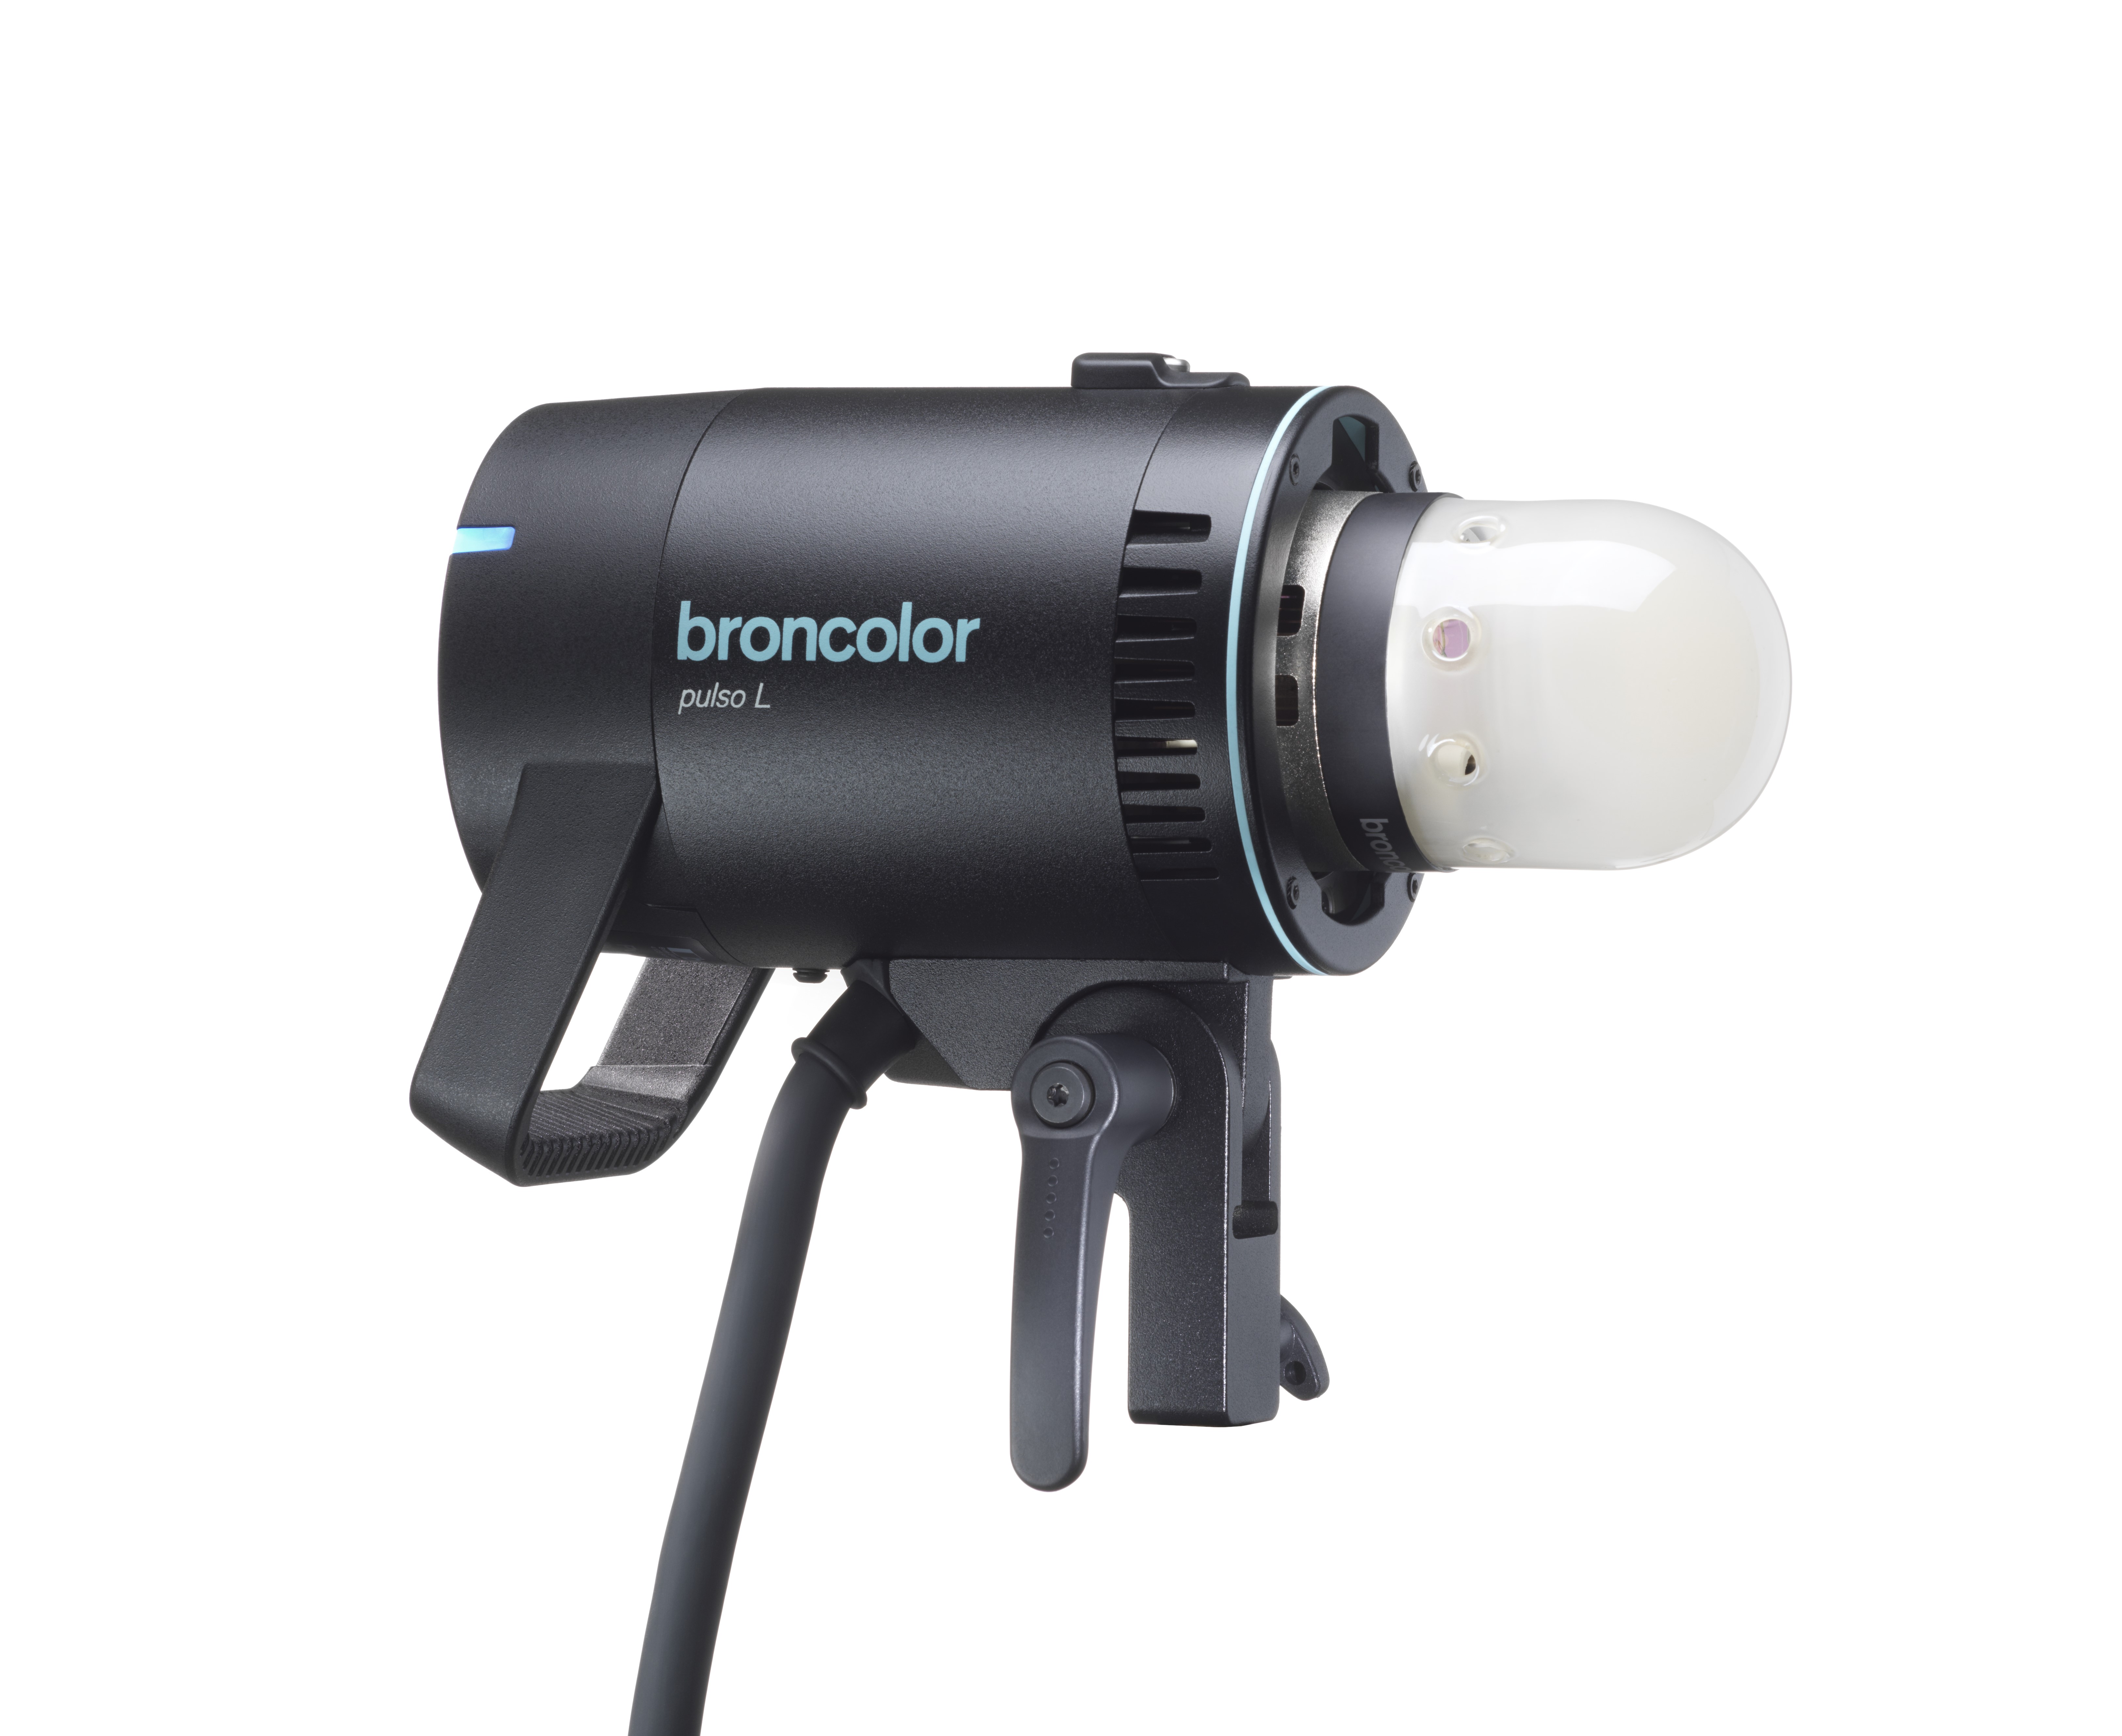 Pulso L
-
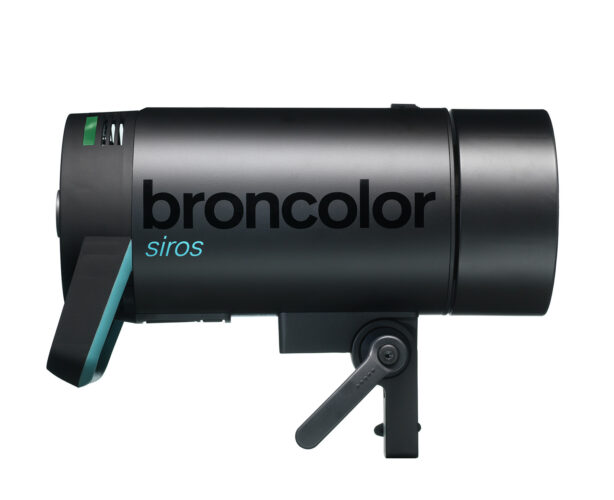 Siros S
-
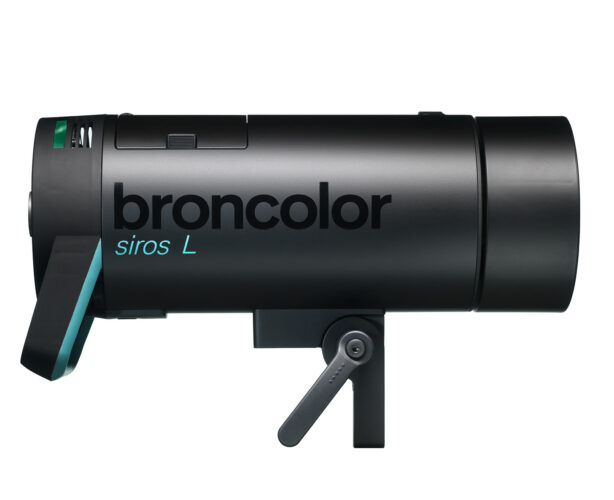 Siros L
-
 Scoro E + S
-
 Move 1200 L
-
 RFS 2.1
-
 RFS 2.2
-
 RFS 3
RFS 3
-
 Pulso G, Unilite and Picolite
-
 LED F160
-
 Scope D50
-
Compatibility (Lamp <-> light shaper | Lamp <-> power pack)
-
Locate your distributor or dealer
Menu “HS”
The HS mode enables short exposure times (down to 1/8000 s) on the camera in combination with HS-compatible flash units.
Operating HS functions
– Mount a compatible RFS 2.2 transmitter on the camera
– Switch on the RFS 2 / HS-compatible broncolor flash unit
– Activate the RFS function on the flash unit
– Activate HS mode on the RFS 2.2. The flash unit switches automatically to HS mode
HS on / off
Press the “HS” key briefly: Turn the scrolling wheel up or down. HS mode switches on and off. Confirm the selection by a short press on key “HS”.
Menu "HSMA"
When HS is active, HSMA (HS Manual Adjust) improves the exposure to suit the camera model being used. The purpose of HSMA mode is to override the automatic HS flash trigger. The automatically calculated shutter release is cancelled.
The delay of the flash trigger signal (HSMA) depends on the camera, and so is different from model to model. The transmitters are factory set to work correctly with most models of a given brand, however, if you should notice a black bar across the exposed image you should utilize the HSMA function to adjust the timing until the black bar is no longer visible in the exposed image.
Longer press on key "HS" for HSMA (HS Manual Adjust): turn the scrolling wheel up or down. In this way HSMA mode can be set individually. Confirm the selection by a short press on key “HS”.