Set a sequence - Siros L

-
Stelos 800 L
Stelos: Safety Instructions – read before use | Environment Stelos: Firmware update Stelos: User Interface | Controls | Functions | Handling Stelos: Technical Data Stelos: Remote control | Flash triggering Stelos: Power supply | Battery Stelos: Maintenance | Repair | Warranty Stelos: Accessories & Spare Parts Stelos: Error messages
-
Satos
Satos: Safety Instructions – read before use | Environment Satos: Firmware update Satos Satos: User Interface | Controls | Functions | Handling Satos: Technical Data Satos: Remote control | Flash triggering Satos: Power supply | Battery Satos: Maintenance | Repair | Consumables | Spare parts | Guarantee Satos: Accessories Satos: Charging station for up to 4 slide-in batteries
- Pulso L
-
Siros S
Siros S: Safety Instructions – read before use | Environment Siros S: Firmware update Siros S: User Interface | Controls | Functions | Handling Siros S: Technical Data Siros S: Remote control | Flash triggering Siros S: Power supply Siros S: Maintenance | Repair | Consumables | Spare parts | Guarantee Siros S: Accessories
-
Siros L
Siros L: Safety Instructions – read before use | Environment Siros L: Firmware update Siros L Siros L: User Interface | Controls | Functions | Handling Siros L: Technical Data Siros L: Remote control | Flash triggering Siros L: Power supply | Battery Siros L: Maintenance | Repair | Consumables | Spare parts | Guarantee Siros L: Accessories
- Scoro E + S
- Move 1200 L
- RFS 2.1
- RFS 2.2
-
RFS 3
RFS 3: Safety Instructions – read before use | Environment RFS 3: Scope of delivery and operating elements RFS 3: User Interface | Controls | Functions | Handling RFS 3: Firmware Update RFS 3.0 RFS 3: Compatibility RFS 3: Technical Data RFS 3: Maintenance | Repair | Consumables | Spare parts | Guarantee RFS 3: Trouble shooting
- Pulso G, Unilite and Picolite
- LED F160
- Scope D50
- Compatibility (Lamp <-> light shaper | Lamp <-> power pack)
- Locate your distributor or dealer
-
 Stelos 800 L
-
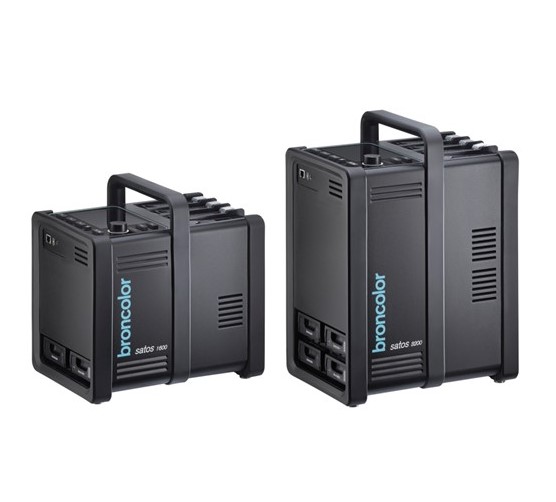 Satos
Satos
-
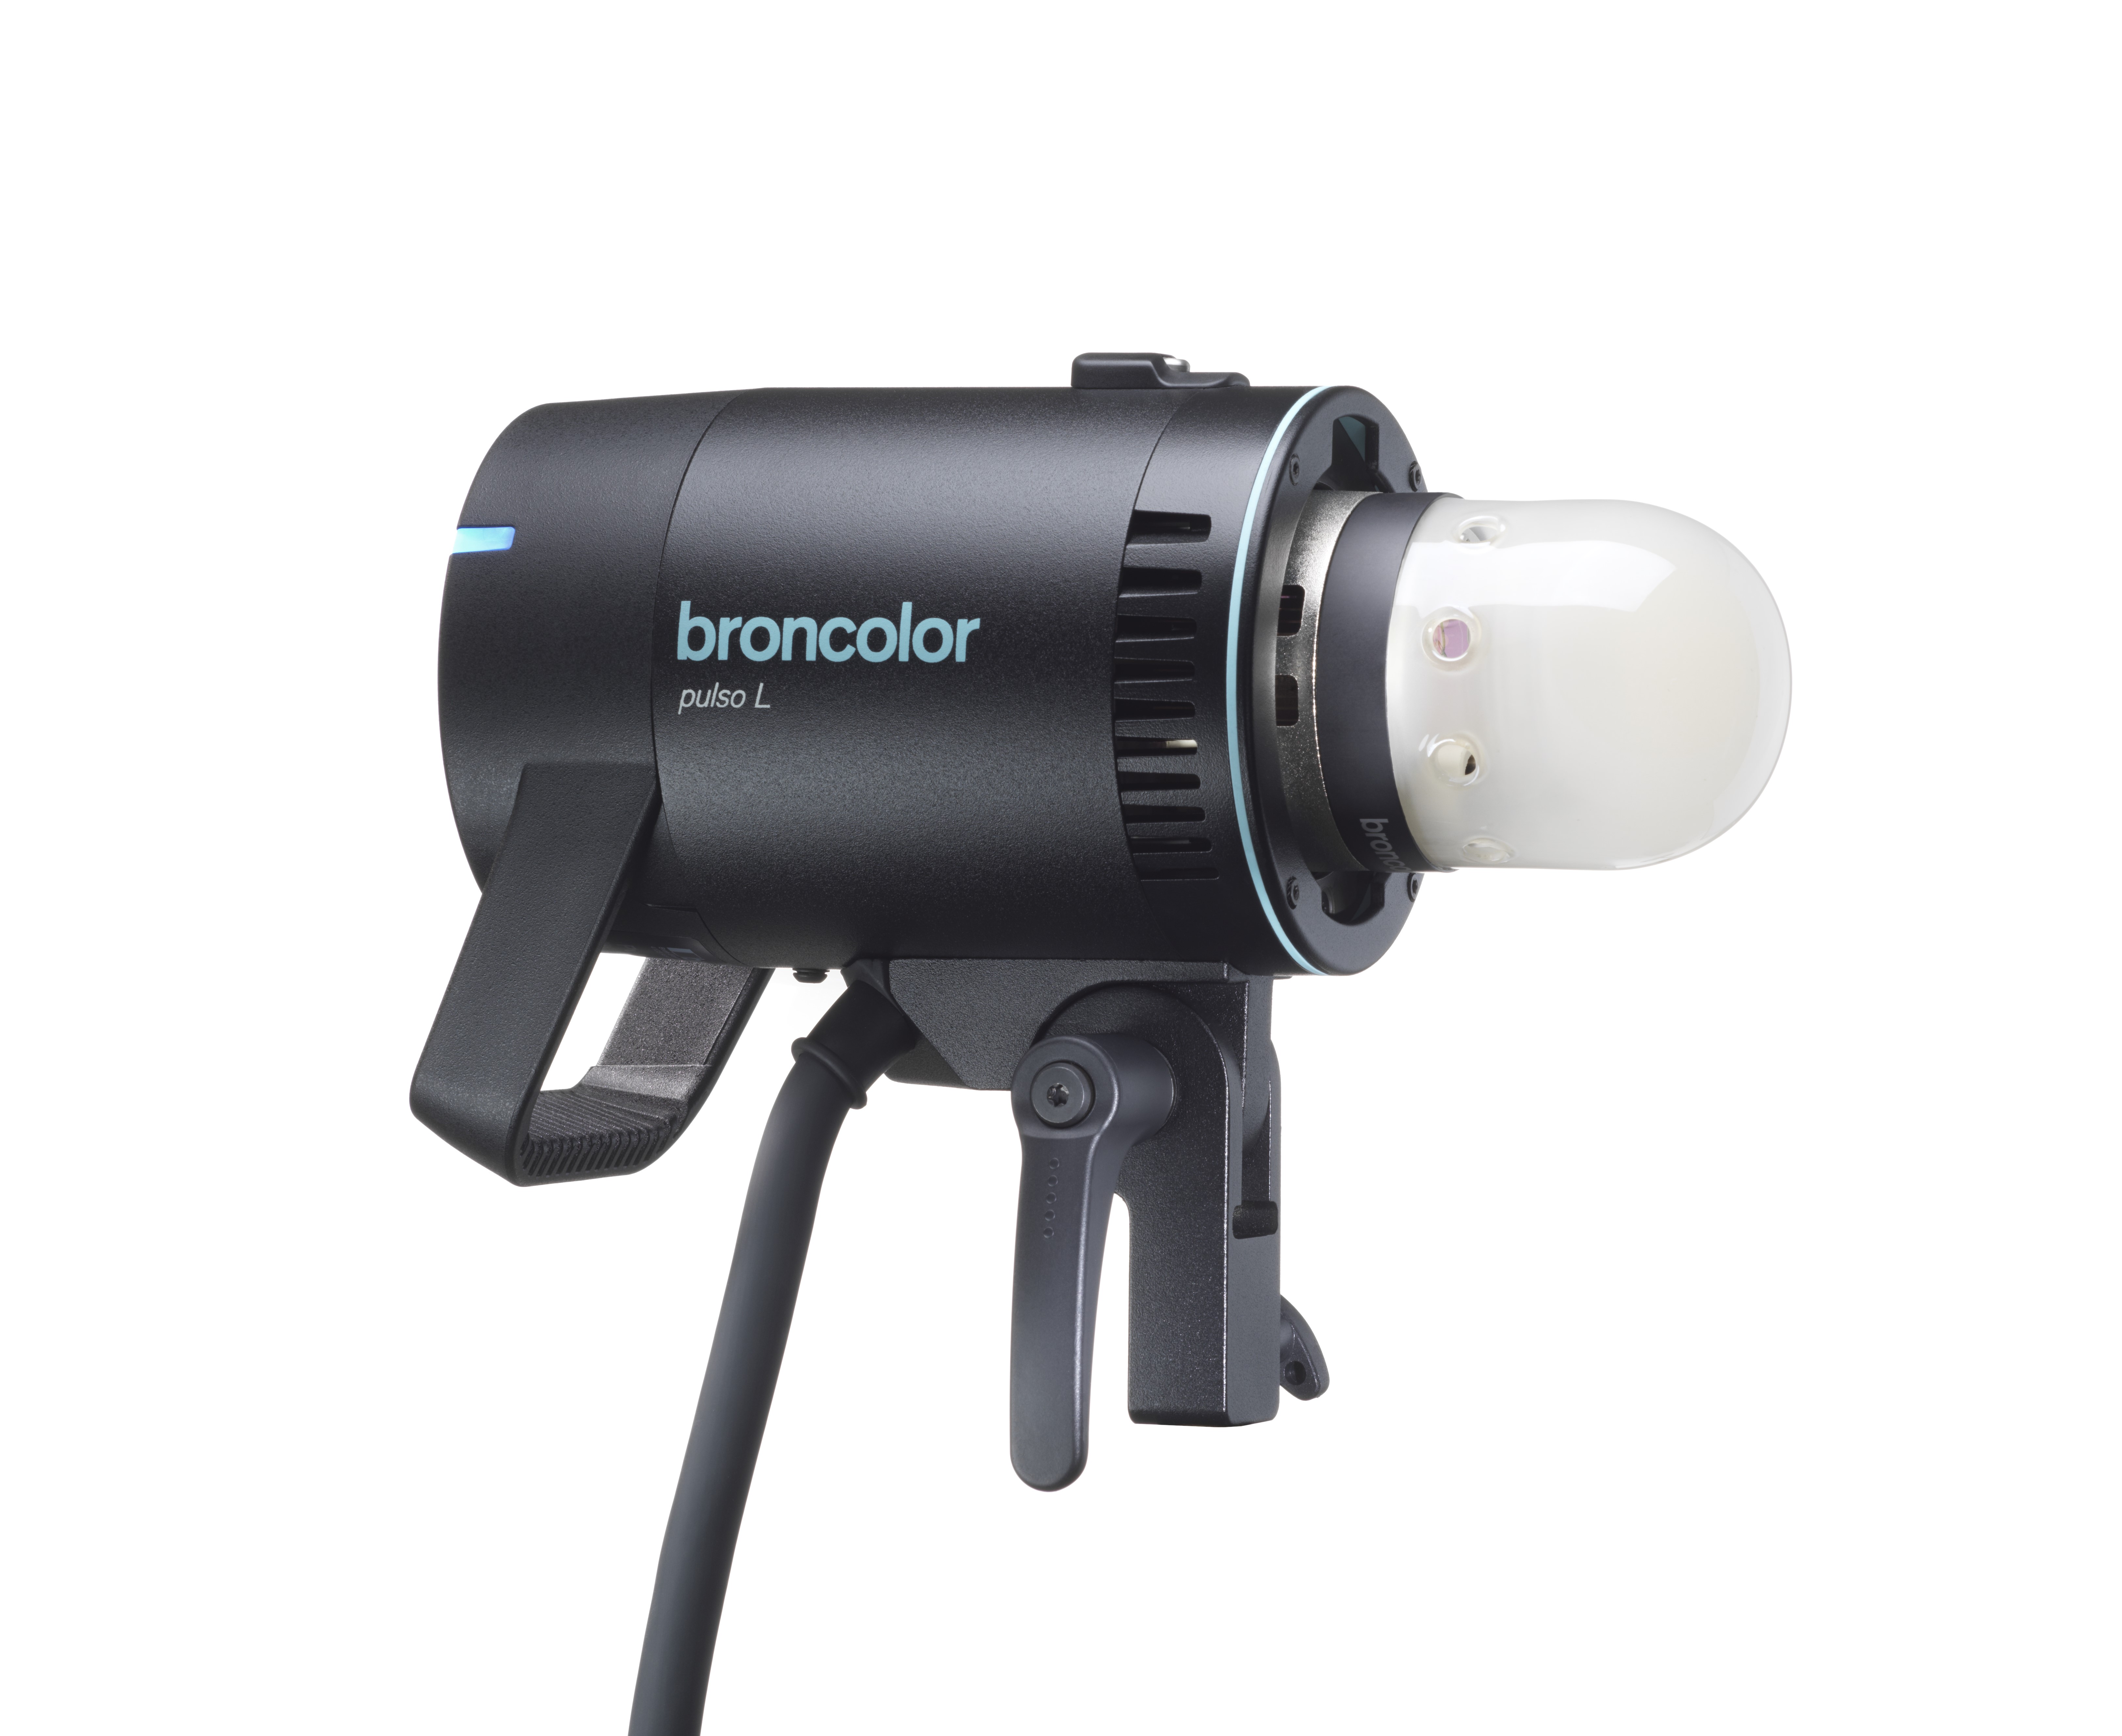 Pulso L
-
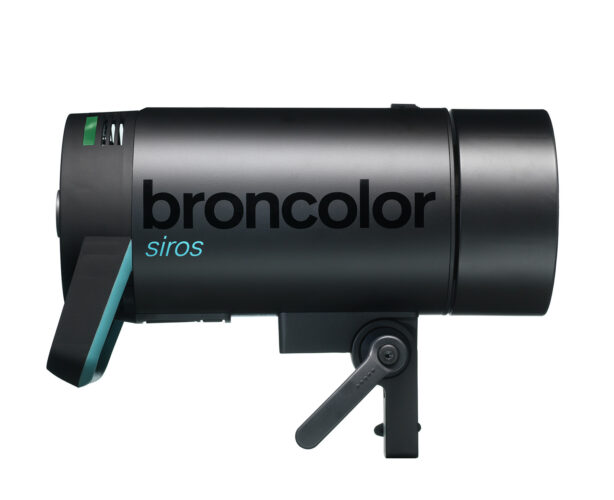 Siros S
-
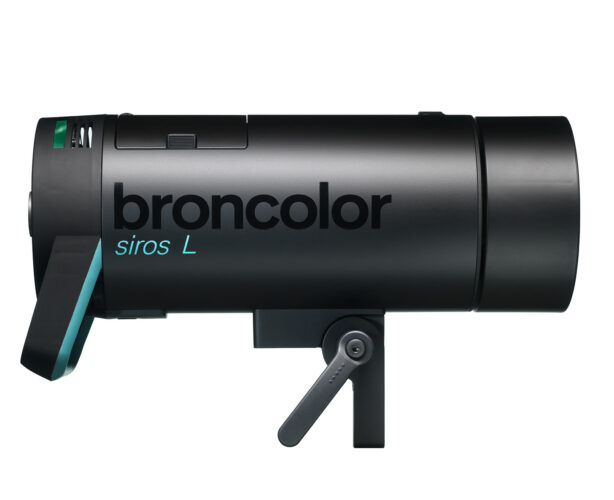 Siros L
-
 Scoro E + S
-
 Move 1200 L
-
 RFS 2.1
-
 RFS 2.2
-
 RFS 3
RFS 3
-
 Pulso G, Unilite and Picolite
-
 LED F160
-
 Scope D50
-
Compatibility (Lamp <-> light shaper | Lamp <-> power pack)
-
Locate your distributor or dealer
Example:
Set a sequence of 15 flashes per release
1)
Press the rotary controller to enter the main menu. The menu item last selected will be displayed. The main display changes from showing the output power to the selected menu item.
2)
Turn the rotary controller until you reach the menu item “seq”.

3)
Press the rotary controller, to confirm this function. The “seq” display begins to blink.

4)
Turn the rotary controller until “15” appears in the main display.

5)
Confirm this selection by pressing the rotary controller. After this confirmation, the unit switches to its normal state. If the selection is not confirmed within 5 s, the unit switches to its normal state without changing its setting.
