FAQ - Siros S
-
Stelos 800 L
Stelos: Safety Instructions – read before use | Environment Stelos: Firmware update Stelos: User Interface | Controls | Functions | Handling Stelos: Technical Data Stelos: Remote control | Flash triggering Stelos: Power supply | Battery Stelos: Maintenance | Repair | Warranty Stelos: Accessories & Spare Parts Error messages
-
Satos
Safety Instructions – read before use | Environment Firmware update Satos User Interface | Controls | Functions | Handling Technical Data Remote control | Flash triggering Power supply | Battery Maintenance | Repair | Consumables | Spare parts | Guarantee Accessories Charging station for up to 4 slide-in batteries
- Pulso L
- Siros S
- Siros L
- Scoro E + S
- Move 1200 L
- RFS 2.1
- RFS 2.2
- RFS 3
- Pulso G, Unilite and Picolite
- LED F160
- Scope D50
- Compatibility (Lamp <-> light shaper | Lamp <-> power pack)
- Locate your distributor or dealer
-
 Stelos 800 L
-
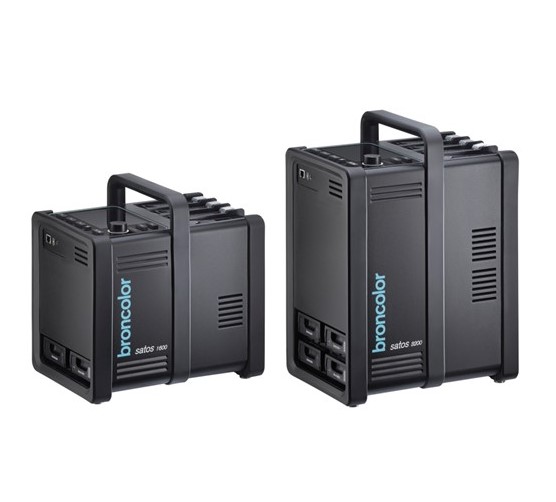 Satos
Satos
-
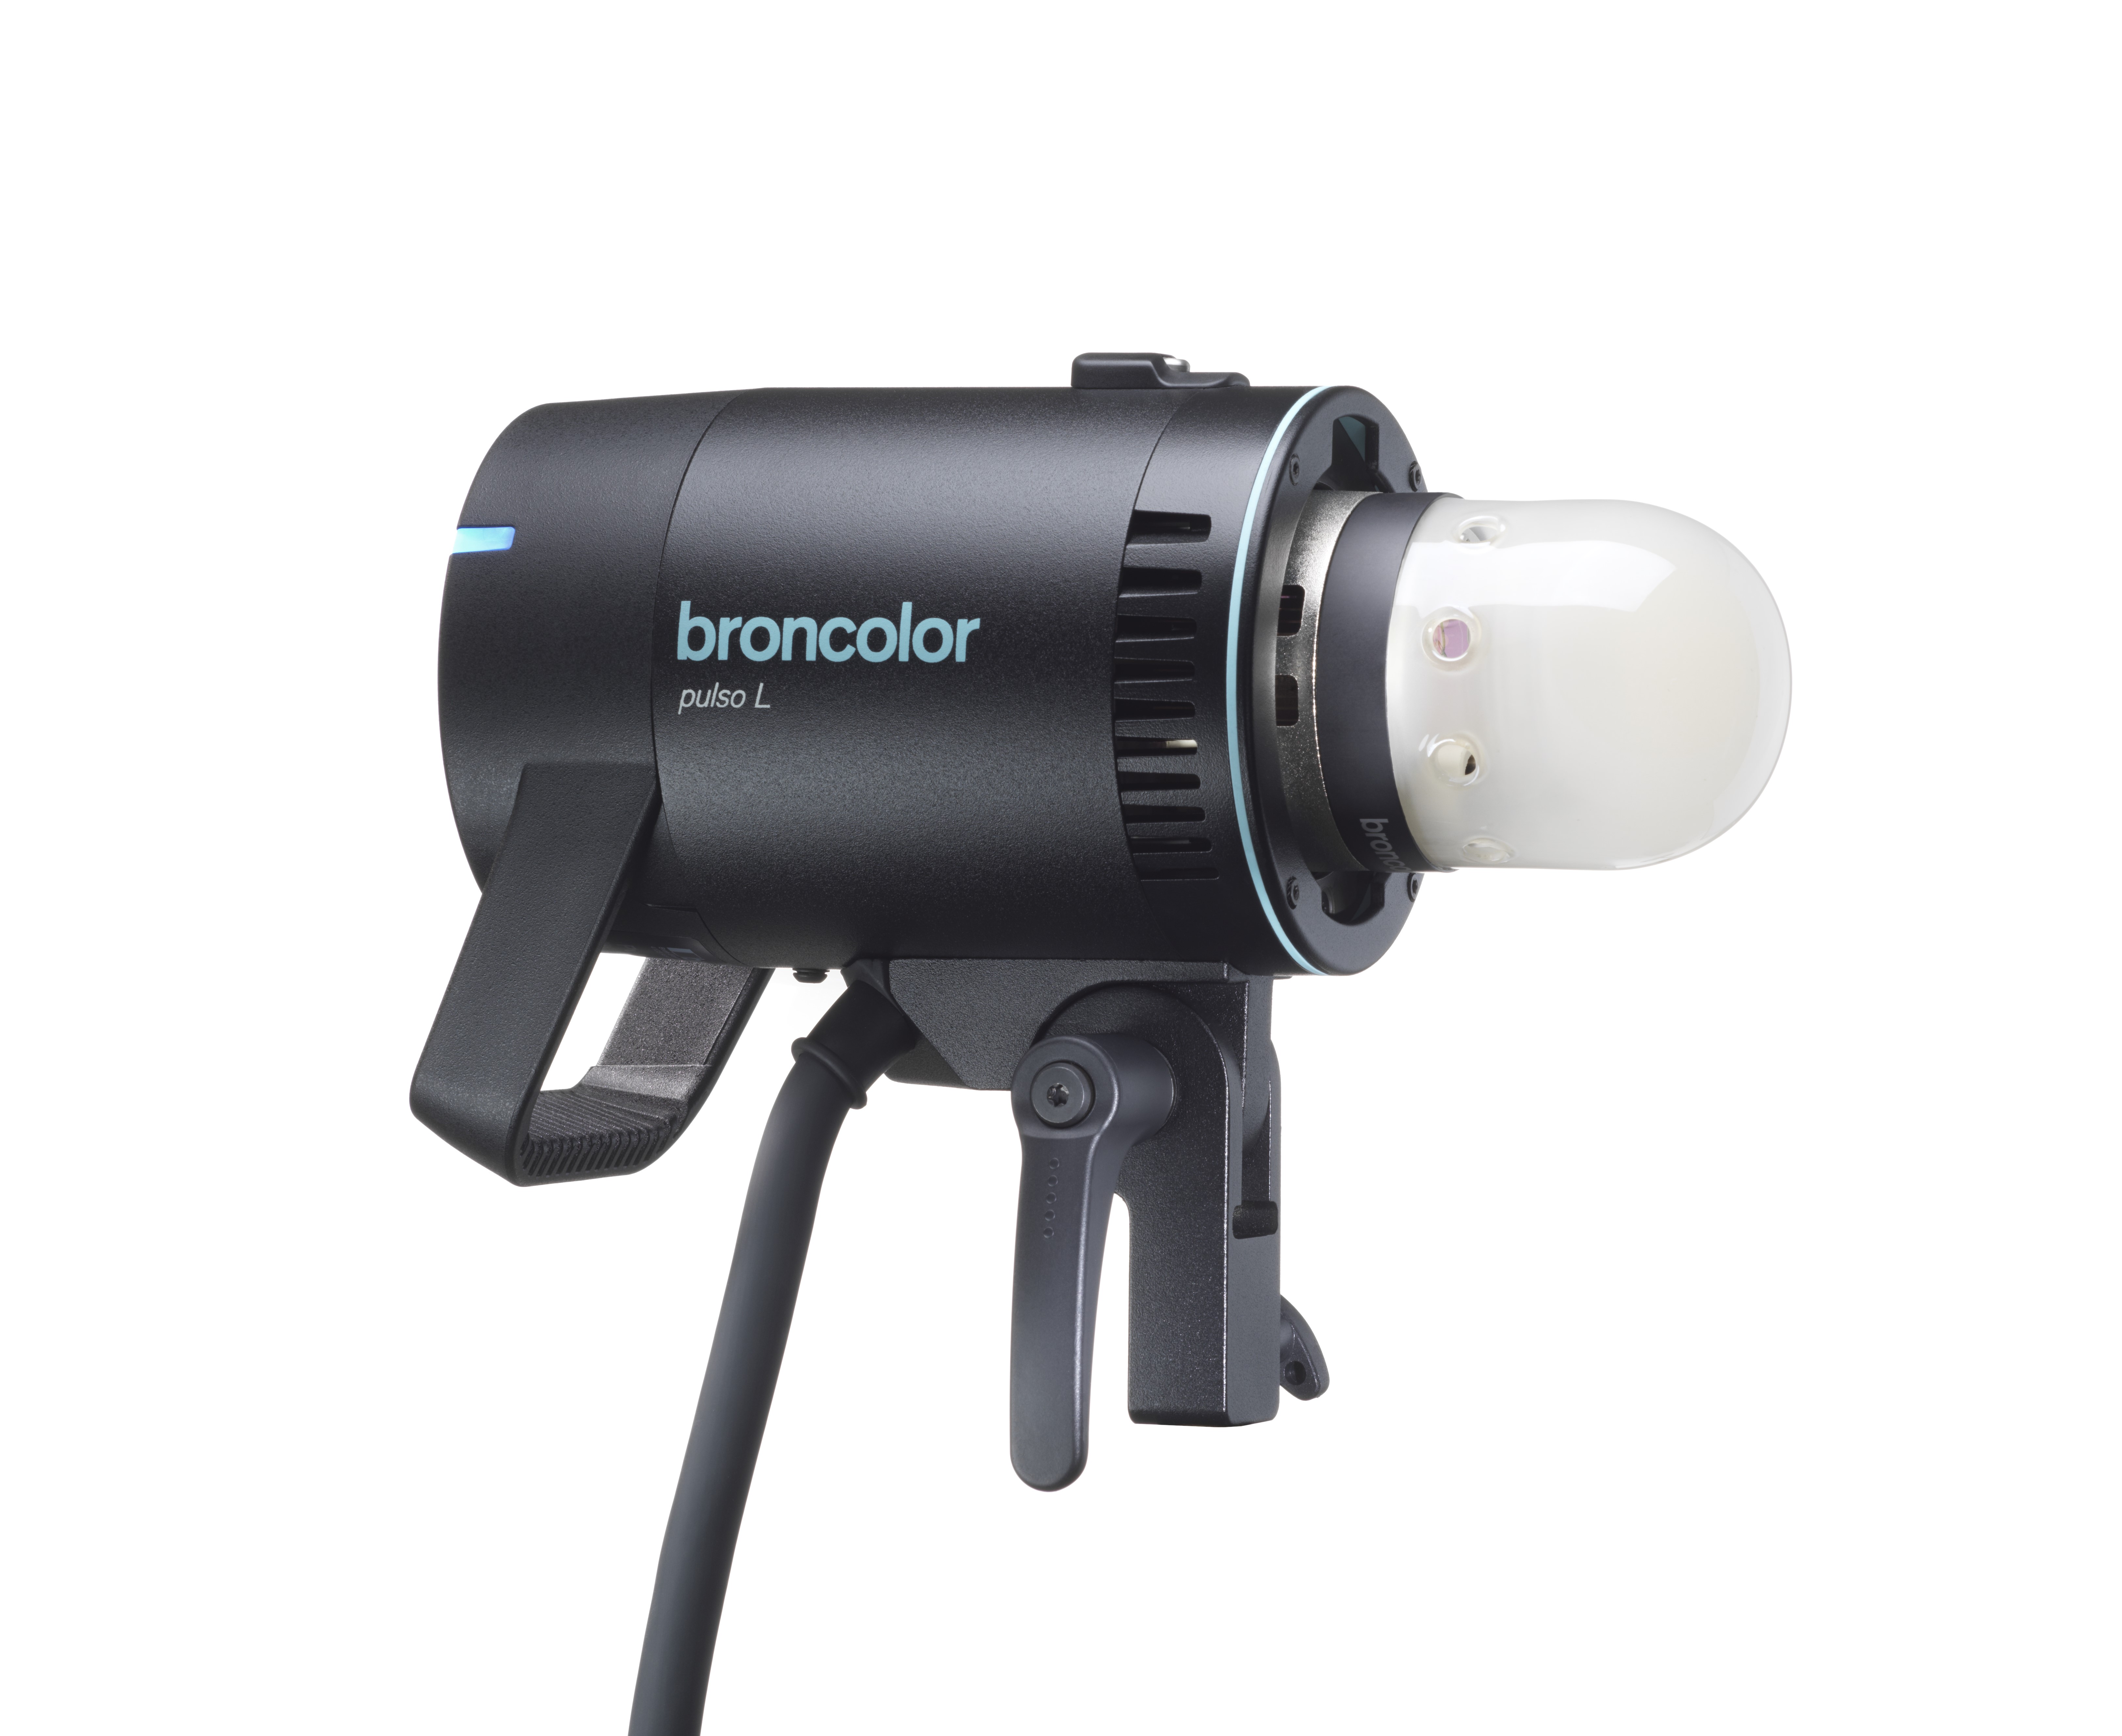 Pulso L
-
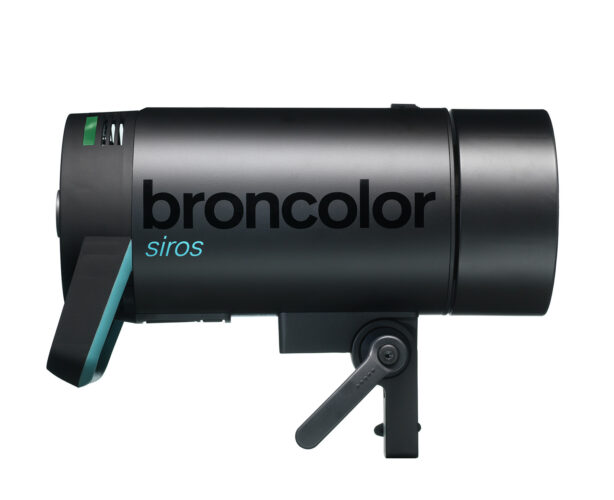 Siros S
-
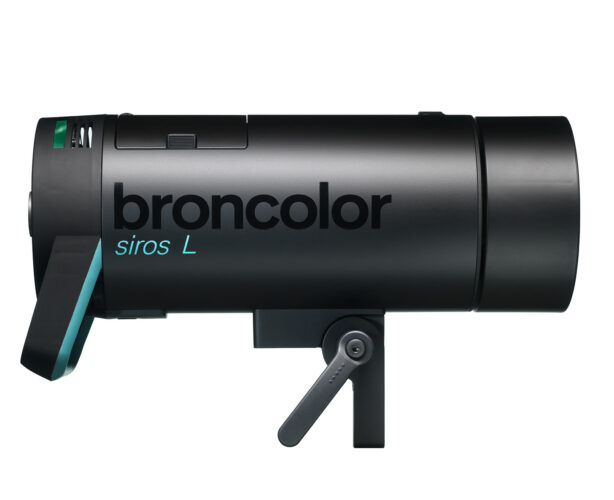 Siros L
-
 Scoro E + S
-
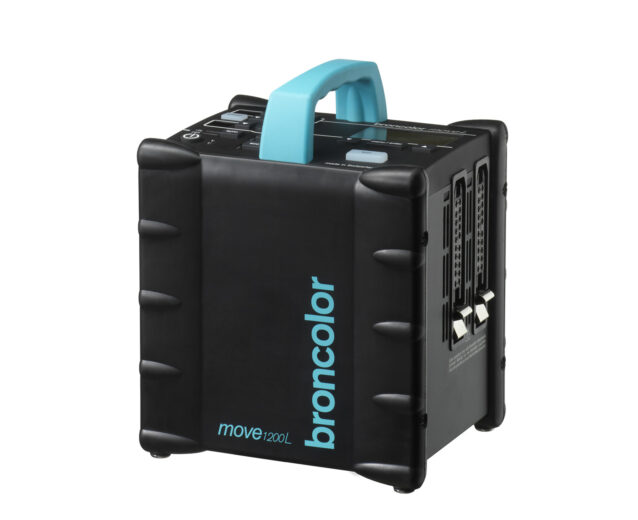 Move 1200 L
-
 RFS 2.1
-
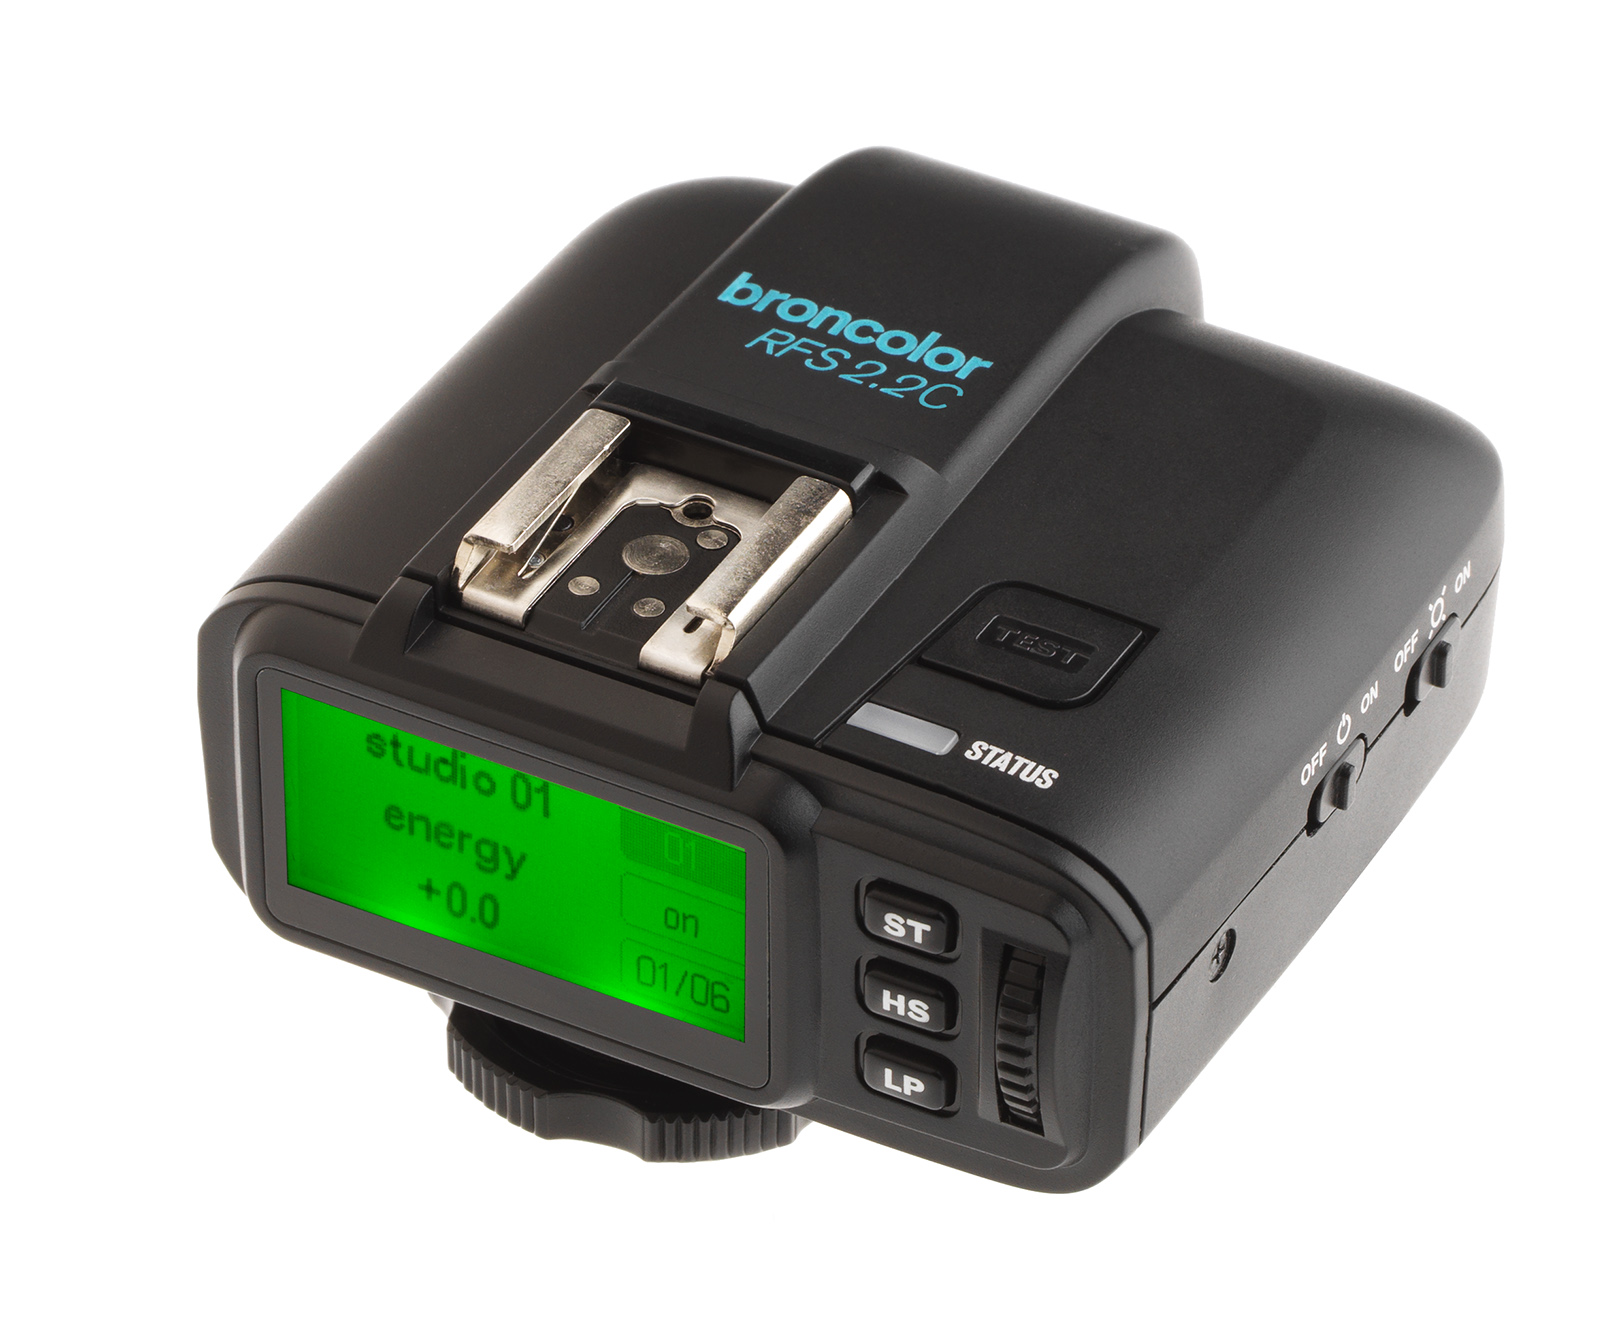 RFS 2.2
-
 RFS 3
RFS 3
-
 Pulso G, Unilite and Picolite
-
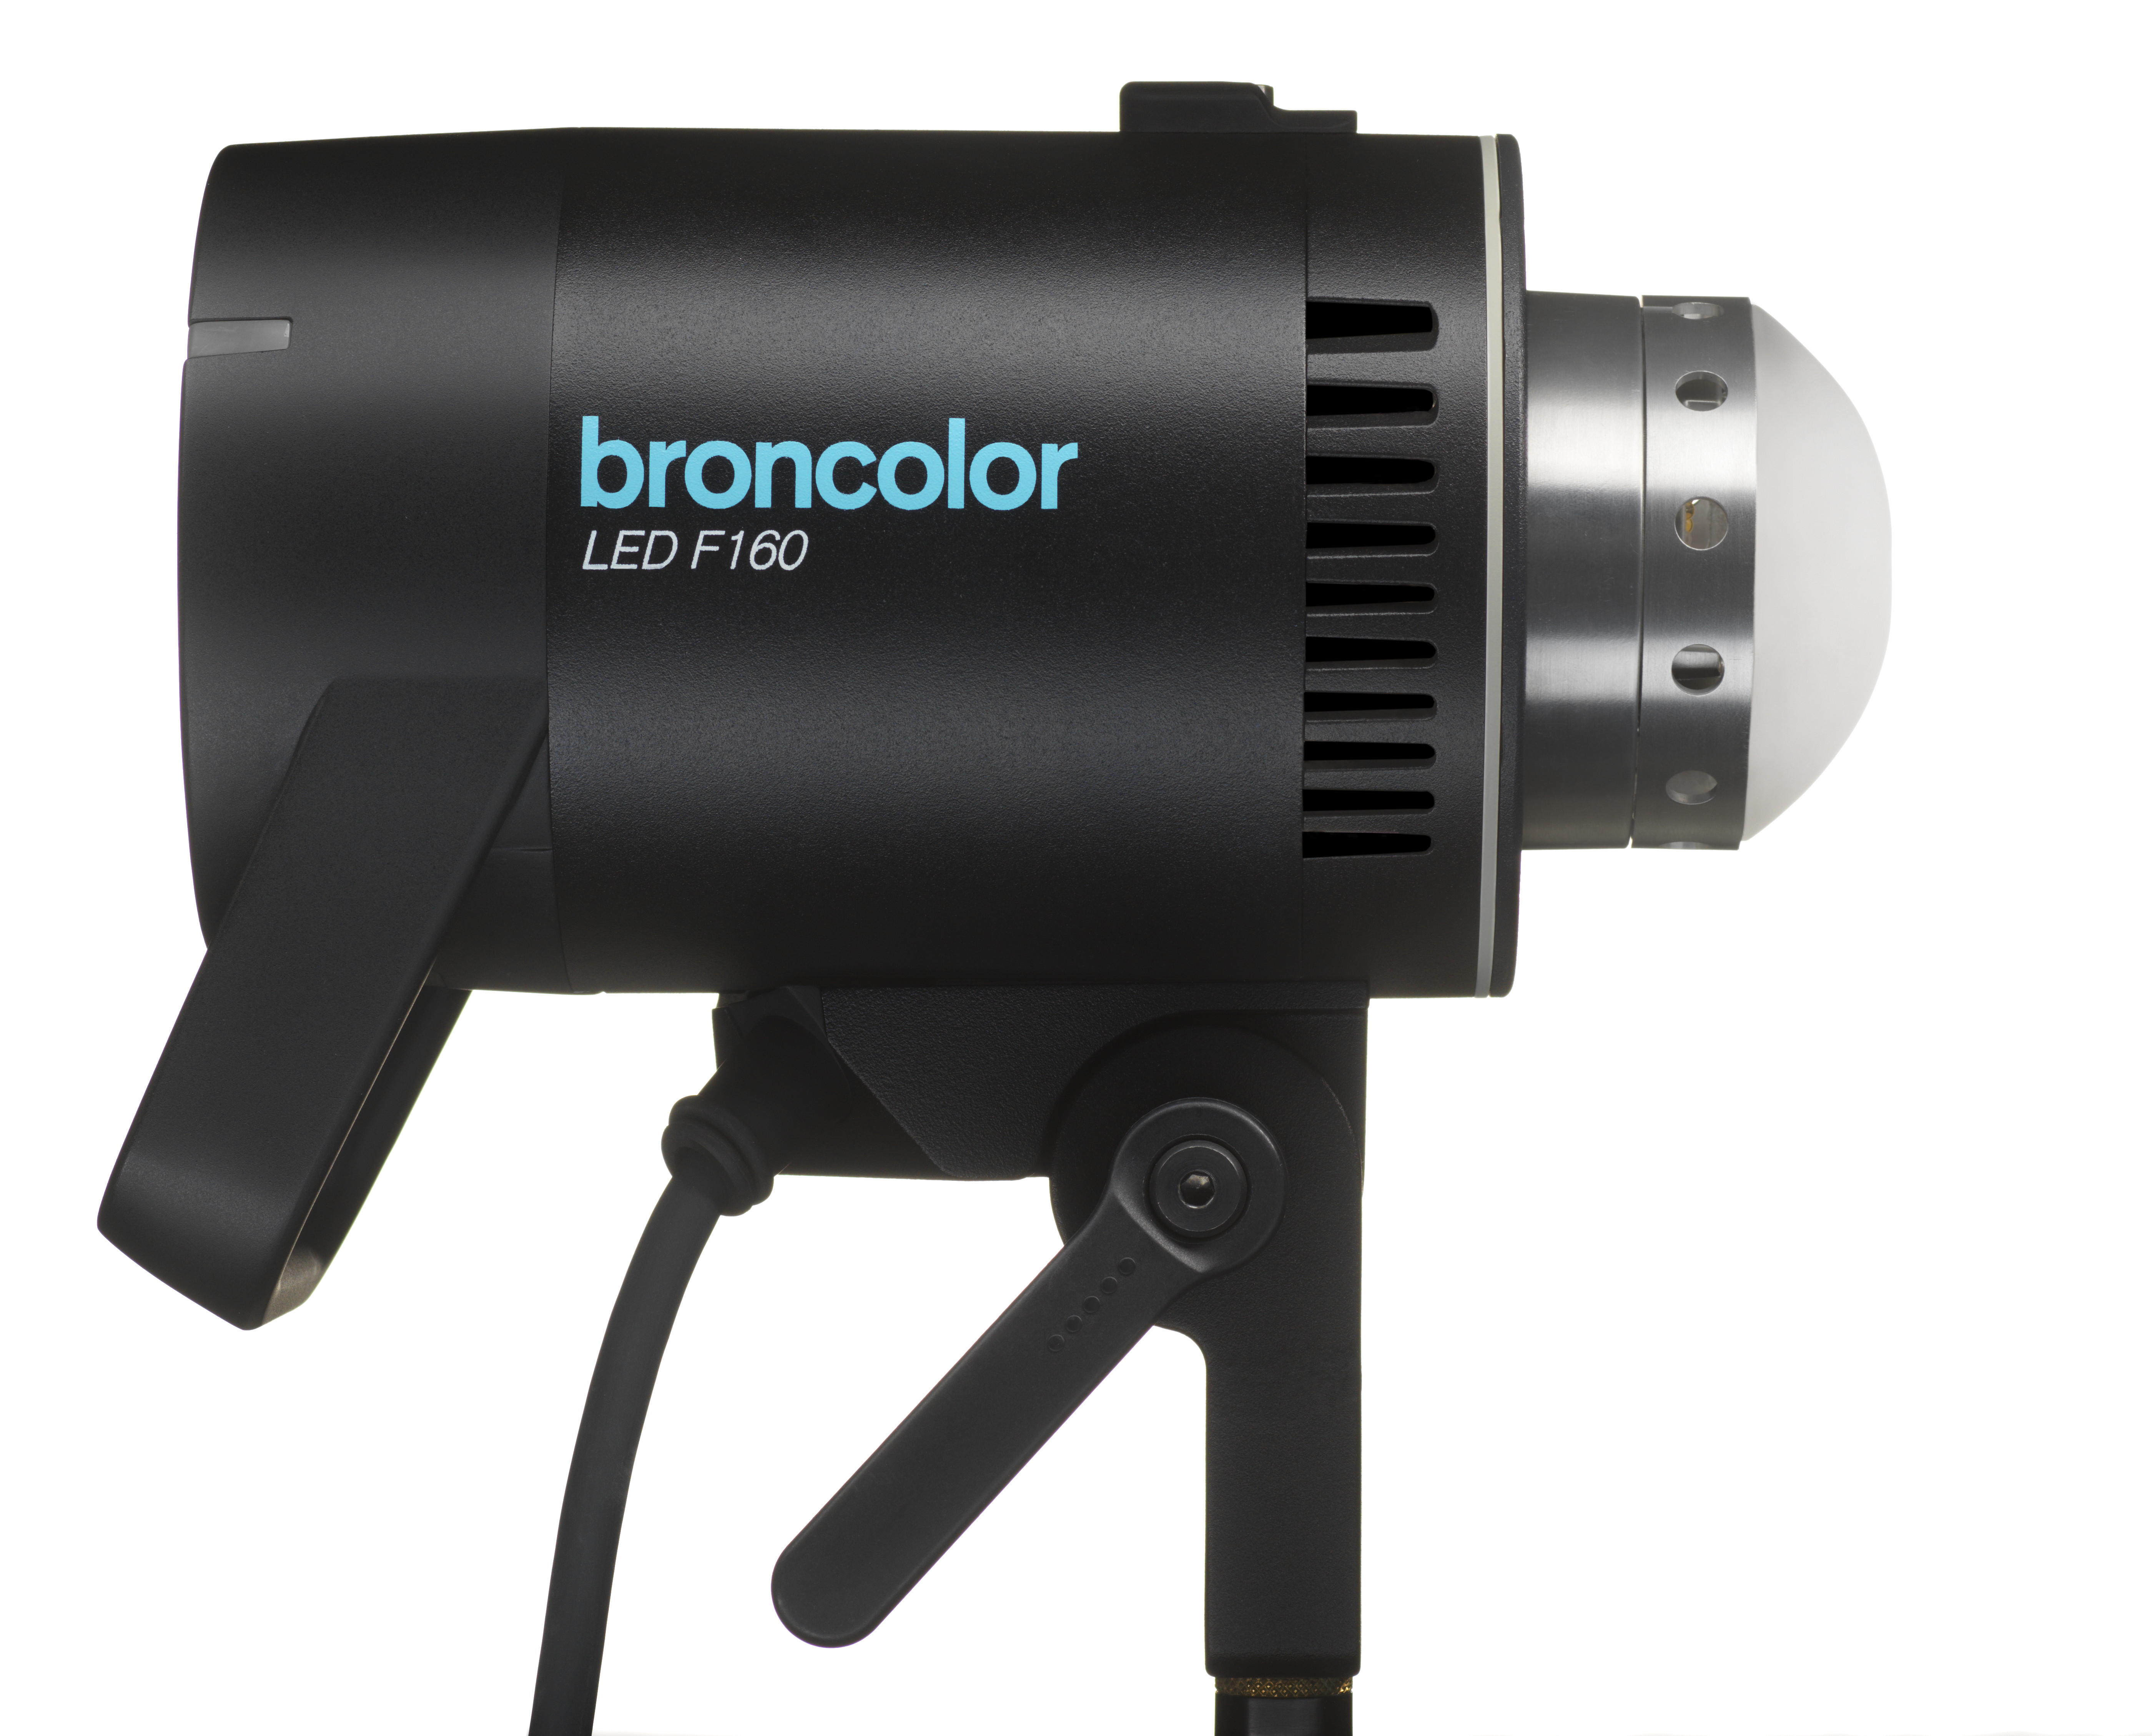 LED F160
-
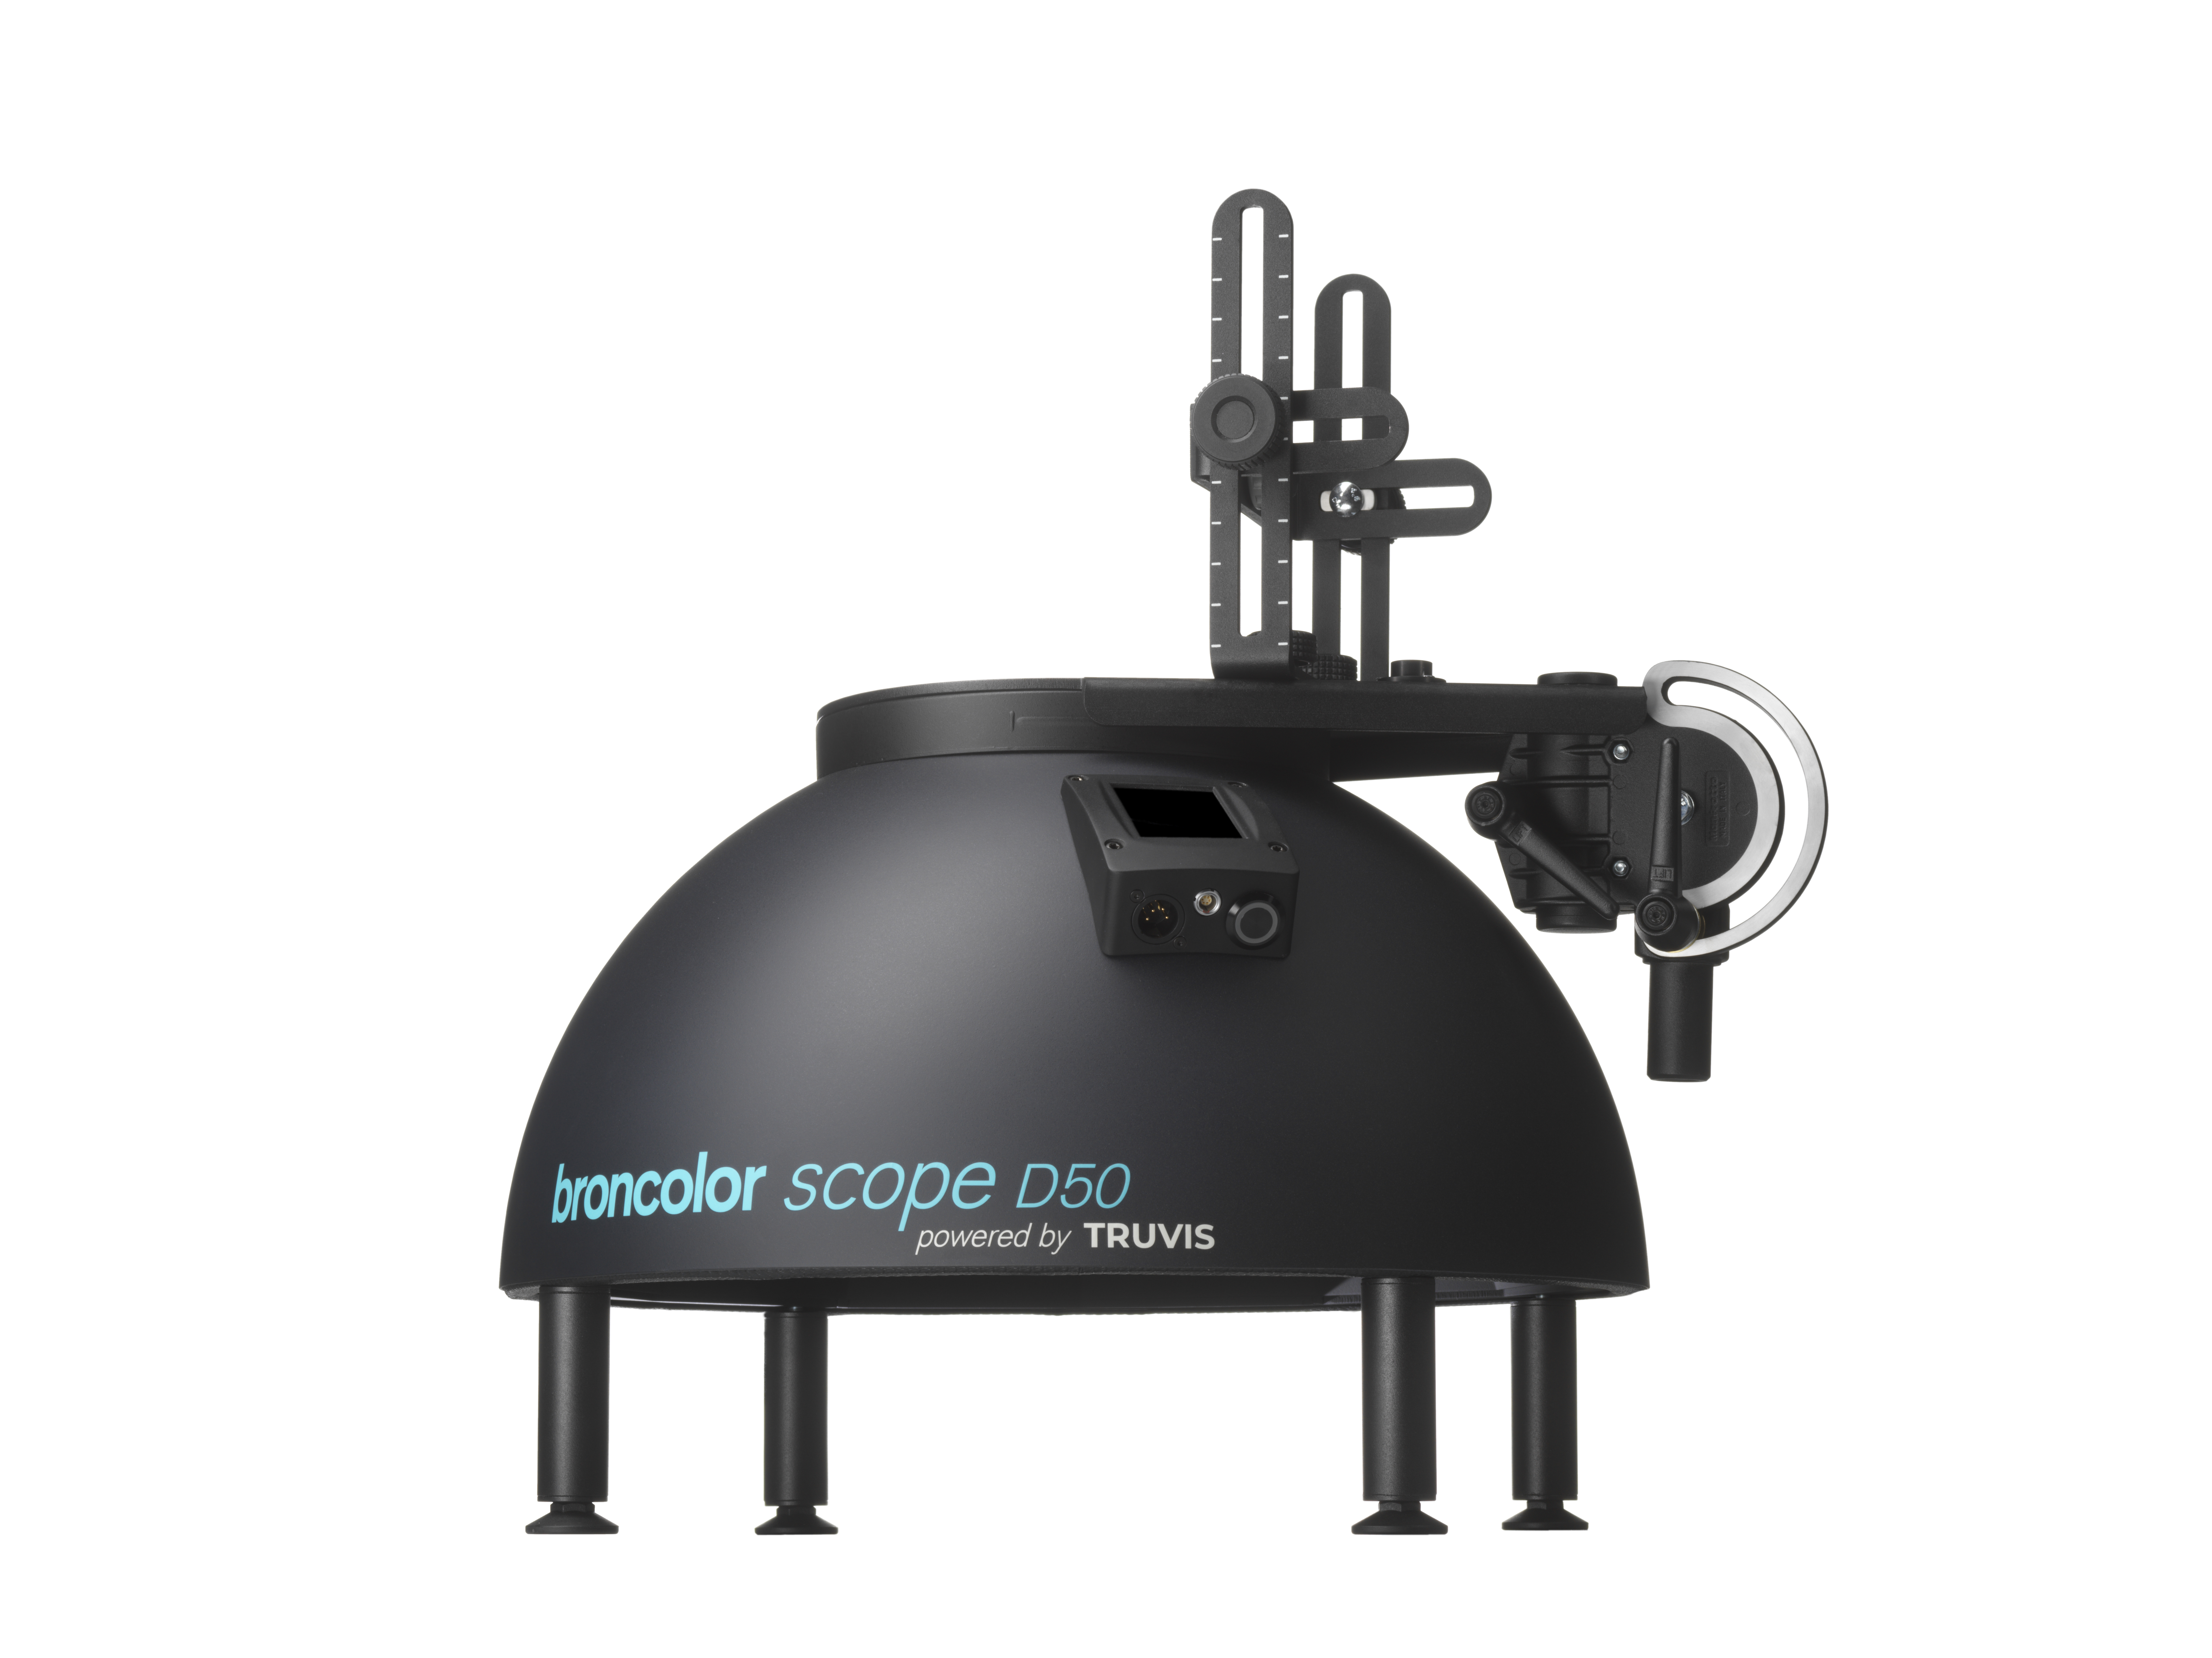 Scope D50
-
Compatibility (Lamp <-> light shaper | Lamp <-> power pack)
-
Locate your distributor or dealer
Changing flash tubes
1) Disconnect the mains cable from the unit.
2) Remove the safety glass by pulling it out of its retaining clips.
3) Press the contact spring downwards and pull the flash tube out carefully.
1) 
2)
3)
Changing the fuse
1) Disconnect the mains cable from the unit (see picture 1 above). Open the fuse compartment
beneath the unit.
2) Prise the blown fuse carefully out with a pointed object.
3) Insert the replacement fuse and close the fuse compartment again.
1)
2)
3)
Changing light shapers
1) Turn the light shaper in either direction to its stop.
2) Pull the release backwards and, at the same time, turn the light shaper until it is free of the
bayonet fitting.
3) Remove the light shaper carefully to the front. Take care not to damage the safety glass.
1)
2)

3)
Mounting an umbrella
Insert the umbrella in the opening provided beneath the unit.