Control panels (Satos)

-
Stelos 800 L
Stelos: Safety Instructions – read before use | Environment Stelos: Firmware update Stelos: User Interface | Controls | Functions | Handling Stelos: Technical Data Stelos: Remote control | Flash triggering Stelos: Power supply | Battery Stelos: Maintenance | Repair | Warranty Stelos: Accessories & Spare Parts Stelos: Error messages
-
Satos
Satos: Safety Instructions – read before use | Environment Satos: Firmware update Satos Satos: User Interface | Controls | Functions | Handling Satos: Technical Data Satos: Remote control | Flash triggering Satos: Power supply | Battery Satos: Maintenance | Repair | Consumables | Spare parts | Guarantee Satos: Accessories Satos: Charging station for up to 4 slide-in batteries
- Pulso L
-
Siros S
Siros S: Safety Instructions – read before use | Environment Siros S: Firmware update Siros S: User Interface | Controls | Functions | Handling Siros S: Technical Data Siros S: Remote control | Flash triggering Siros S: Power supply Siros S: Maintenance | Repair | Consumables | Spare parts | Guarantee Siros S: Accessories
-
Siros L
Siros L: Safety Instructions – read before use | Environment Siros L: Firmware update Siros L Siros L: User Interface | Controls | Functions | Handling Siros L: Technical Data Siros L: Remote control | Flash triggering Siros L: Power supply | Battery Siros L: Maintenance | Repair | Consumables | Spare parts | Guarantee Siros L: Accessories
- Scoro E + S
- Move 1200 L
- RFS 2.1
- RFS 2.2
-
RFS 3
RFS 3: Safety Instructions – read before use | Environment RFS 3: Scope of delivery and operating elements RFS 3: User Interface | Controls | Functions | Handling RFS 3: Firmware Update RFS 3.0 RFS 3: Compatibility RFS 3: Technical Data RFS 3: Maintenance | Repair | Consumables | Spare parts | Guarantee RFS 3: Trouble shooting
- Pulso G, Unilite and Picolite
- LED F160
- Scope D50
- Compatibility (Lamp <-> light shaper | Lamp <-> power pack)
- Locate your distributor or dealer
-
 Stelos 800 L
-
 Satos
Satos
-
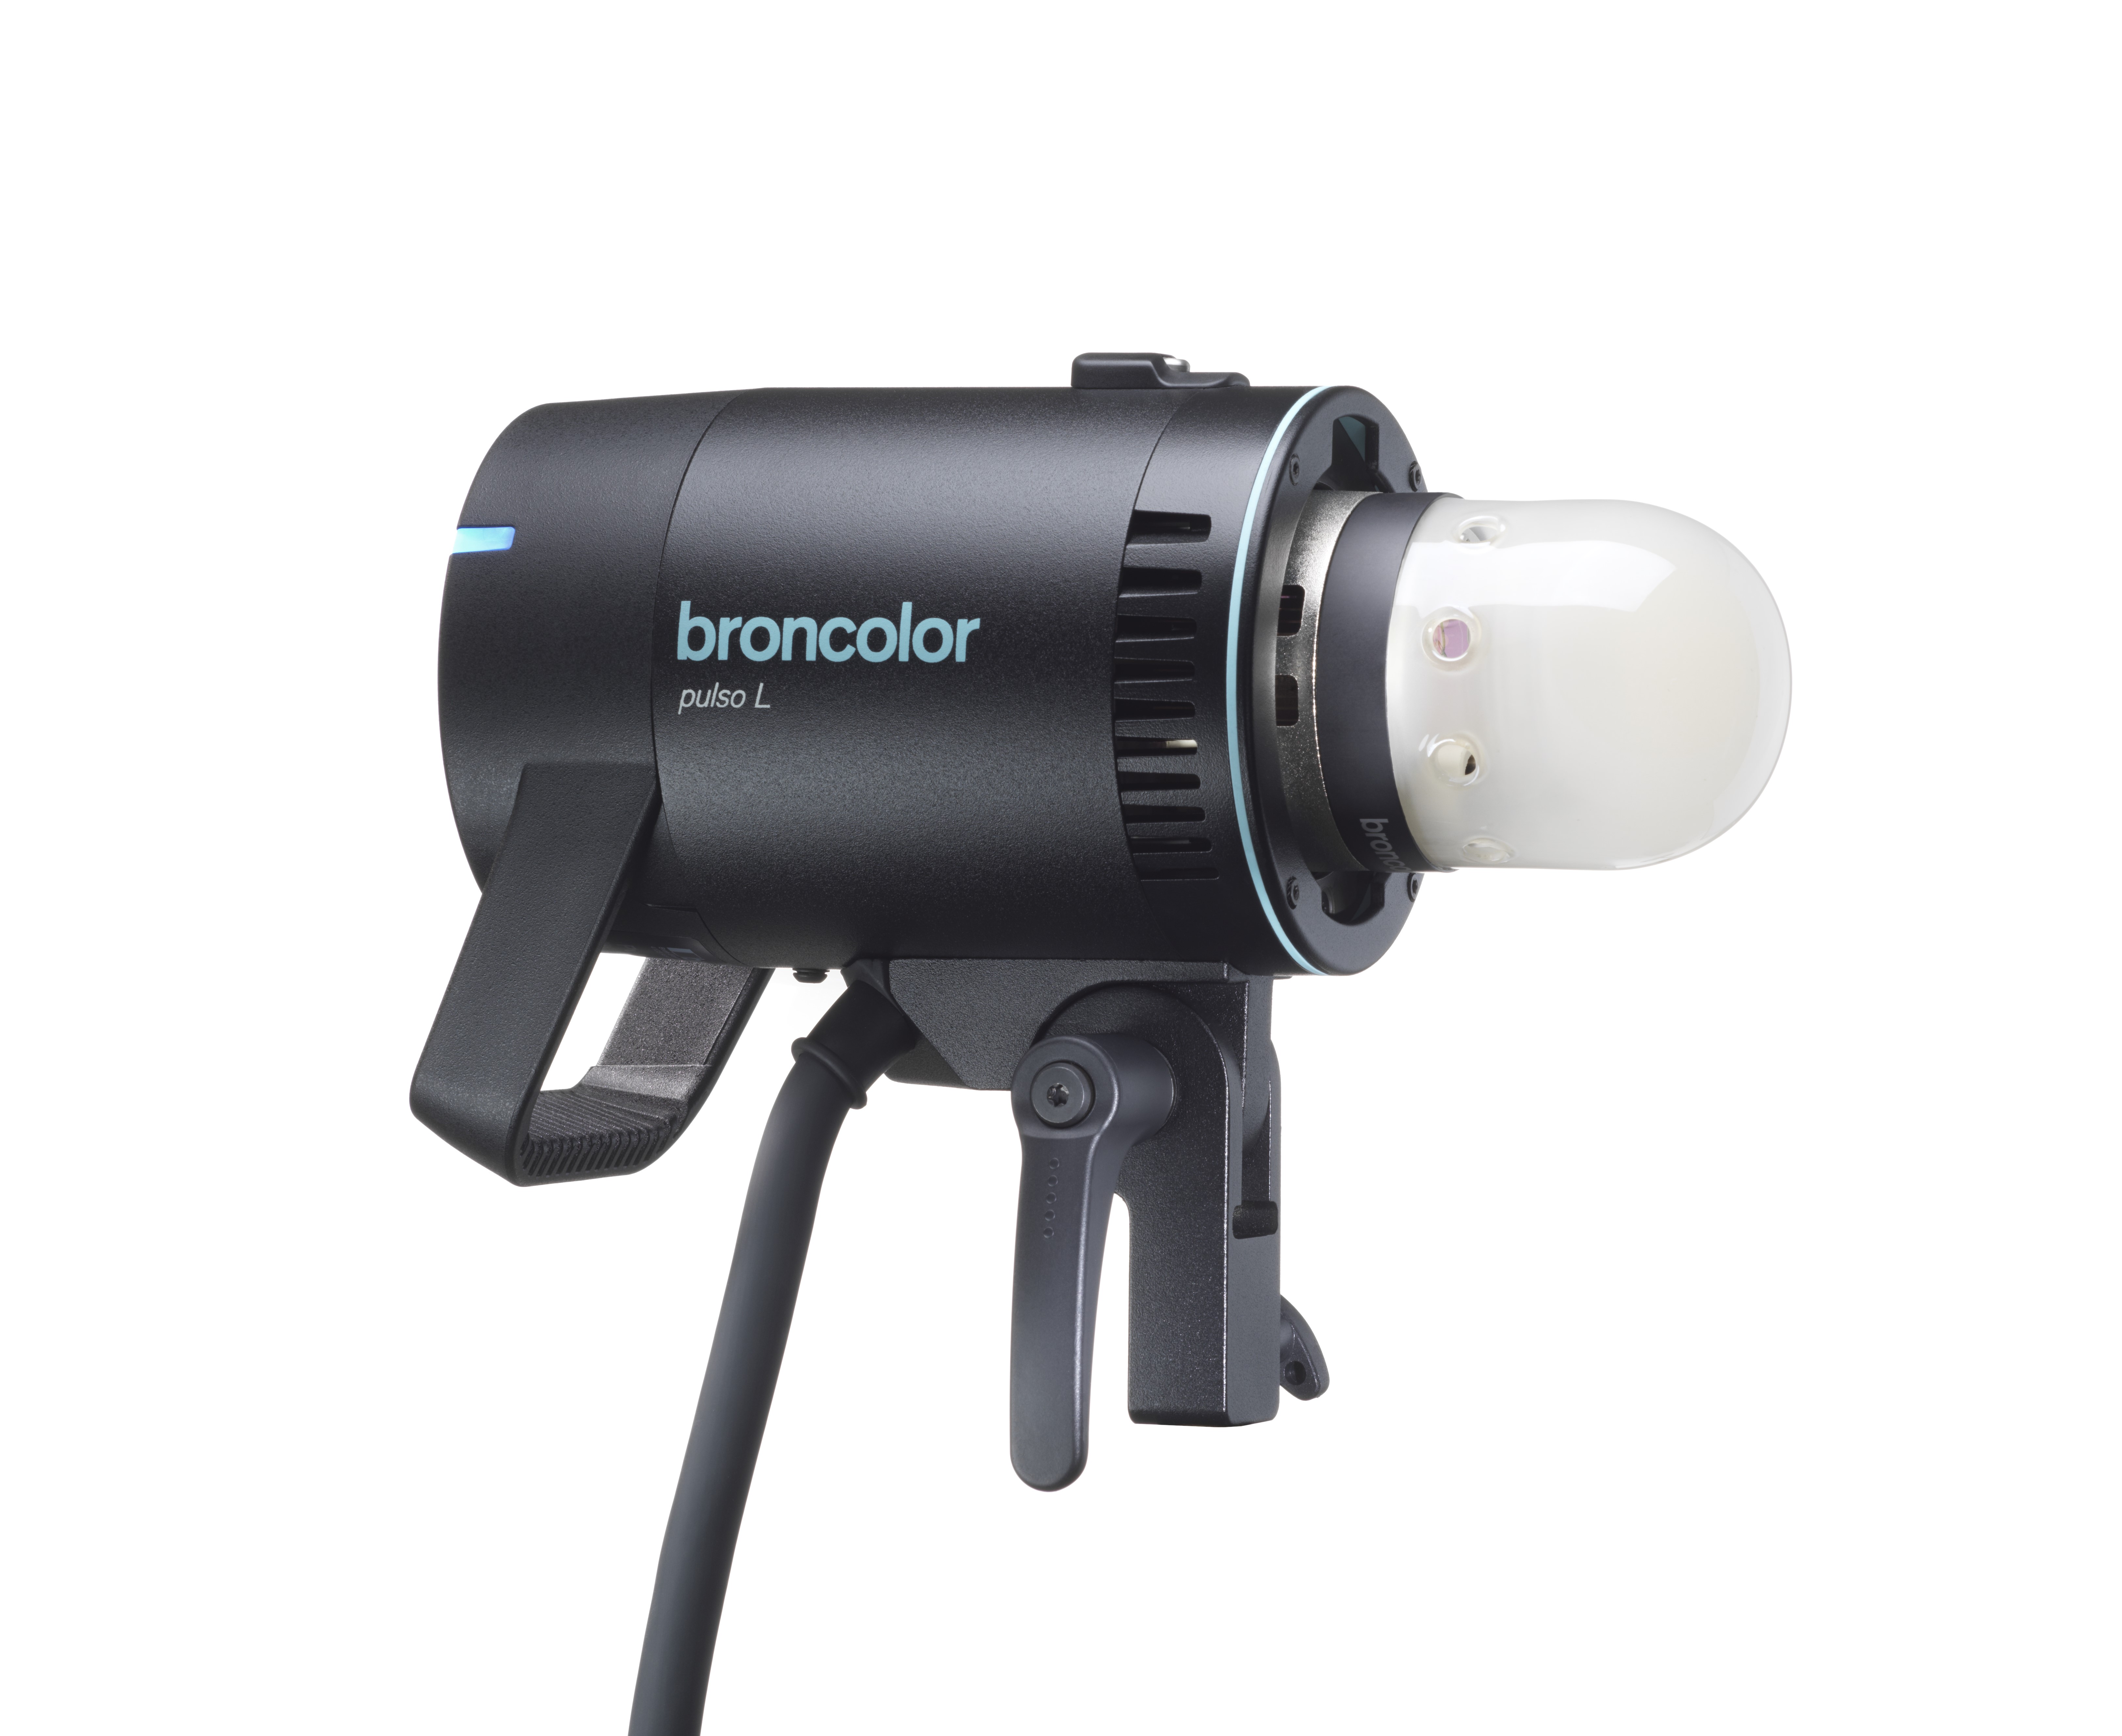 Pulso L
-
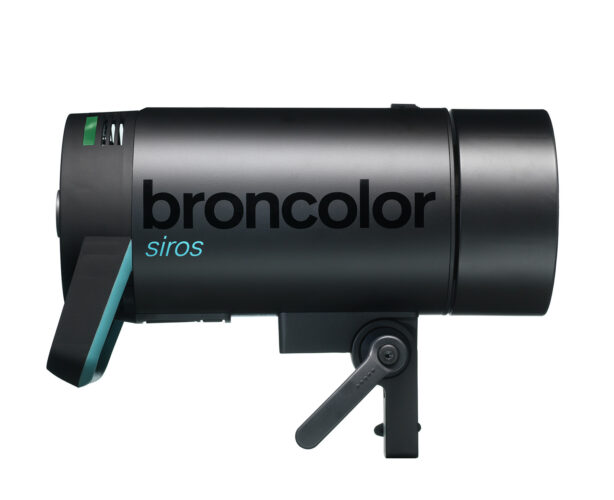 Siros S
-
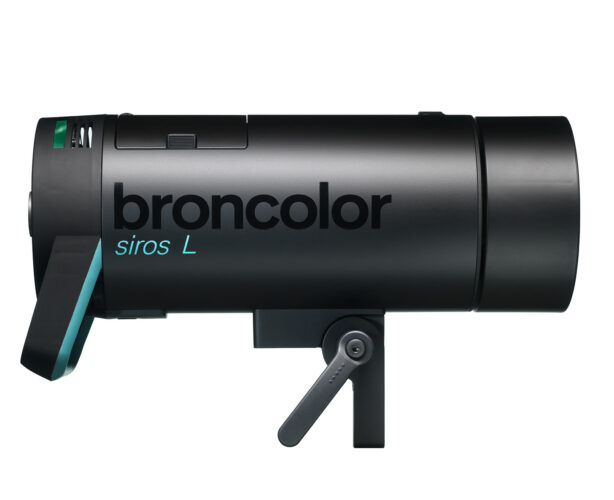 Siros L
-
 Scoro E + S
-
 Move 1200 L
-
 RFS 2.1
-
 RFS 2.2
-
 RFS 3
RFS 3
-
 Pulso G, Unilite and Picolite
-
 LED F160
-
 Scope D50
-
Compatibility (Lamp <-> light shaper | Lamp <-> power pack)
-
Locate your distributor or dealer
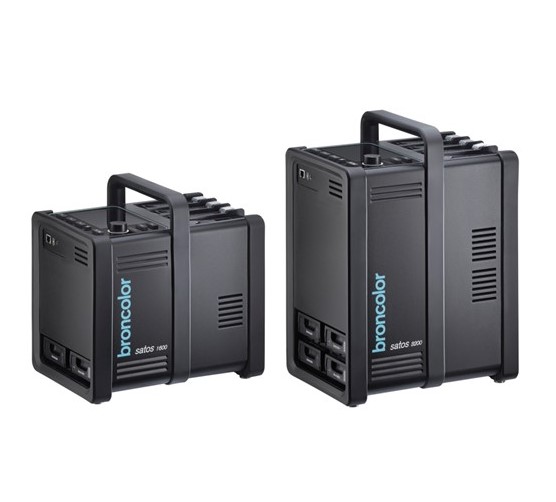
The following illustrations are intended to familiarize you with the control panels of the Satos power pack:
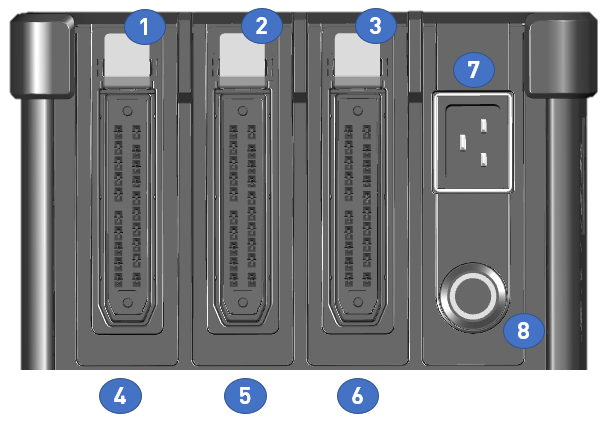
Number |
Function |
1-3 |
Locking spring: Press down to remove the light plug. |
4 |
Light socket 1 |
5 |
Light socket 2 |
6 |
Light socket 3 |
7 |
Power cable junction box |
8 |
Power switch with LED light ring
Switch on the device: Short push-button action (< 2 seconds)
Switch off the device: Short push-button action (< 2 seconds) A "Goodbye screen" is displayed for several seconds. The LED ring blinks for approx. 10 seconds.
Once the LED ring turns off completely, there is no more mains power being detected and the batteries are not being charged.
After Satos has been shut down, a steady blue LED ring indicates that mains power is still available and the batteries are being recharged. Do not remove the power elements while Satos is booting or shutting down.
Forced shutdown: If the control menu becomes "hung up" or another malfunction occurs, you can immediately switch off the device by pressing the push-button for an extra long time (> 6 seconds).
If the LED ring flashes quickly ten times, this indicates that the batteries are discharged too much or startup is not possible.
|
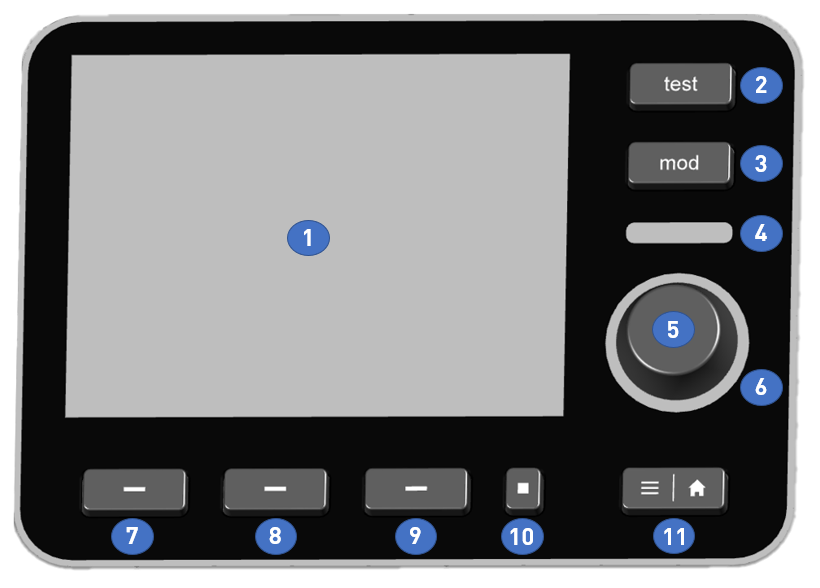
Number |
Function |
1 |
Multi-touch enabled display. Multiple finger touches can be processed at the same time. |
2 |
Triggering a test flash. All connected and active lights are flashing simultaneously. |
3 |
Short push-button action: The modeling light is switched on or off. Long push-button action: The modeling light switches to "full" (maximum brightness). When the "mod" push-button is pressed shortly again, the modeling light switches back to the setting selected (in the submenu). |
4 |
Optical cell: |
5 |
Push/turn control
Normal turn: The focus frame position shifts one position to the right or to the left, or the power (flash energy) is changed in 0.1 intervals.
Quick turn ("twist function"): The power (flash energy) is changed in 1.0 intervals. |
6 |
LED ring around push/turn control Indicates the flash recharging ("recycling") visually. The LED switches off when the capacitors are being recharged and no additional flash can be triggered yet. Once charging has been completed and the next flash can be triggered, this indicator glows a constant blue.
In addition, this LED ring functions as a cognition light (colors: blue, green, violet, yellow, turquoise).
|
7 |
Short push-button action: Light channel number 1 is (de)selected.
Long push-button action: Light channel number 1 is temporarily deactivated ("disabled"). Pressing the pushbutton again switches this light back on ("enable"). |
8 |
Short push-button action: Light channel number 2 is (de)selected.
Long push-button action: Light channel number 2 is temporarily deactivated ("disabled"). Pressing the pushbutton again switches this light back on ("enable"). |
9 |
Short push-button action: Light channel number 3 is (de)selected.
Long push-button action: Light channel number 3 is temporarily deactivated ("disabled"). Pressing the pushbutton again switches this light back on ("enable"). |
10 |
Short push-button action: The "Master push-button" selects or deselects all connected lights at the same time.
Long push-button action: All connected lights can be temporarily deactivated ("disabled") at the same time. Pushing the button again switches on all lights at the same time ("enable"). |
11 |
This toggle push-button switches back and forth between the main view and the submenu each time you press it. This push-button can be used at any time in any level of the menu. |
Satos can be controlled according to your requirements and preferences: You can control the device via touch control, turn/push knob, physical push-button, or a combination of these control panels.
Tip:
The turn/push control unit provides a fast and precise setting of numerical values.