Initial commissioning (Pulso L)

-
Stelos 800 L
Stelos: Safety Instructions – read before use | Environment Stelos: Firmware update Stelos: User Interface | Controls | Functions | Handling Stelos: Technical Data Stelos: Remote control | Flash triggering Stelos: Power supply | Battery Stelos: Maintenance | Repair | Warranty Stelos: Accessories & Spare Parts Stelos: Error messages
-
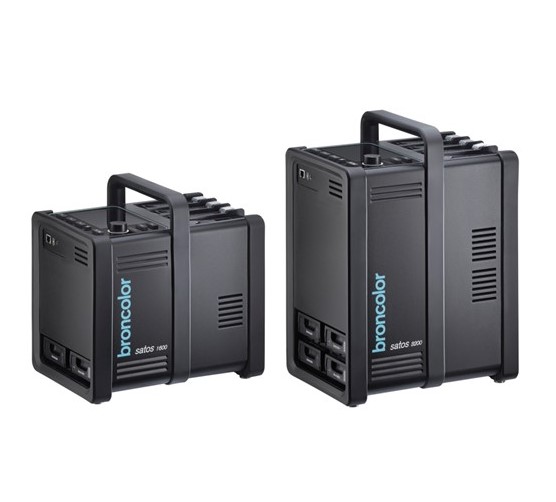
Satos
Satos: Safety Instructions – read before use | Environment Satos: Firmware update Satos Satos: User Interface | Controls | Functions | Handling Satos: Technical Data Satos: Remote control | Flash triggering Satos: Power supply | Battery Satos: Maintenance | Repair | Consumables | Spare parts | Guarantee Satos: Accessories Satos: Charging station for up to 4 slide-in batteries
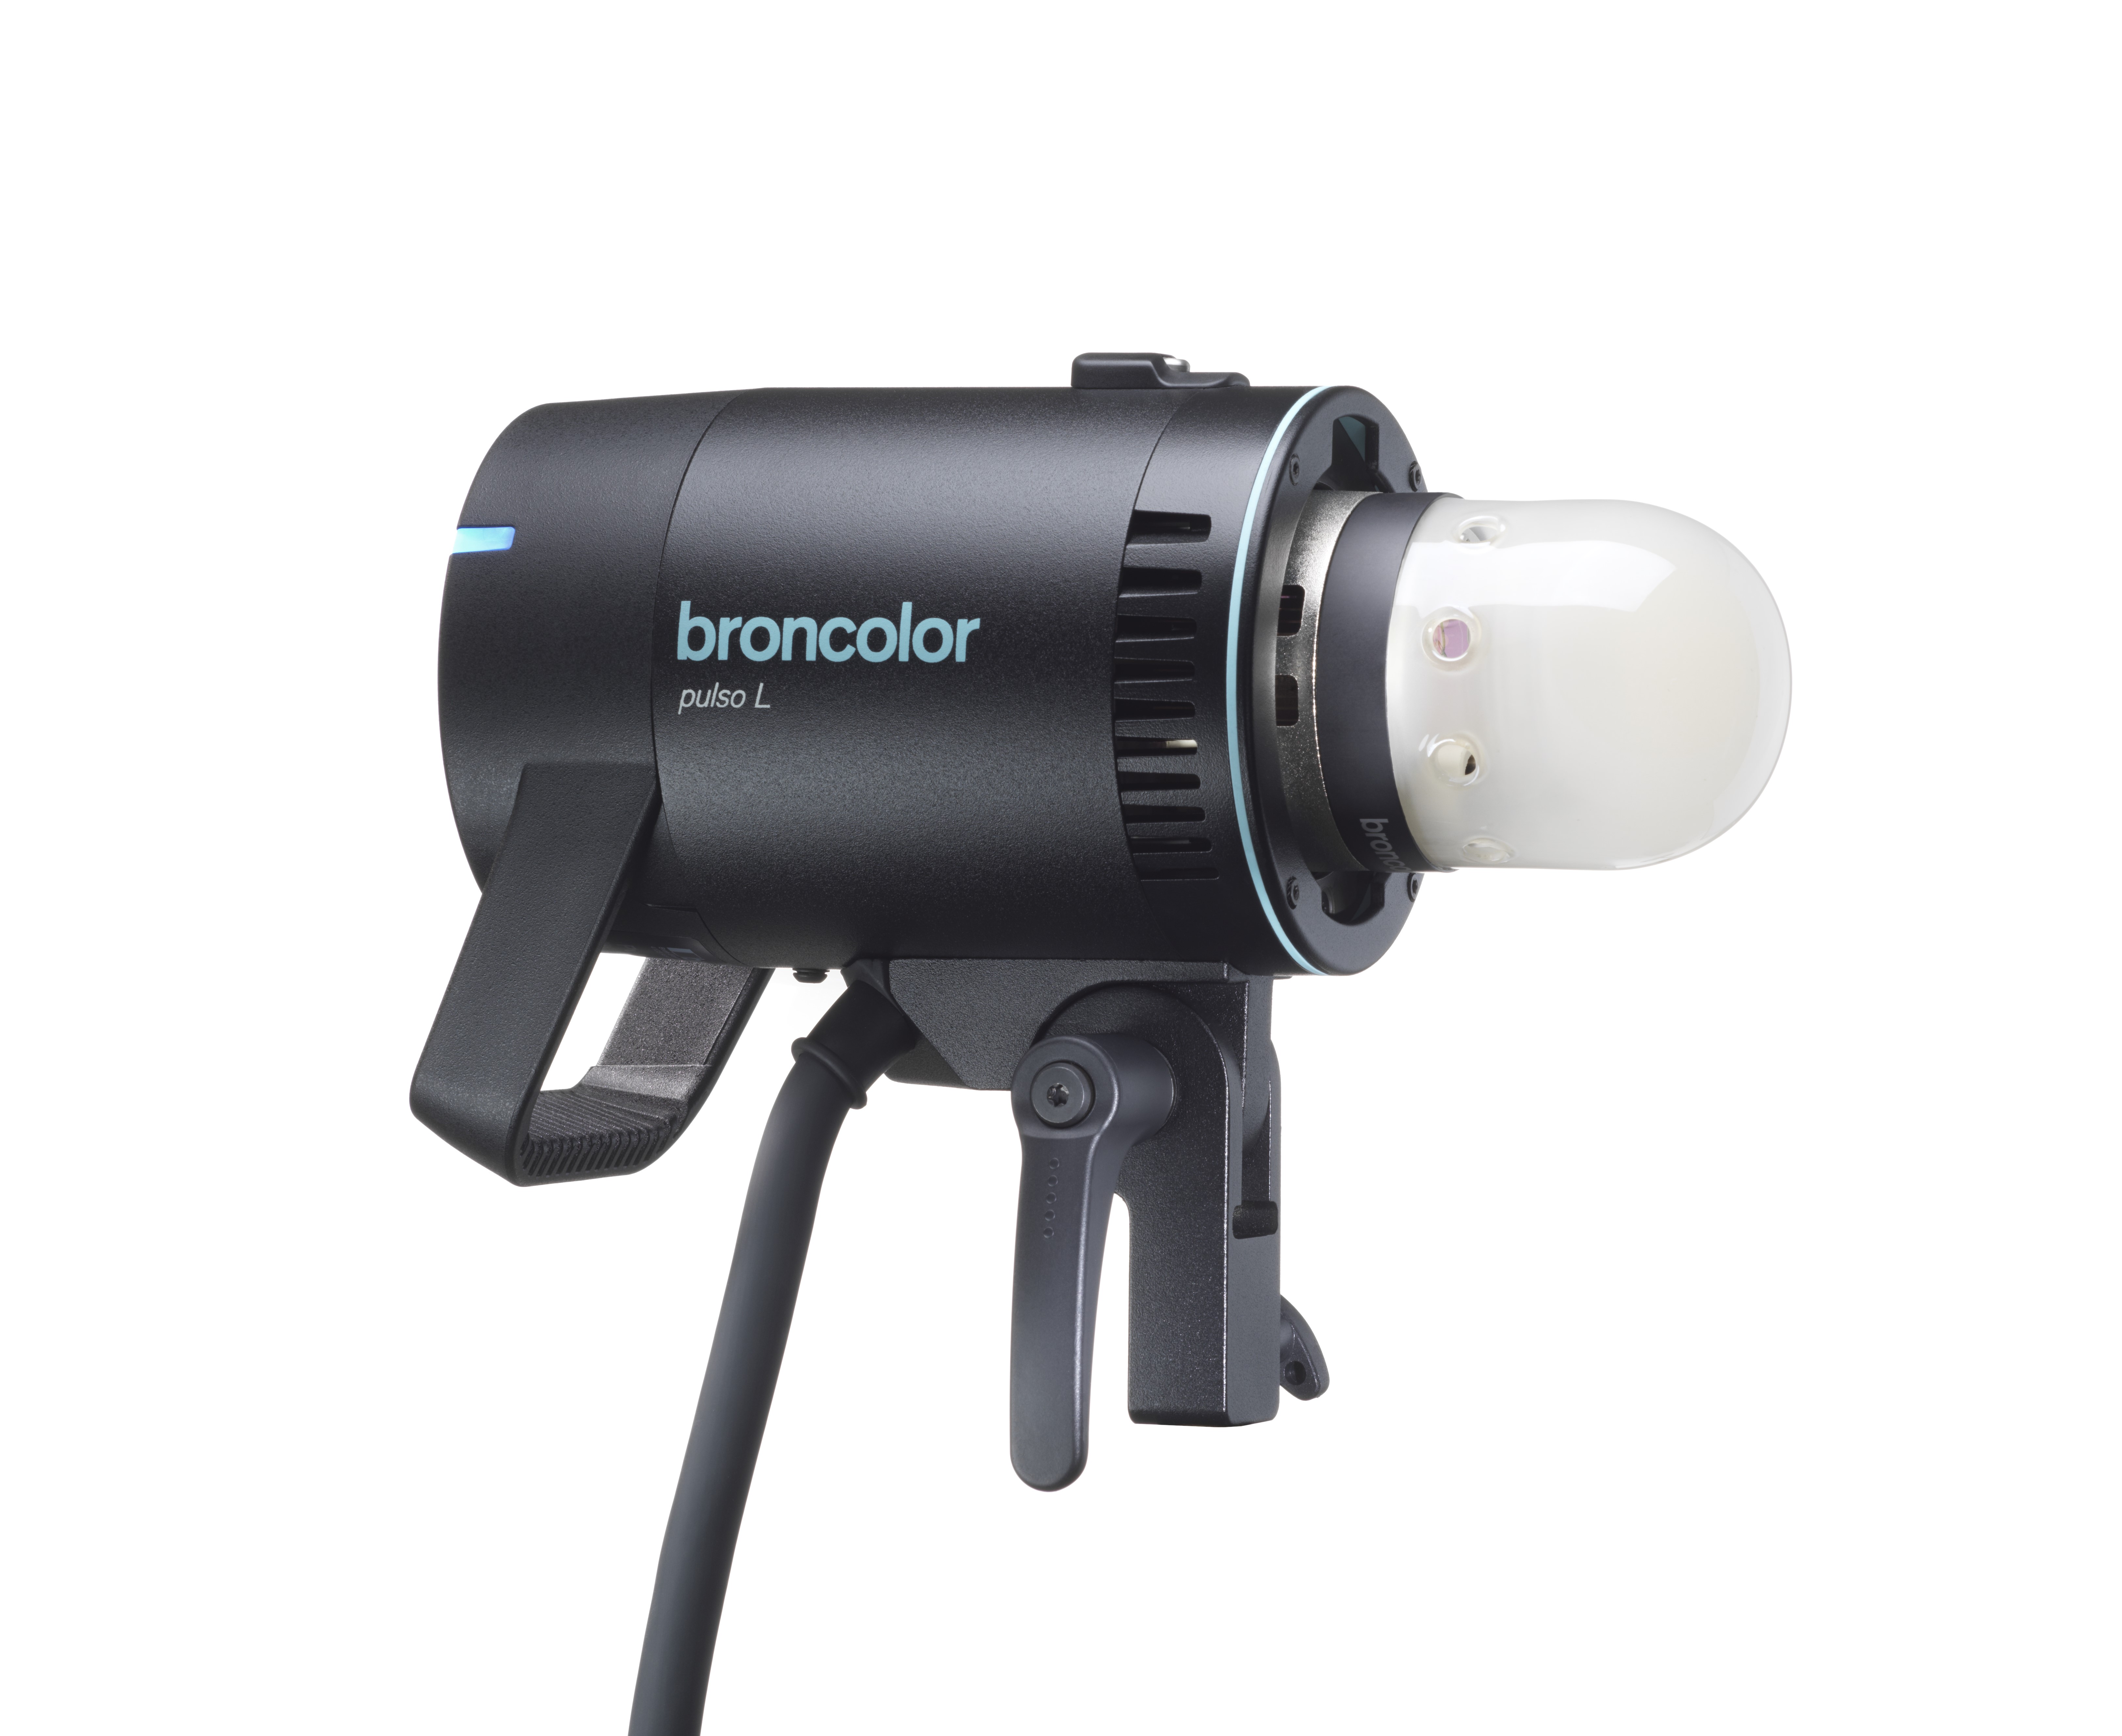
- Pulso L
-
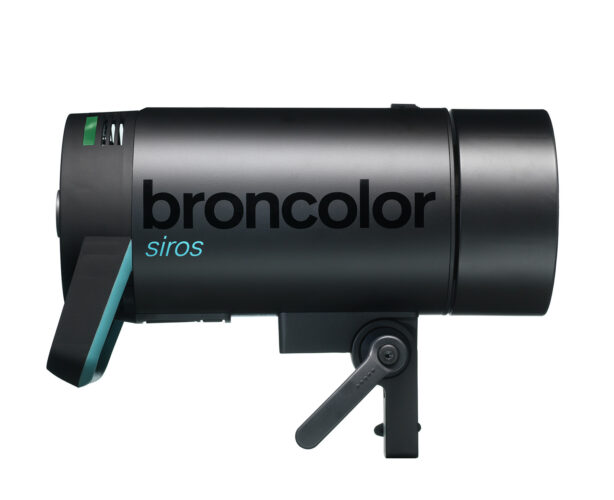
Siros S
Siros S: Safety Instructions – read before use | Environment Siros S: Firmware update Siros S: User Interface | Controls | Functions | Handling Siros S: Technical Data Siros S: Remote control | Flash triggering Siros S: Power supply Siros S: Maintenance | Repair | Consumables | Spare parts | Guarantee Siros S: Accessories
-
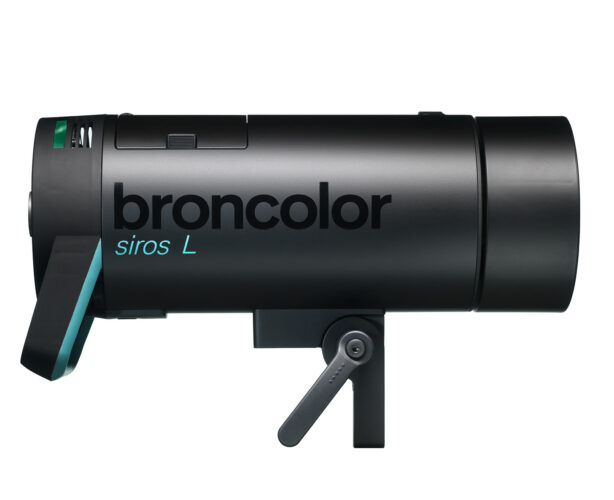
Siros L
Siros L: Safety Instructions – read before use | Environment Siros L: Firmware update Siros L Siros L: User Interface | Controls | Functions | Handling Siros L: Technical Data Siros L: Remote control | Flash triggering Siros L: Power supply | Battery Siros L: Maintenance | Repair | Consumables | Spare parts | Guarantee Siros L: Accessories
- Scoro E + S
- Move 1200 L
- RFS 2.1
- RFS 2.2
-
RFS 3
RFS 3: Safety Instructions – read before use | Environment RFS 3: Scope of delivery and operating elements RFS 3: User Interface | Controls | Functions | Handling RFS 3: Firmware Update RFS 3.0 RFS 3: Compatibility RFS 3: Technical Data RFS 3: Maintenance | Repair | Consumables | Spare parts | Guarantee RFS 3: Trouble shooting
- Pulso G, Unilite and Picolite
- LED F160
- Scope D50
- Compatibility (Lamp <-> light shaper | Lamp <-> power pack)
- Locate your distributor or dealer
-
 Stelos 800 L
-
 Satos
Satos
-
 Pulso L
-
 Siros S
-
 Siros L
-
 Scoro E + S
-
 Move 1200 L
-
 RFS 2.1
-
 RFS 2.2
-
 RFS 3
RFS 3
-
 Pulso G, Unilite and Picolite
-
 LED F160
-
 Scope D50
-
Compatibility (Lamp <-> light shaper | Lamp <-> power pack)
-
Locate your distributor or dealer
Table of Contents
It is mandatory to comply with the safety instructions supplied!
https://broncolor.swiss/safety

All protective transport materials must be removed. Before switching on the lamp for the first time, it is essential to remove the foam in the protective glass and around the flash tube.
Read the full Safety Instructions article here:
Removing and attaching light shapers
The Pulso L lamp is equipped with a locking slide. By fixing it in the rearmost position, you have both hands free to remove or replace the light shaper in a safe and controlled manner.

Rotate the light shaper in one direction, until it locks in place to remove it. Pull back the locking slide with one finger until it locks in place and push down the small locking pin in the rearmost position. The slider will now lock in this position. Continue to rotate the light shaper in the same direction until it is unlocked. Now you can carefully remove it. Please be careful not to damage or scratch the safety glass.
Attaching light shapers is also very easy:
Position the light shaper to the Pulso L lamp from the front, align it with the bayonet recesses (small to small and large to large), push back to lock in place and then trigger the locking mechanism with a slight turn to the left or right. You will thereby hear a "click". The light shaper is now securely attached.
Mounting an umbrella

If desired, insert the umbrella pole into the umbrella holder, that is located on the tripod mount below the lamp.
Maximum insertable rod diameter: 8mm (0.31in).
Use with a stand
If desired, mount the Pulso L lamp on a suitable tripod. The tripod mount is located on the bottom of the equipment.

Ceiling mounting
Warning!
For ceiling mounting, be sure to follow the mounting instructions supplied with the separately available accessory "33.173.00 – Safety cable for LED F160 lamp and Pulso L".
The Pulso L lamp must NOT be mounted on the ceiling without the aforementioned safety cable!

The display of the Pulso L lamp has an automatic orientation. The display automatically rotates itself by 180° (adjustable in the "Display" submenu), in the overhead operation.