Set the lamp channel
-
Stelos 800 L
Stelos: Safety Instructions – read before use | Environment Stelos: Firmware update Stelos: User Interface | Controls | Functions | Handling Stelos: Technical Data Stelos: Remote control | Flash triggering Stelos: Power supply | Battery Stelos: Maintenance | Repair | Warranty Stelos: Accessories & Spare Parts Error messages
-
Satos
Safety Instructions – read before use | Environment Firmware update Satos User Interface | Controls | Functions | Handling Technical Data Remote control | Flash triggering Power supply | Battery Maintenance | Repair | Consumables | Spare parts | Guarantee Accessories Charging station for up to 4 slide-in batteries
- Pulso L
- Siros S
- Siros L
- Scoro E + S
- Move 1200 L
- RFS 2.1
- RFS 2.2
- RFS 3
- Pulso G, Unilite and Picolite
- LED F160
- Scope D50
- Compatibility (Lamp <-> light shaper | Lamp <-> power pack)
- Locate your distributor or dealer
-
 Stelos 800 L
-
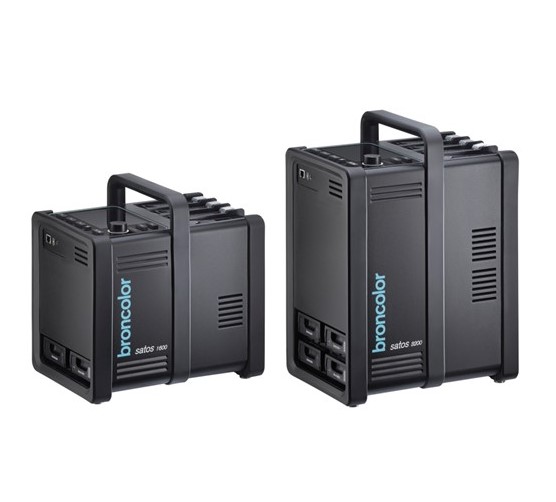 Satos
Satos
-
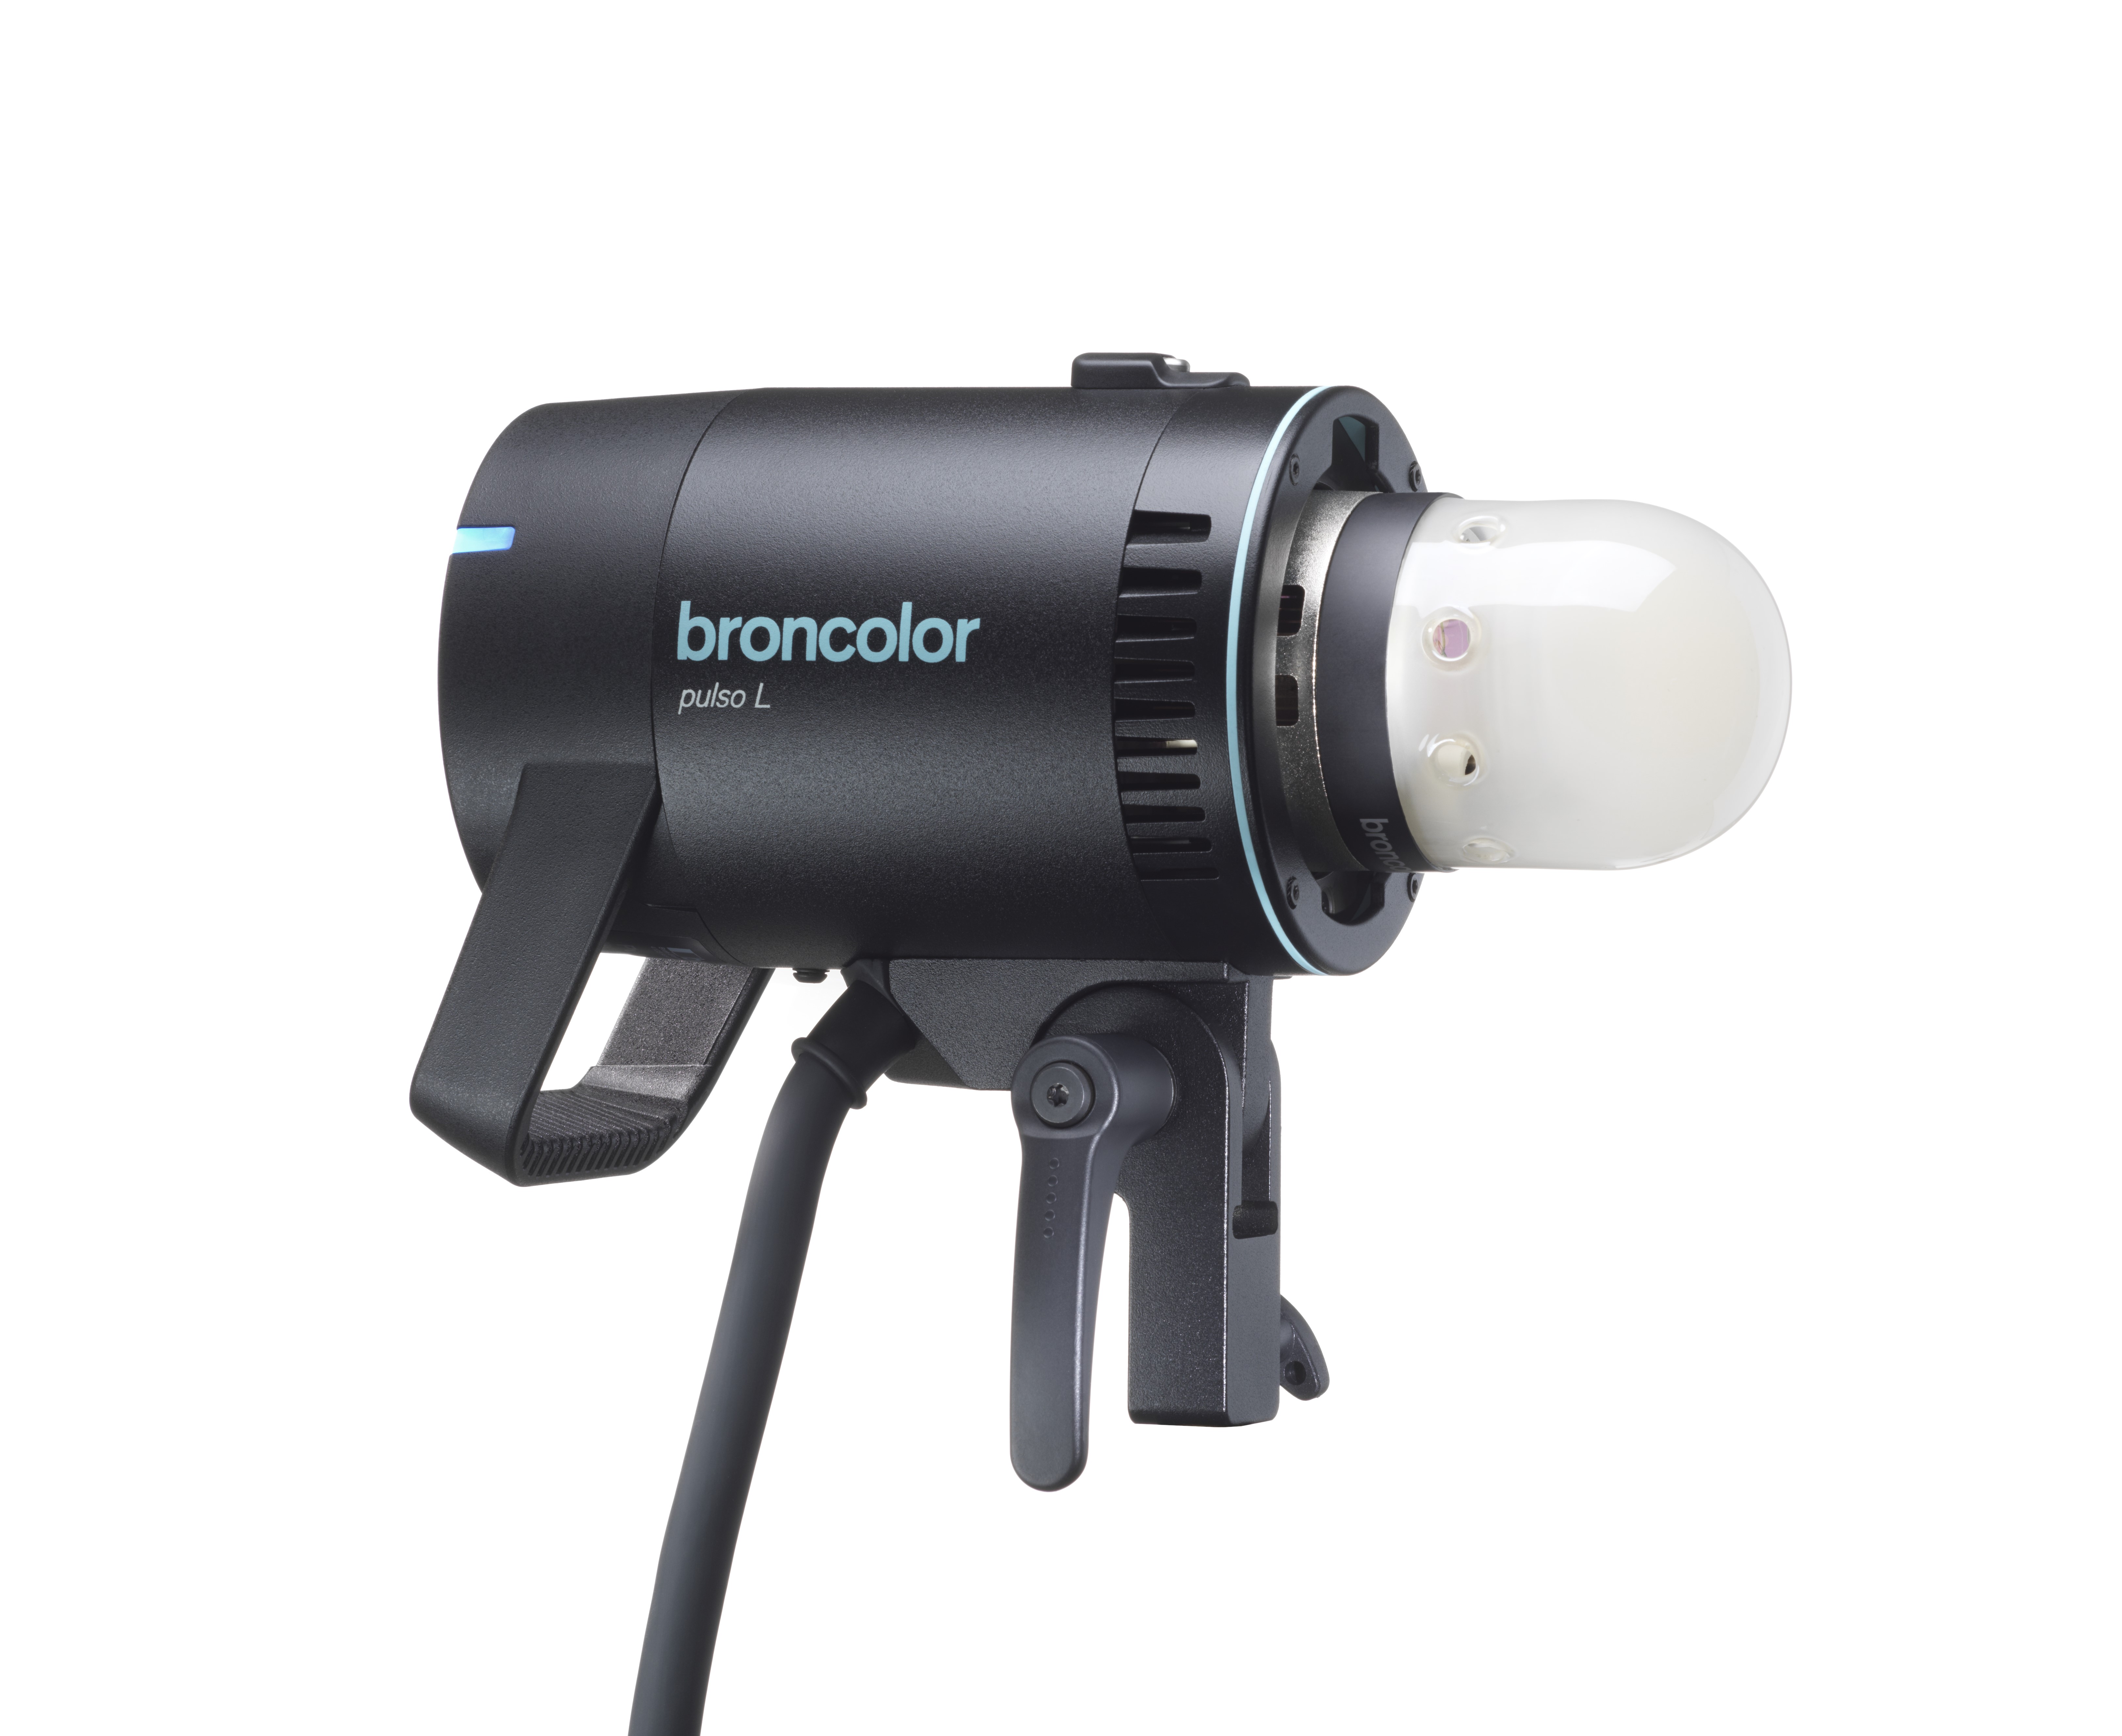 Pulso L
-
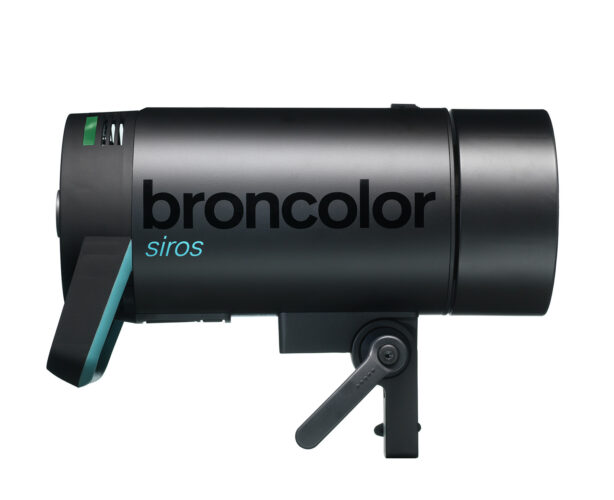 Siros S
-
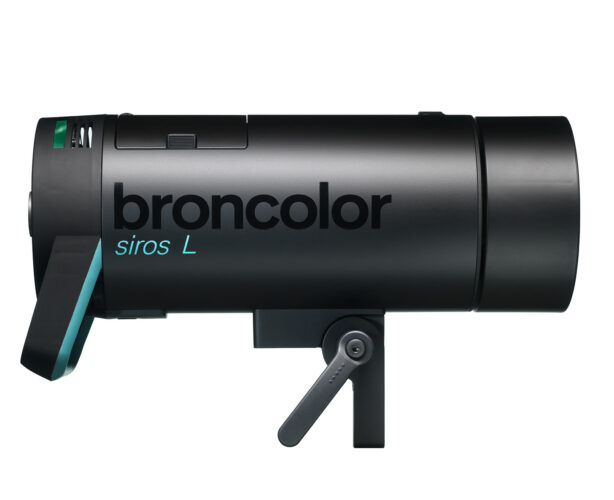 Siros L
-
 Scoro E + S
-
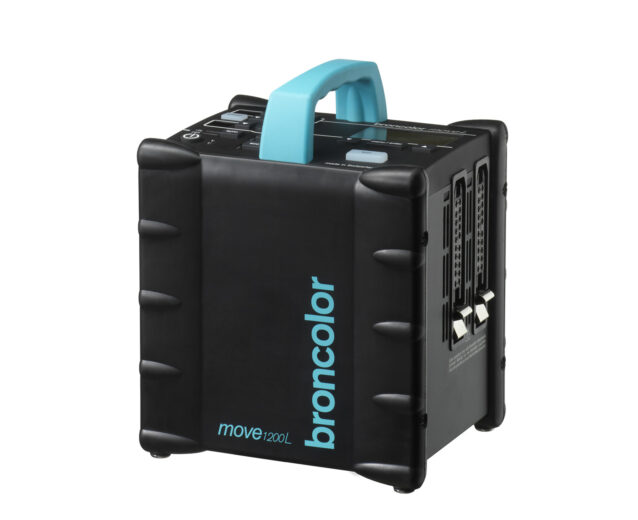 Move 1200 L
-
 RFS 2.1
-
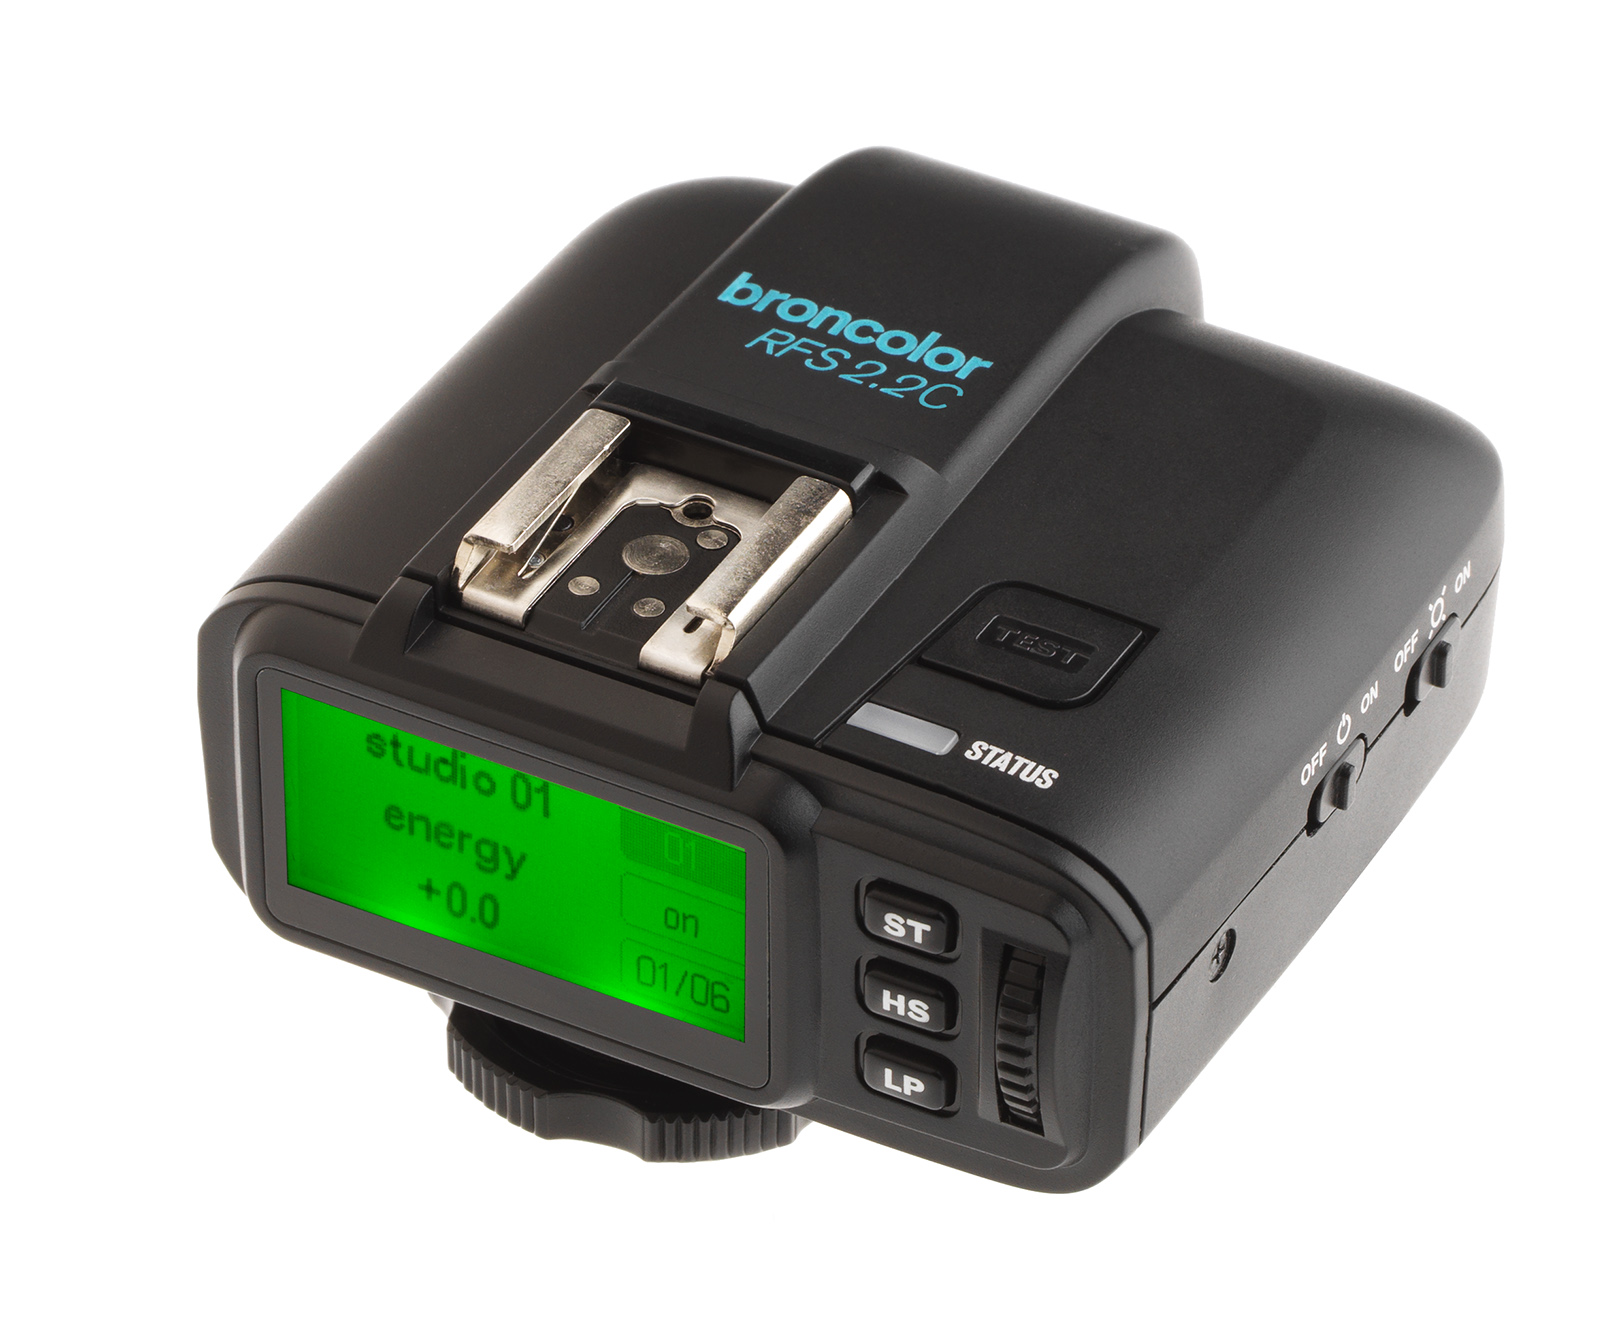 RFS 2.2
-
 RFS 3
RFS 3
-
 Pulso G, Unilite and Picolite
-
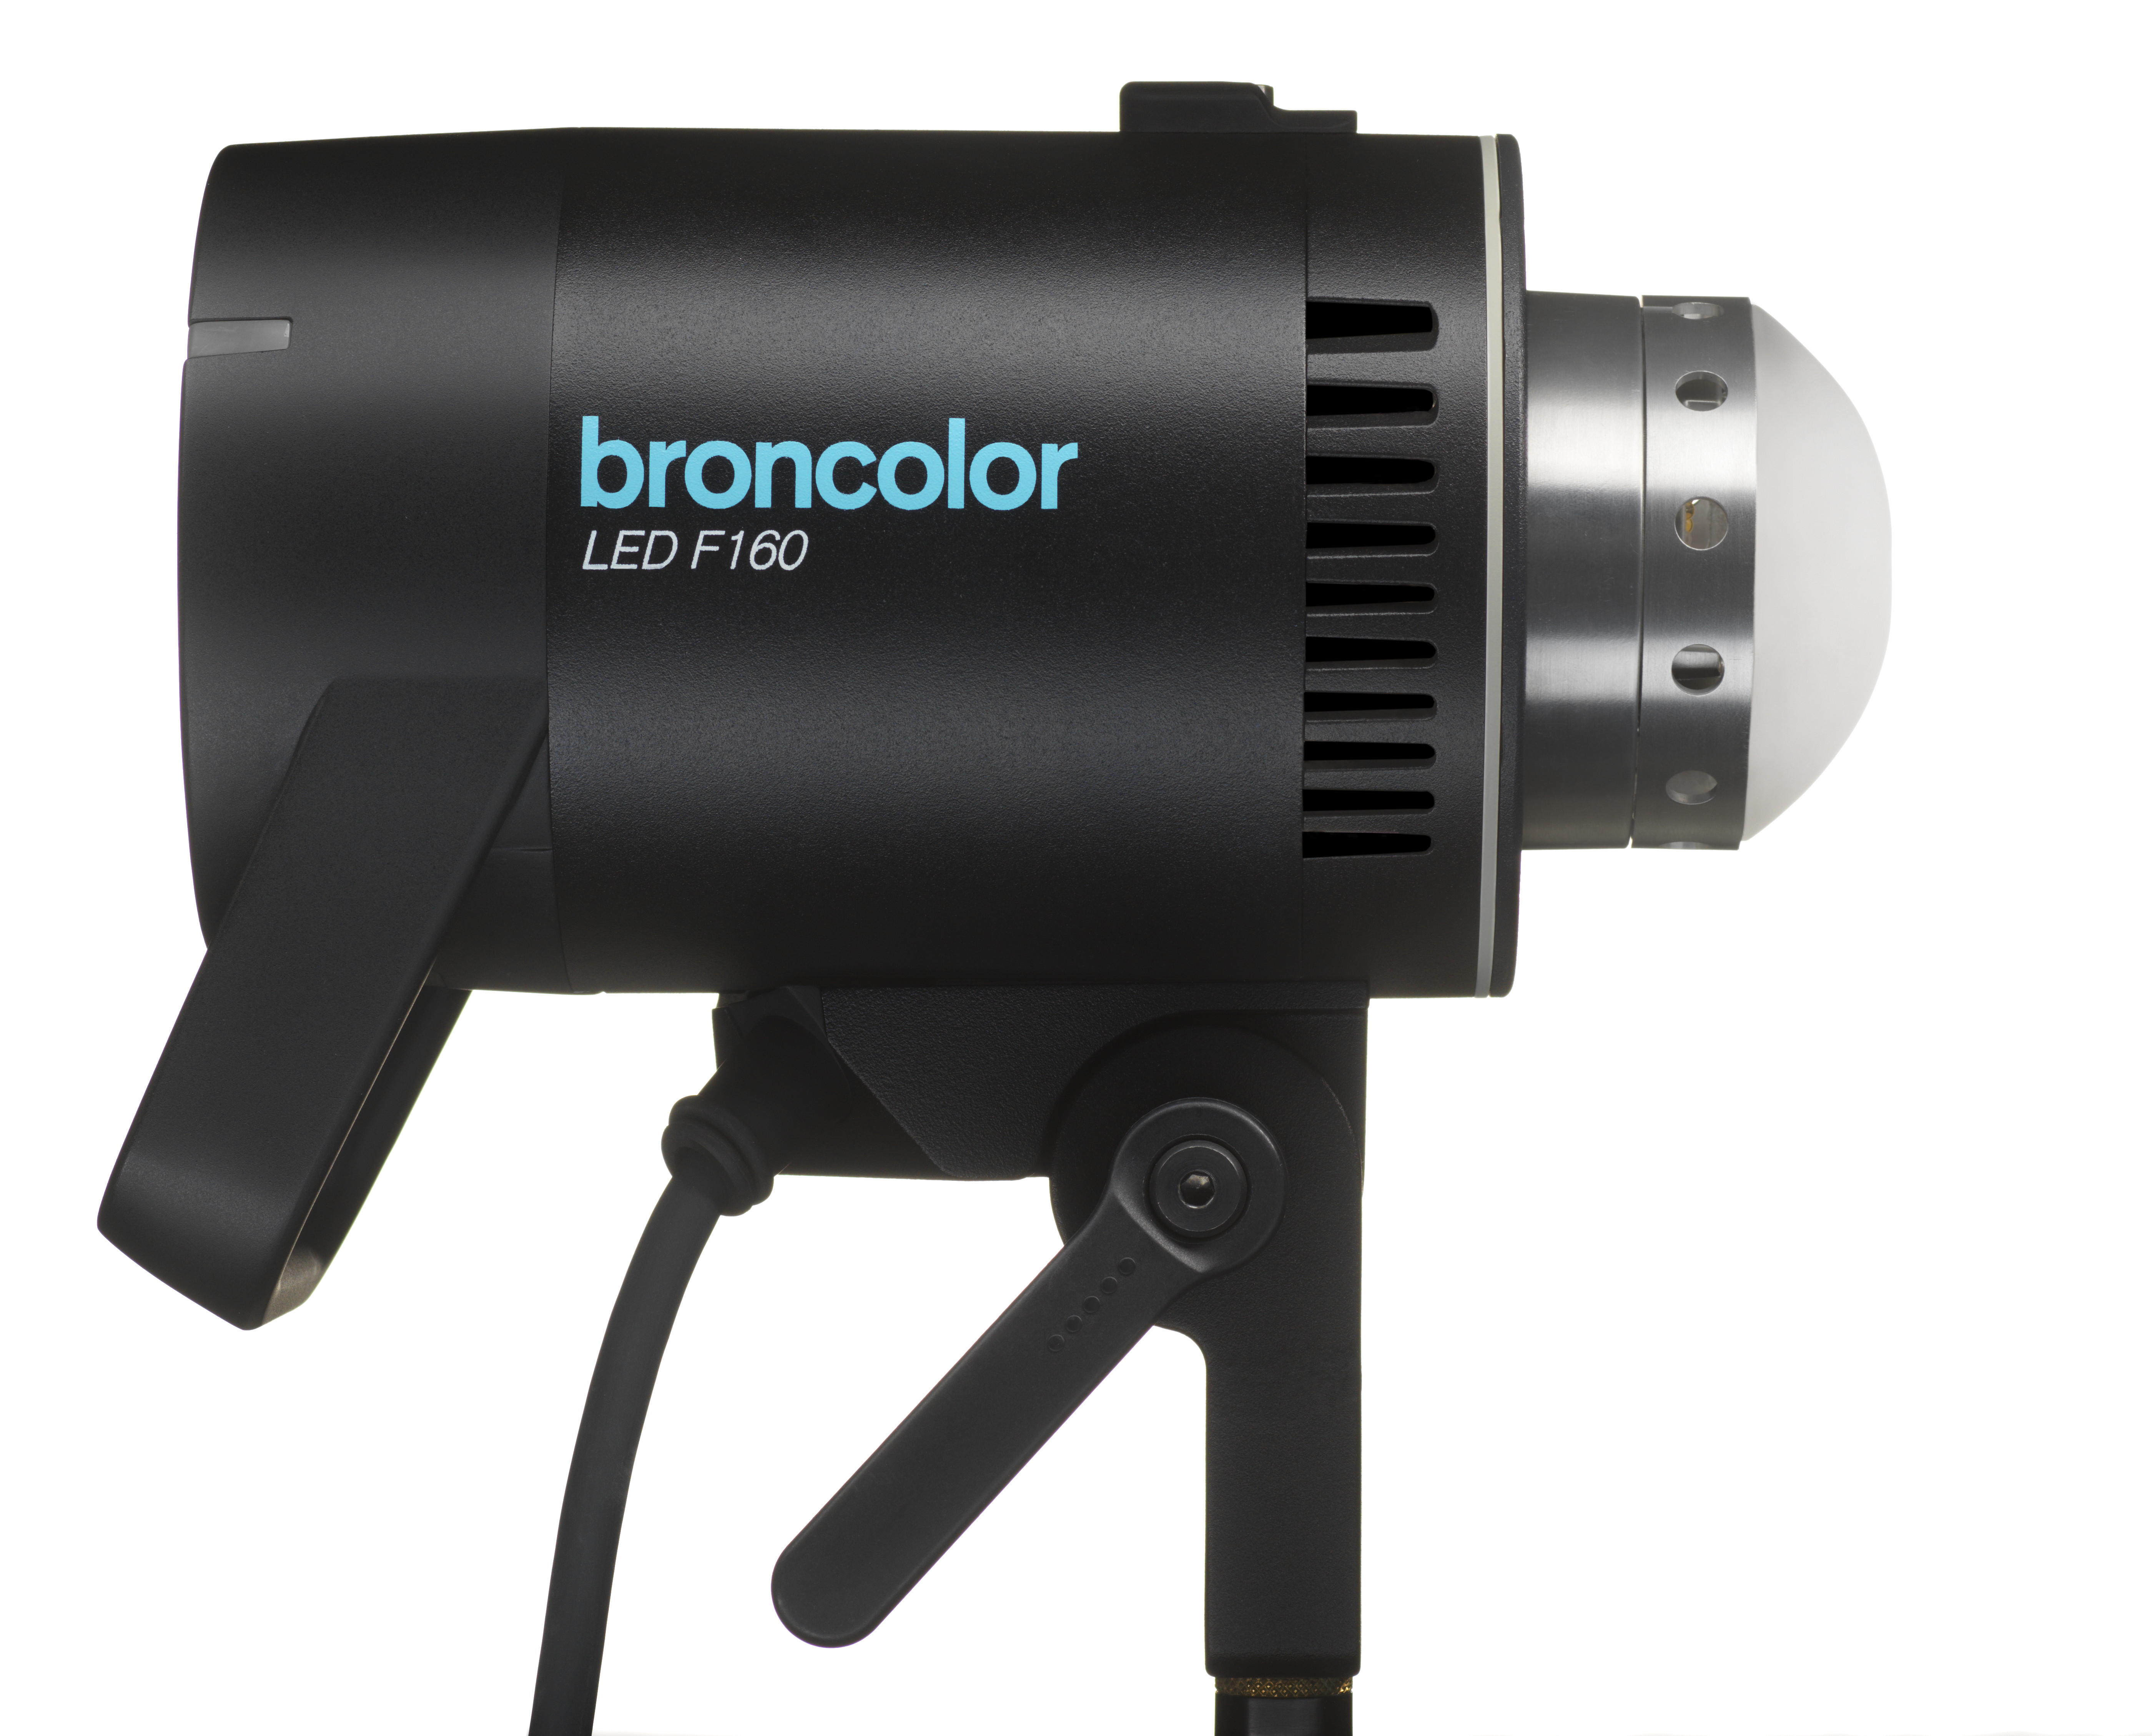 LED F160
-
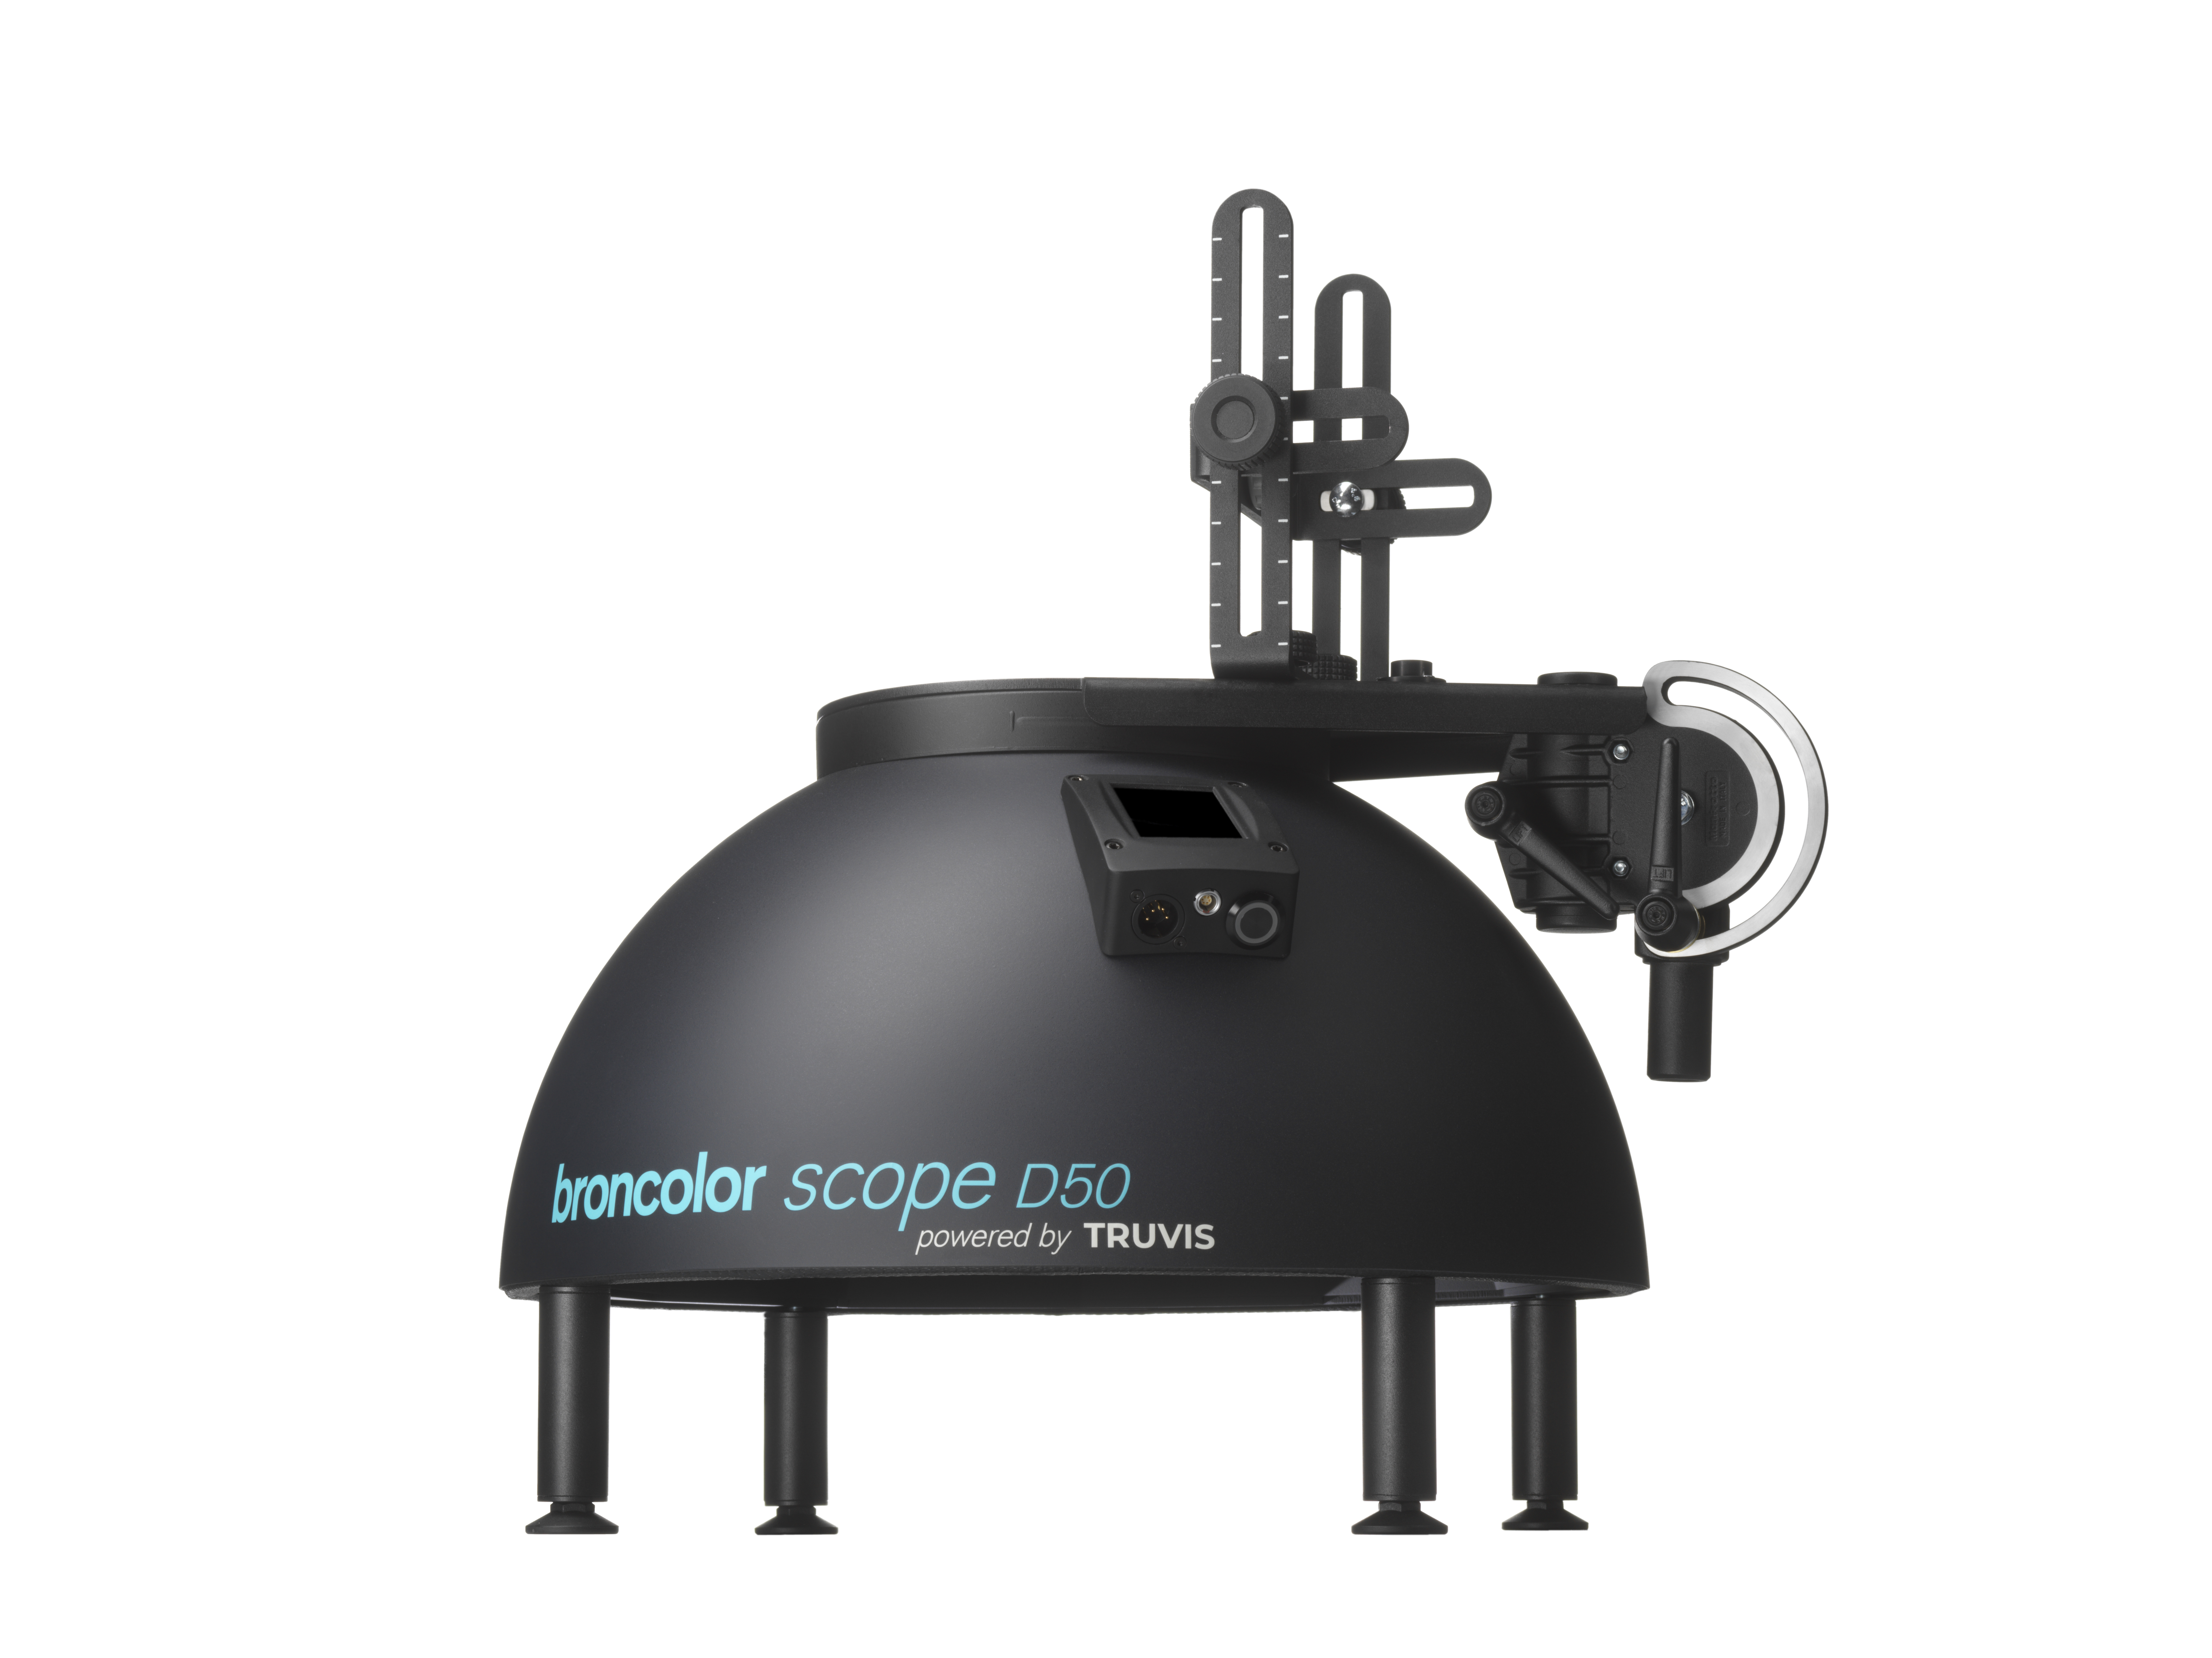 Scope D50
-
Compatibility (Lamp <-> light shaper | Lamp <-> power pack)
-
Locate your distributor or dealer
With the RFS 2.1 transceiver you can define and adjust the individual lamp outlets on the flash units as you wish. To make the adjustments, please fol-low the procedure given in the operating instructions for the flash unit con-cerned.
To set the lamp address, proceed as follows (the RFS 2.1 transceiver must be in "LP" mode. Should the "ST" mode be selected, please change to mode "LP" by pressing "set" for more than a se-cond):
- Press the "set" key briefly until the display blinks "LP" and shows the lamp number.
- Use the "
 " and "
 " keys to set the lamp address.
 - Save the setting by pressing the "set" key briefly. "LP" will now be displayed (without blinking).