Submenu: Detailed description (Satos)

-
Stelos 800 L
Stelos: Safety Instructions – read before use | Environment Stelos: Firmware update Stelos: User Interface | Controls | Functions | Handling Stelos: Technical Data Stelos: Remote control | Flash triggering Stelos: Power supply | Battery Stelos: Maintenance | Repair | Warranty Stelos: Accessories & Spare Parts Stelos: Error messages
-
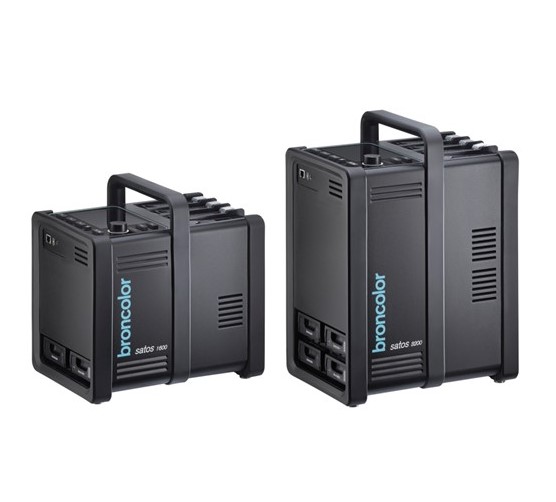
Satos
Satos: Safety Instructions – read before use | Environment Satos: Firmware update Satos Satos: User Interface | Controls | Functions | Handling Satos: Technical Data Satos: Remote control | Flash triggering Satos: Power supply | Battery Satos: Maintenance | Repair | Consumables | Spare parts | Guarantee Satos: Accessories Satos: Charging station for up to 4 slide-in batteries
- Pulso L
-
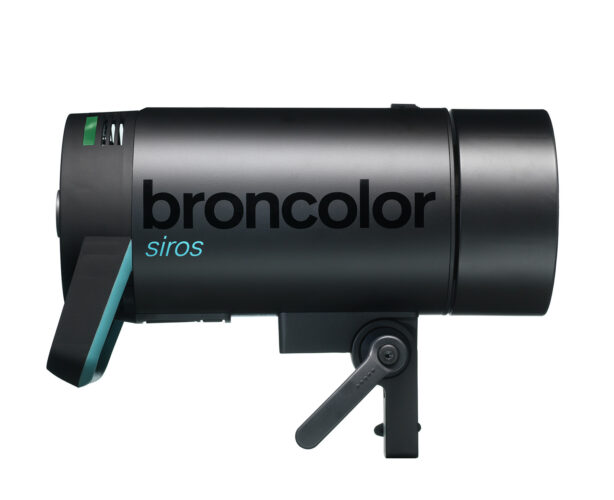
Siros S
Siros S: Safety Instructions – read before use | Environment Siros S: Firmware update Siros S: User Interface | Controls | Functions | Handling Siros S: Technical Data Siros S: Remote control | Flash triggering Siros S: Power supply Siros S: Maintenance | Repair | Consumables | Spare parts | Guarantee Siros S: Accessories
-
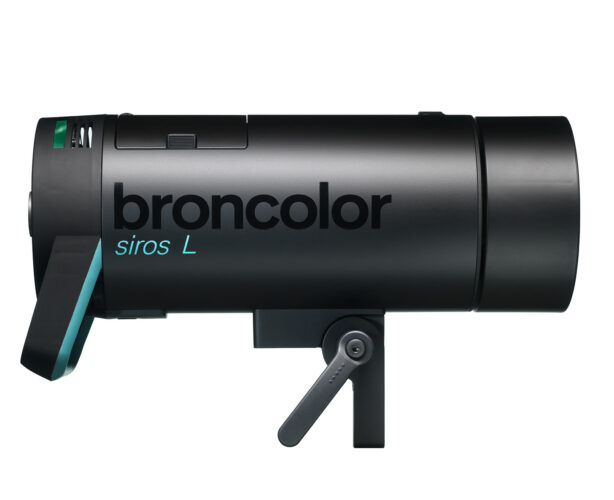
Siros L
Siros L: Safety Instructions – read before use | Environment Siros L: Firmware update Siros L Siros L: User Interface | Controls | Functions | Handling Siros L: Technical Data Siros L: Remote control | Flash triggering Siros L: Power supply | Battery Siros L: Maintenance | Repair | Consumables | Spare parts | Guarantee Siros L: Accessories
- Scoro E + S
- Move 1200 L
- RFS 2.1
- RFS 2.2
-
RFS 3
RFS 3: Safety Instructions – read before use | Environment RFS 3: Scope of delivery and operating elements RFS 3: User Interface | Controls | Functions | Handling RFS 3: Firmware Update RFS 3.0 RFS 3: Compatibility RFS 3: Technical Data RFS 3: Maintenance | Repair | Consumables | Spare parts | Guarantee RFS 3: Trouble shooting
- Pulso G, Unilite and Picolite
- LED F160
- Scope D50
- Compatibility (Lamp <-> light shaper | Lamp <-> power pack)
- Locate your distributor or dealer
-
 Stelos 800 L
-
 Satos
Satos
-
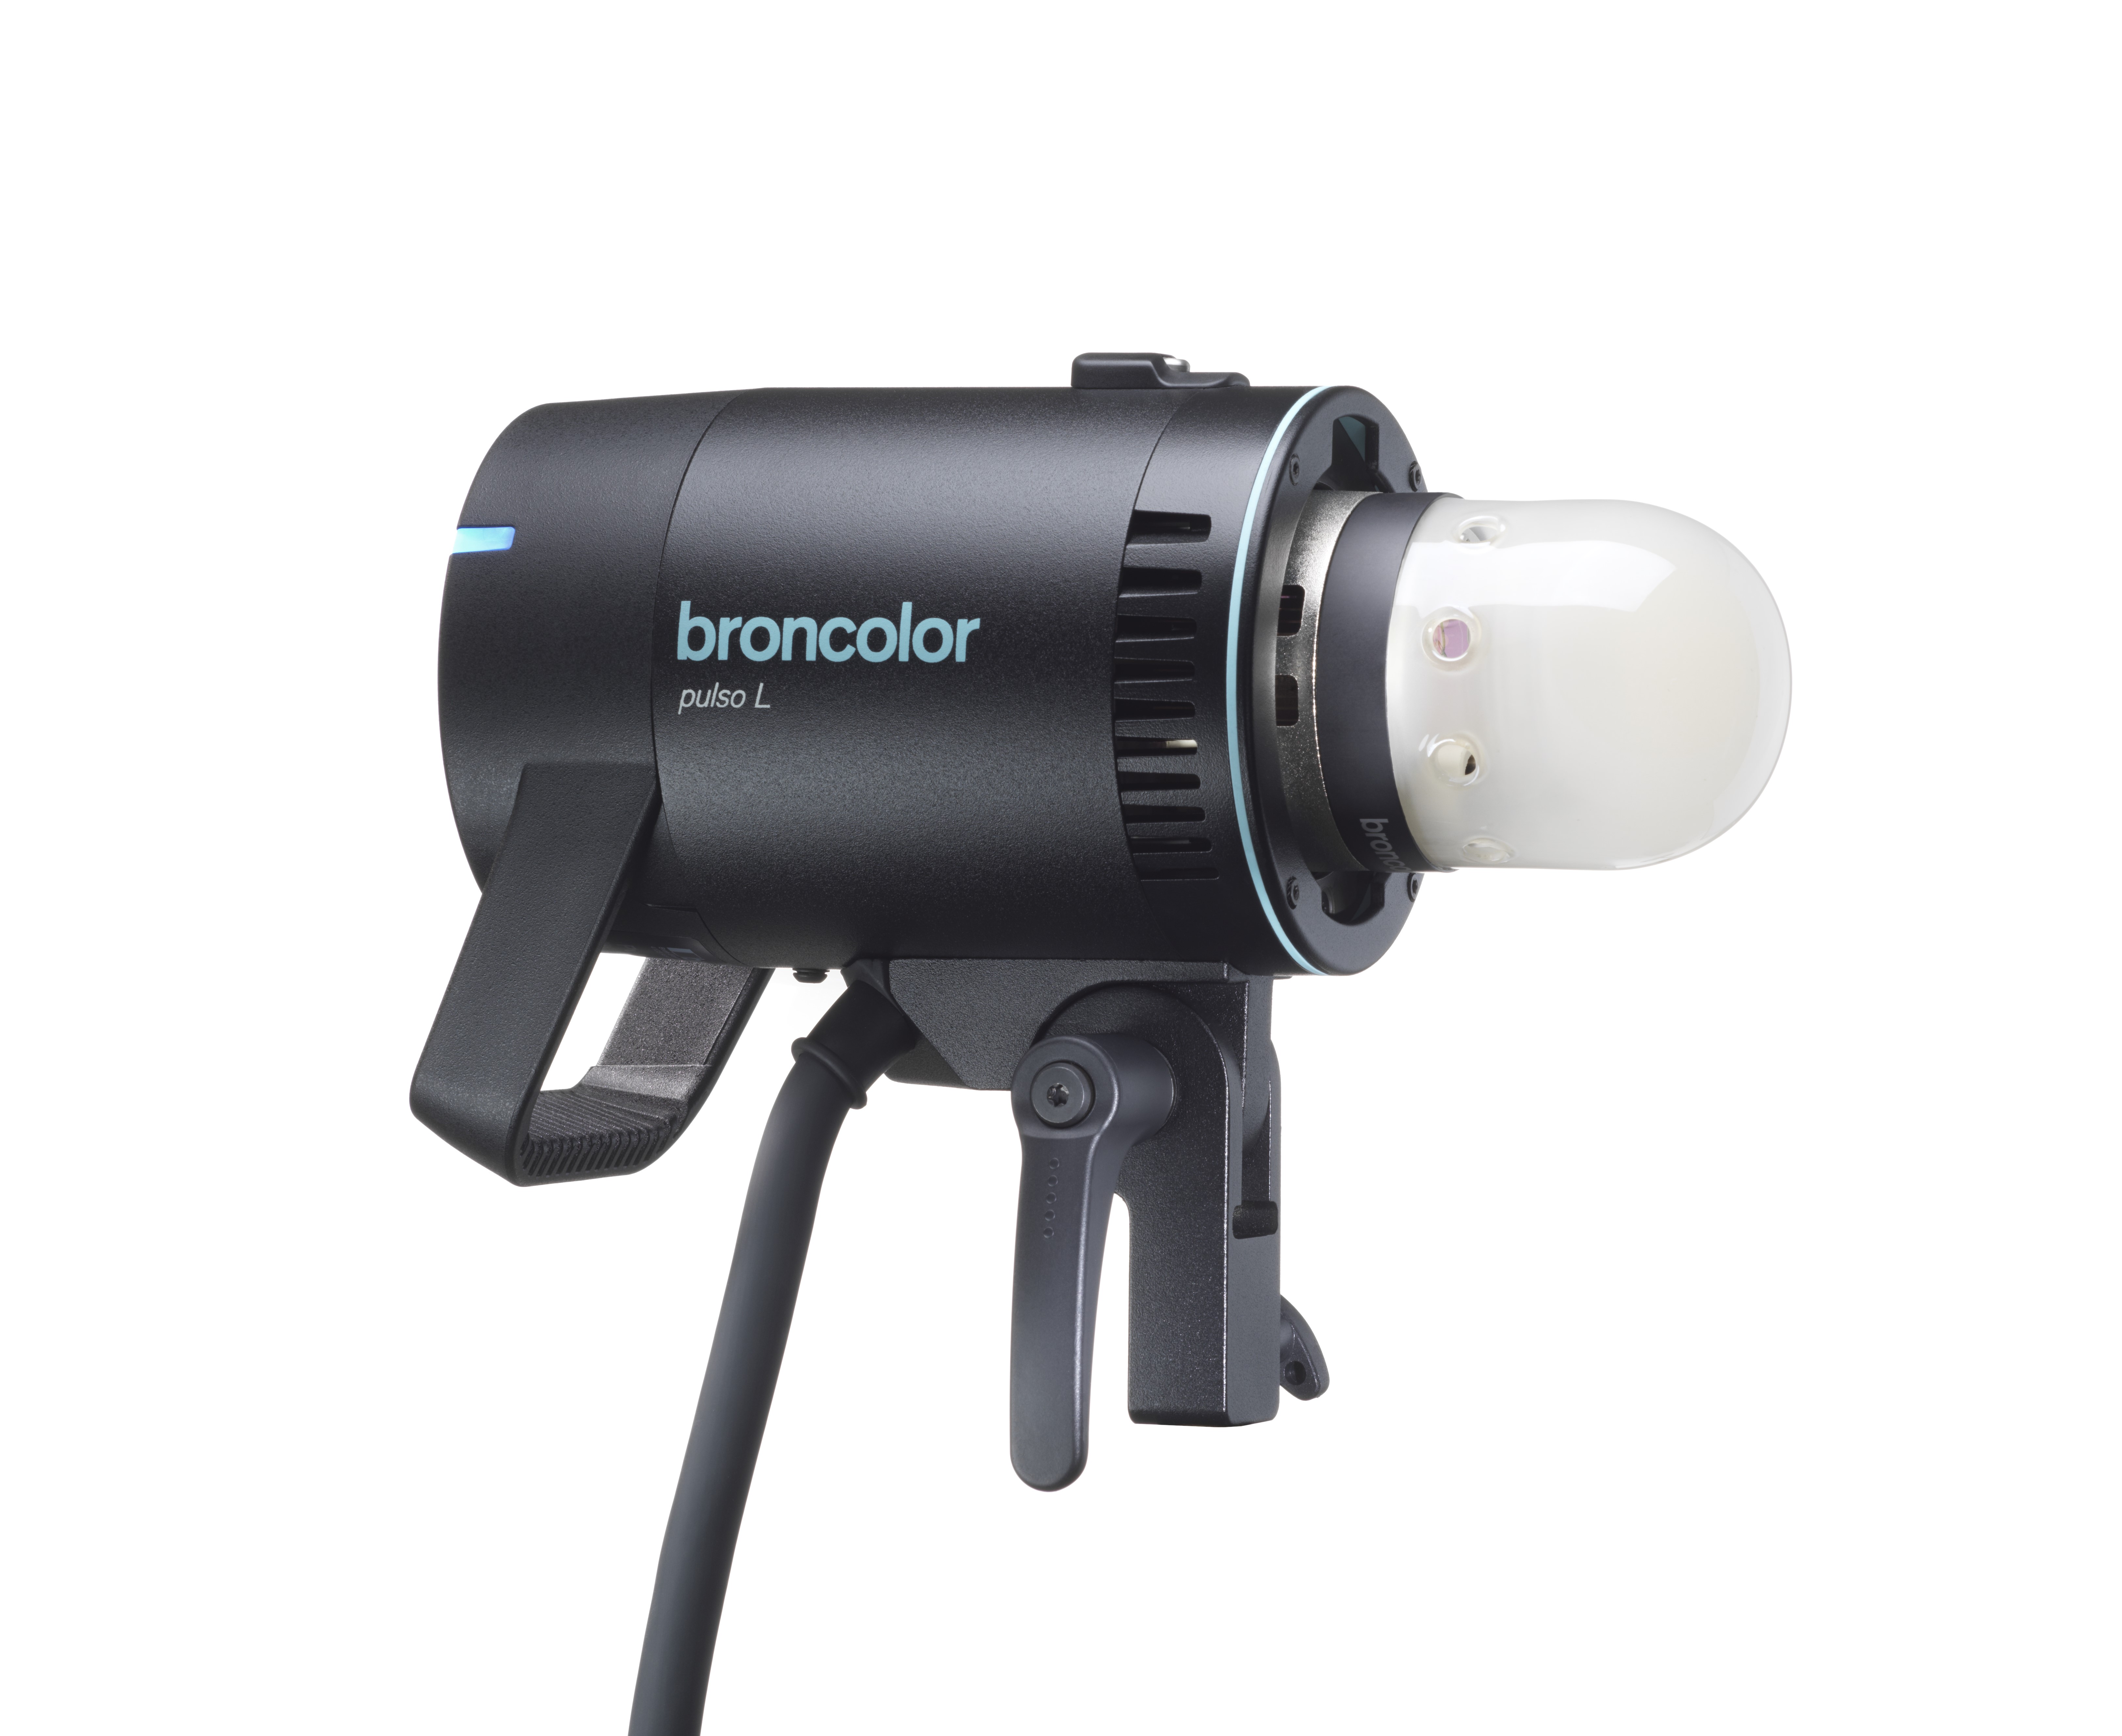 Pulso L
-
 Siros S
-
 Siros L
-
 Scoro E + S
-
 Move 1200 L
-
 RFS 2.1
-
 RFS 2.2
-
 RFS 3
RFS 3
-
 Pulso G, Unilite and Picolite
-
 LED F160
-
 Scope D50
-
Compatibility (Lamp <-> light shaper | Lamp <-> power pack)
-
Locate your distributor or dealer
In this section, each available function of the submenu is explained in detail.
![]() This arrow allows you to exit the respective submenu.
This arrow allows you to exit the respective submenu.
When a value is changed, it is stored in real time (even before you leave the menu).
![]() Help menu gives you short and concise tips on the respective function.
Help menu gives you short and concise tips on the respective function.
You can also select the individual channels in many submenus using the physical channel push-buttons and also use the push/turn control to set the values:
![]()
![]()
Alternate
Alternate enables "Ping-Pong triggering" of up to 12 flash heads.
The triggering sequence can be determined, i.e. only one flash head is triggered per flash triggering signal, whereas the other heads wait or are recharged. This function enables even faster flash sequences to be realized.
Freemask is a special type of Alternate: An object can be isolated by asynchronous flashes with two groups of flash light sources. For this purpose, one group must be set to "active", the other to "waiting".
Freemask makes it very easy to create proper clipping masks for trimming products.
The object is photographed with the desired light setting with the initial trigger ("main") of the shutter. The second trigger ("mask") lights the background evenly and brightly with one or more lights, depending on the size of the object, to create a silhouette. This silhouette is then used to remove the background of the main image (in post-processing).
In order to activate Alternate, adjust the number of alternating flash heads to 2 or higher in the following submenu view:
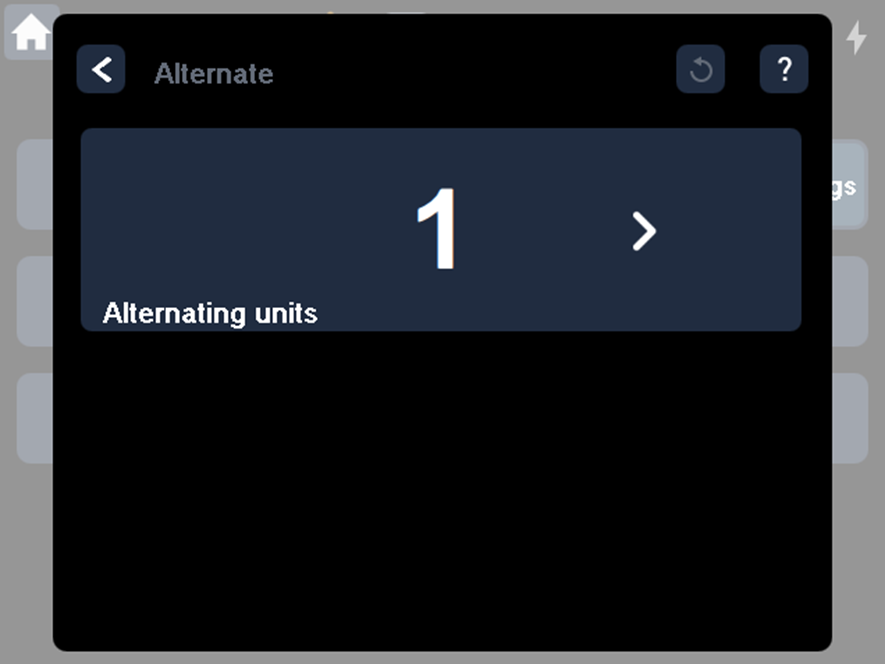
The device to be triggered first is set to "active" status. The second to "wait 1" status, the third to "wait 2" and so on.

Delay
The set value of the delay ("Delay") corresponds to the duration between flash triggering (e.g. by radio transmitter) and the effective (visible) flash. The maximum value is 50 seconds.
An individual delay can be set for each of the three Satos light channels if required.

Sequence
A sequence is a series of flashes or the preselection of a certain number of flashes. The maximum value is 100.
Interval is the period between two consecutive flashes. The maximum value is 10 seconds.
You can set an individual sequence and interval for each of the three Satos light channels if required.

Flash settings
You define the desired flash mode in this submenu.

You can choose from the list below:
Flash Mode |
Explanation |
t 0.1min |
Shortest possible flash exposure time; technically, the flash color temperature becomes more bluish |
Opt +600K |
* |
Opt +500K |
* |
Opt +400K |
* |
Speed |
In "Speed" flash mode, flash duration t 0.1 and recharging time are significantly reduced. Satos power packs are therefore optimized for photographing moving objects and/or with fast image sequences. In "Speed" mode, the color temperature is slightly cooler, but it is constant over the entire energy setting range. |
Opt +200K |
* |
Opt +100K |
* |
Opt. [Default] |
This is the default setting. |
Opt -100K |
* |
Opt. -200K |
* |
Opt. -300K |
* |
High Speed Sync (HSS) |
For outdoor applications.
High-speed sync (HSS) enables you to use Satos with any camera shutter speed, even the ones falling below the "shortest sync time". The flash exposure time is controlled and extended in such a way that it remains more or less constant during the entire exposure process.
In HSS mode, you can adjust the exposure to make the surroundings look more dark and dramatic – but you can still work with a wide open aperture and a shallow depth of field at the same time.
|
* The color temperature of the adjusted energy can be controlled at partial power by relative shifts in intervals of 100K upwards or downwards. The control range of the color temperature adjustment increases when the power is reduced. The direct dependency of color temperature and flash duration t 0.1 automatically adjusts it, and certain flash modes may not always be selectable (grayed out).
Sync
Define how flashes are to be triggered in this submenu:

RFS ON |
The trigger pulse is transmitted by radio. |
RFS OFF |
No trigger pulse by radio. |
CELL sensitivity high |
Flash triggering by light pulse active. Photocell sensitivity is high. |
CELL sensitivity low |
Flash triggering by light pulse active. Photocell sensitivity is low. |
CELL OFF |
No flash triggering by light pulse. |
"RFS" and "CELL" can also both be active at the same time.
Alternatively, you can also trigger the flash via the built-in sync socket (wired method).
Tip:
The synchronous socket is active at all times.
The synchronous cables (Item No. 34.111.00; 5m) and (Item No. 34.112.00; 10m) can be connected to the synchronous socket for triggering by cable.
Studio setup
You define the studio address and the light addresses in this dialog.

Studio address
Set a number between 1 and 99.
The selected number must also be set on your broncolor RFS radio transmitter.
Switch to an alternative studio address if you experience unwanted flash triggering or radio interference*.
*In case of problems and undefined disturbances of the broncolor RFS unit operation, a strong frequency irradiation may interfere with the radio communication between the units. In this case, you should find a better location for your equipment to avoid any potential frequency interference from baby monitors, video bridges, microwaves, DECT cordless phones, WLAN or Bluetooth devices, or use an alternate studio channel.
The same studio address on several broncolor flash units (and on the RFS radio transmitter) ensures that they would all respond to the radio transmitter's commands.
Lamp address
The control range is 1 to 40.
Please set the same number (=lamp address) if all Satos light channels are to react simultaneously.
The broncolor radio transmitter systems RFS 2.1 and RFS 2.2 are designed to control several groups of flash units (one after the other).
Groups are assigned based on the lamp address (this also applies to the bronControl app).
Please refer to the respective operating instructions for further information:
Modelling light
You can choose from three modes with regard to the modelling light's brightness:
"Full"
(maximum intensity)
(Low intensity)
(The modelling light of the lamp with the highest flash energy operates at full output, and the other lamps will be proportionally dimmed, in accordance with their power settings.

The modelling light's color temperature can be switched from 5500 K (default value) to 2800 K.
In addition, the modelling light can also be ![]() controlled with the physical "mod" push-button.
controlled with the physical "mod" push-button.
Short push-button action: The modelling light is switched on or off.
Long push-button action: The modelling light switches to "full" (maximum brightness). The modelling light switches back to the setting selected (in the submenu) after pressing the "mod" push-button again.
Lighting mode
Satos offers you high flexibility:
- Flash on all light channels
- Continuous light on all light channels
- or a mixture of flash and continuous light.

Once you switch a light channel from "Flash" to "Cont. light", the following functions appear on the main menu screen:

1 |
"LED Intensity" |
Adjustment range: 6 to 100% |
2 |
"LED Color Temperature" |
Adjustment range: 2800 to 6800K in 50K intervals |
3 |
"Green / Magenta Correction" |
Adjustment range: -25 G to +25 G (limitations at certain color temperatures) |
Continuous light functions are kept in green color for better distinctness.
The reset push-button in this submenu only resets the values back to the default value ("LED color temperature" as well as "Green / Magenta Correction"). You must select "Flash" again in the submenu if you no longer want to work in steady light mode on a channel.
Power Info
This menu displays the current configuration of your Satos power pack.

The pictograms shown in gray provide information about which type of plug-in unit (battery or power supply unit) can generally be inserted into the respective plug-in unit.
A blue pictogram indicates that this item is currently detected in the respective slot.
A number is assigned to each plug-in module.
Once a battery is inserted, the respective charge status is displayed as a percentage.
In addition, there is an average value of all batteries used, for quick orientation.
This value is also displayed in the info line.
Also, you can see approximately how many flashes can still be triggered at the currently adjusted power.
In the above example, Satos is equipped with 2 batteries and a power supply unit. Plug-in module number 3 is empty.
Firmware update
https://broncolor.helpjuice.com/en_US/firmware-update-satos/firmware-update-satos-en
Reset
You may find situations where it is convenient to reset all special functions to the default value at the same time. For example, if someone has previously worked with Satos and you don't want to look at menu by menu. Or, you may have set a very complex configuration during the last shoot, which would now be inappropriate for the upcoming shoot.
You can use two convenient, time-saving reset commands:

-
Basic reset
All submenus settings are reset to the default value, except for "Studio setup".
Subsequently, the view changes to the main menu.
-
Factory reset
All submenus settings are reset to the default value. In this mode, the Satos generator is in the factory default status.

This pop-up message is displayed to protect against accidental triggering of the "Factory reset". You can cancel the process with "cancel" and initiate it with "Factory reset".
"Cancel" discards any reset and returns you to the main menu.
Note:
The special functions ("Timing"), i.e. "Alternate", "Sequence" and "Delay" can also be reset to the default value directly from the Pulso L lamp.
More
In this submenu, you will find various additional settings that enable you to adapt the Satos control menu even better to your individual preferences.
- Show channel number on Home screen
- Show lamp address on Home screen
- Cognition light
- Display flash energy in Joule
- Wake on mains
-
Audio signal when ready to flash

