Submenu structure (Satos)

-
Stelos 800 L
Stelos: Safety Instructions – read before use | Environment Stelos: Firmware update Stelos: User Interface | Controls | Functions | Handling Stelos: Technical Data Stelos: Remote control | Flash triggering Stelos: Power supply | Battery Stelos: Maintenance | Repair | Warranty Stelos: Accessories & Spare Parts Stelos: Error messages
-
Satos
Satos: Safety Instructions – read before use | Environment Satos: Firmware update Satos Satos: User Interface | Controls | Functions | Handling Satos: Technical Data Satos: Remote control | Flash triggering Satos: Power supply | Battery Satos: Maintenance | Repair | Consumables | Spare parts | Guarantee Satos: Accessories Satos: Charging station for up to 4 slide-in batteries
- Pulso L
-
Siros S
Siros S: Safety Instructions – read before use | Environment Siros S: Firmware update Siros S: User Interface | Controls | Functions | Handling Siros S: Technical Data Siros S: Remote control | Flash triggering Siros S: Power supply Siros S: Maintenance | Repair | Consumables | Spare parts | Guarantee Siros S: Accessories
-
Siros L
Siros L: Safety Instructions – read before use | Environment Siros L: Firmware update Siros L Siros L: User Interface | Controls | Functions | Handling Siros L: Technical Data Siros L: Remote control | Flash triggering Siros L: Power supply | Battery Siros L: Maintenance | Repair | Consumables | Spare parts | Guarantee Siros L: Accessories
- Scoro E + S
- Move 1200 L
- RFS 2.1
- RFS 2.2
-
RFS 3
RFS 3: Safety Instructions – read before use | Environment RFS 3: Scope of delivery and operating elements RFS 3: User Interface | Controls | Functions | Handling RFS 3: Firmware Update RFS 3.0 RFS 3: Compatibility RFS 3: Technical Data RFS 3: Maintenance | Repair | Consumables | Spare parts | Guarantee RFS 3: Trouble shooting
- Pulso G, Unilite and Picolite
- LED F160
- Scope D50
- Compatibility (Lamp <-> light shaper | Lamp <-> power pack)
- Locate your distributor or dealer
-
 Stelos 800 L
-
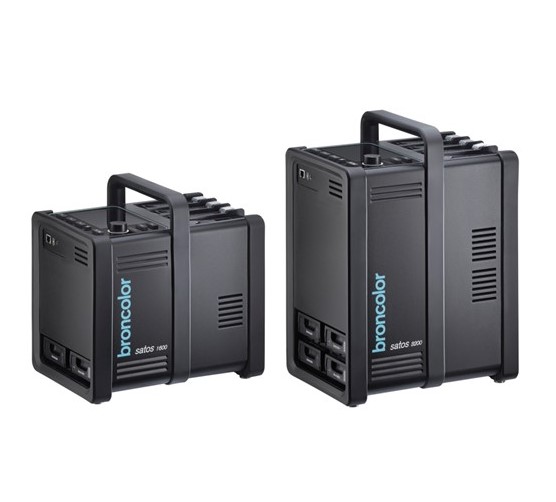 Satos
Satos
-
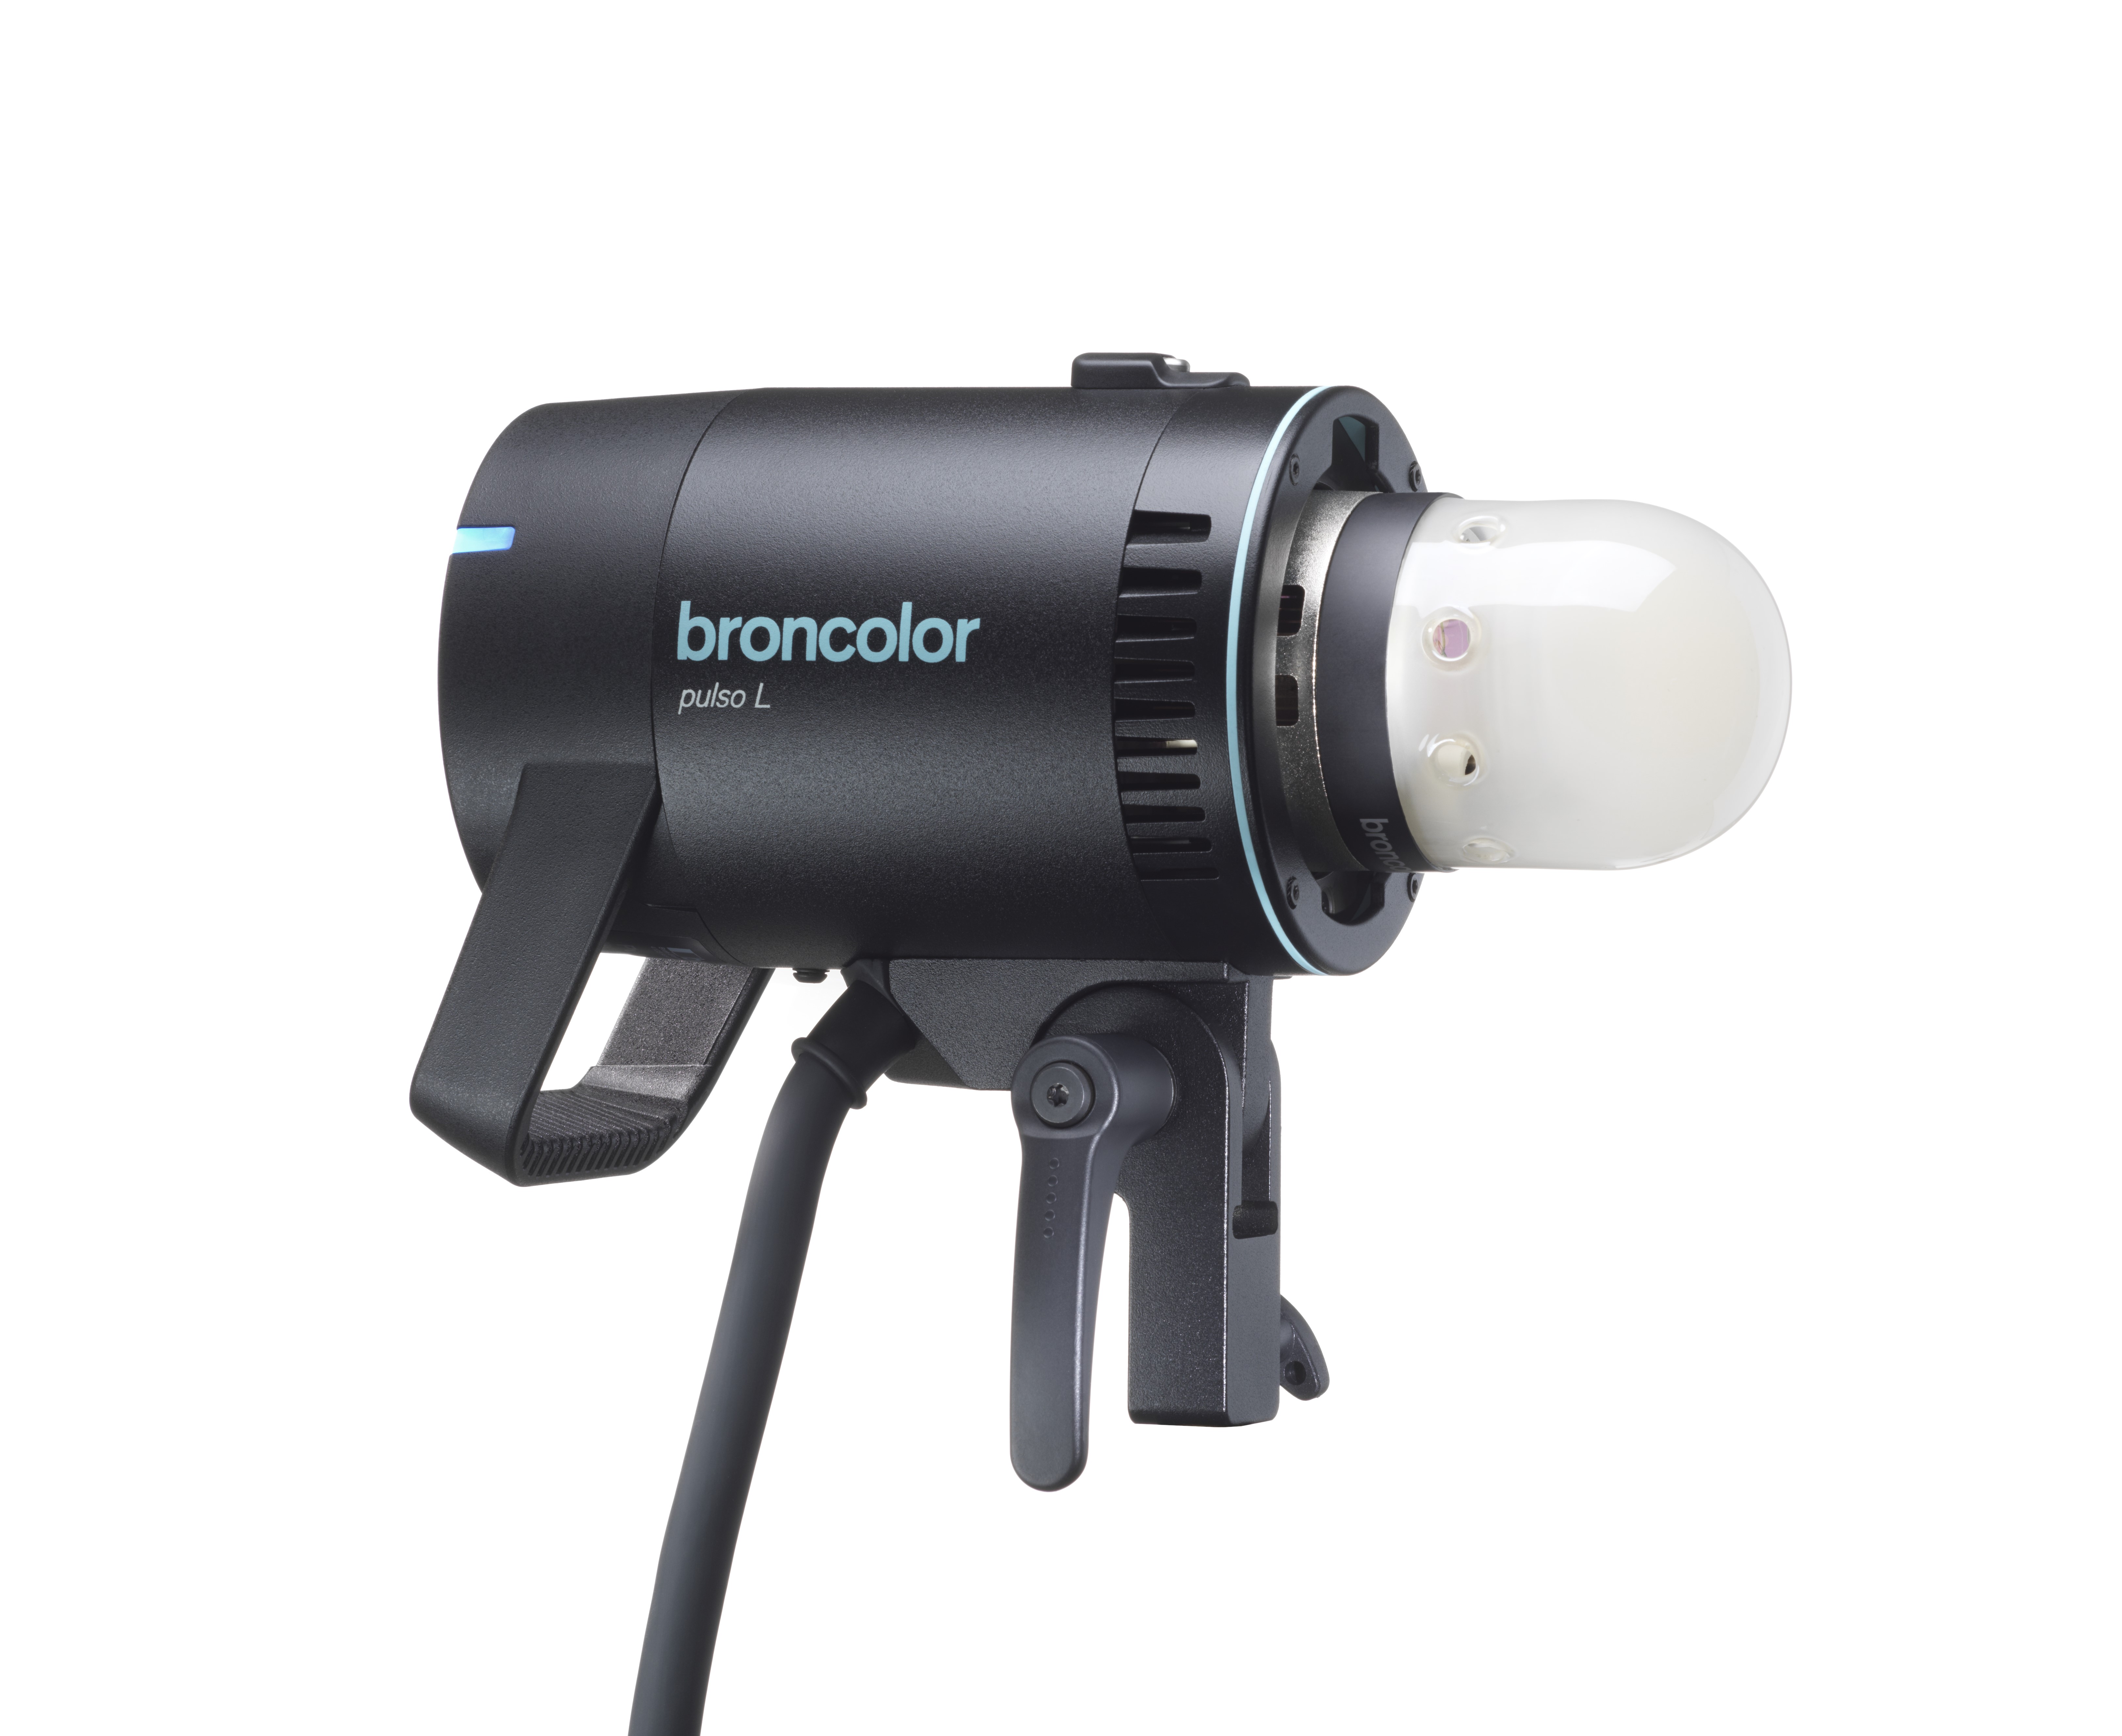 Pulso L
-
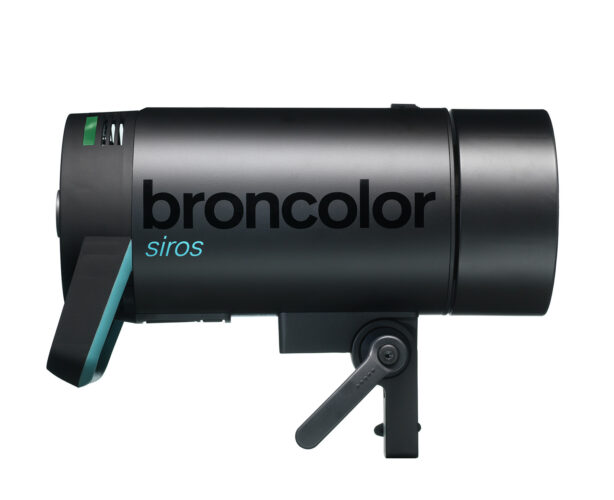 Siros S
-
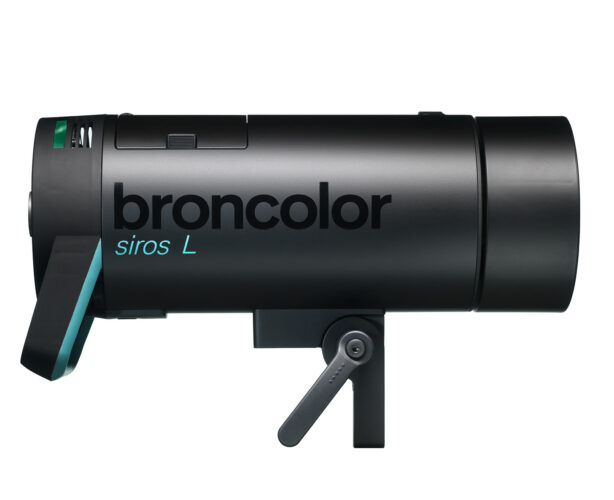 Siros L
-
 Scoro E + S
-
 Move 1200 L
-
 RFS 2.1
-
 RFS 2.2
-
 RFS 3
RFS 3
-
 Pulso G, Unilite and Picolite
-
 LED F160
-
 Scope D50
-
Compatibility (Lamp <-> light shaper | Lamp <-> power pack)
-
Locate your distributor or dealer
The Satos power pack submenu is divided into the following functions:

In the next chapter, each function is described in detail.
If a function has parameters that differ from the "Default" setting, then the push-button color changes from dark blue to dark green.
This enables you to quickly detect when certain special functions ("timing") are active, for example.
Example 1:
The default value of the "Flash settings" function is "Opt. (Optimal). For example, if the value "Speed" is selected here, the push-button turns dark green.
Example 2:If the "Sequence" button were colored dark green, you would know that a sequence with at least 2 flashes is currently active (the default value is "1").
Tip:
If you would like to reset all functions to default as quickly as possible, simply trigger the "Basic Reset" in the submenu under the "Reset" function. Please refer to the detailed description of this function for more information.
How to switch from the submenu back to the main menu?
Option 1:
Turn the rotary control to set the focus on the "House" icon in the upper left corner. Click on the rotary control to return to the Home view.
Option 2:
Press the "Home | Menu" ![]() toggle push-button quickly.
toggle push-button quickly.
Tip:
The "Back" button ![]() enables the user to navigate up one menu level at a time, while the "Shift" button above immediately brings the user back to the "Home" view, no matter where the submenu is located.
enables the user to navigate up one menu level at a time, while the "Shift" button above immediately brings the user back to the "Home" view, no matter where the submenu is located.